Line Art Procreate Brushes
Updated September 2026
Line art and inking Procreate brushes for iPad: tapered lines, comic ink, clean outlines. Free & premium downloads.
Brusher has 10 lineart Procreate brush packs — tapered lines, inking, outline — each a native .brushset that installs into Procreate in one tap on iPad.
Line art Procreate brushes are the backbone of clean, confident drawing — the crisp outlines and tapered strokes that define comics, illustration, tattoo flash and logo work. A great line brush does two things at once: it tapers naturally as you lift the Apple Pencil, and it stays smooth through long curves so your lines look deliberate rather than shaky. The result is inking that reads as professional the moment you put it down.
This collection gathers the liners artists actually ink with: pens with strong pressure taper for expressive weight, steady monoline brushes for even outlines, and textured ink brushes for a hand-drawn edge. Whether you outline characters, ink comics or clean up sketches, the right brush turns fiddly line work into a pleasure.
Line Art Procreate Brushes
Procreate Video
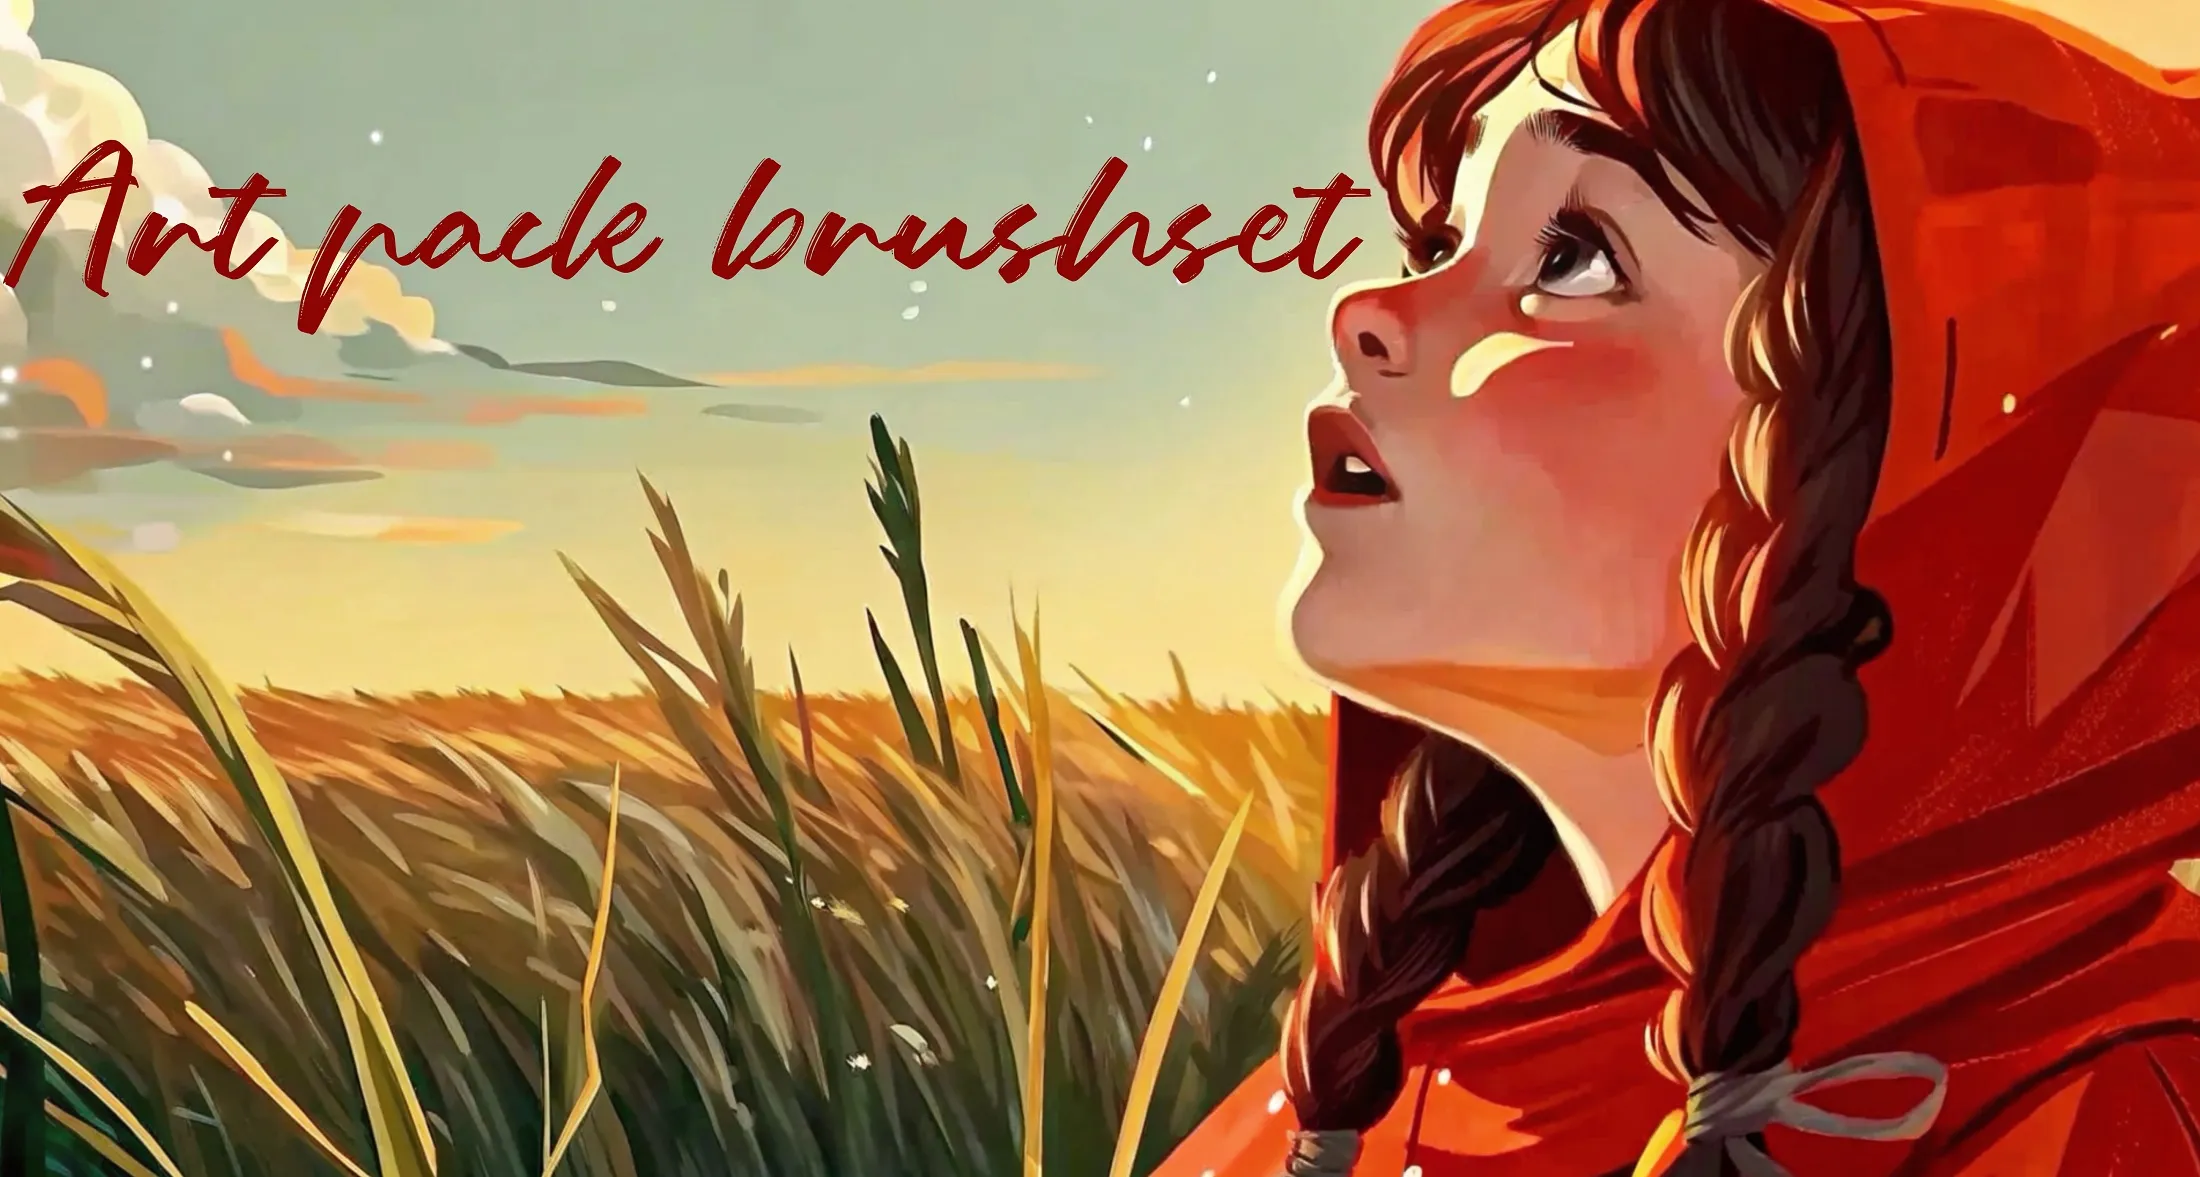
Artpack
ink liners, coloring and blending
Procreate Video
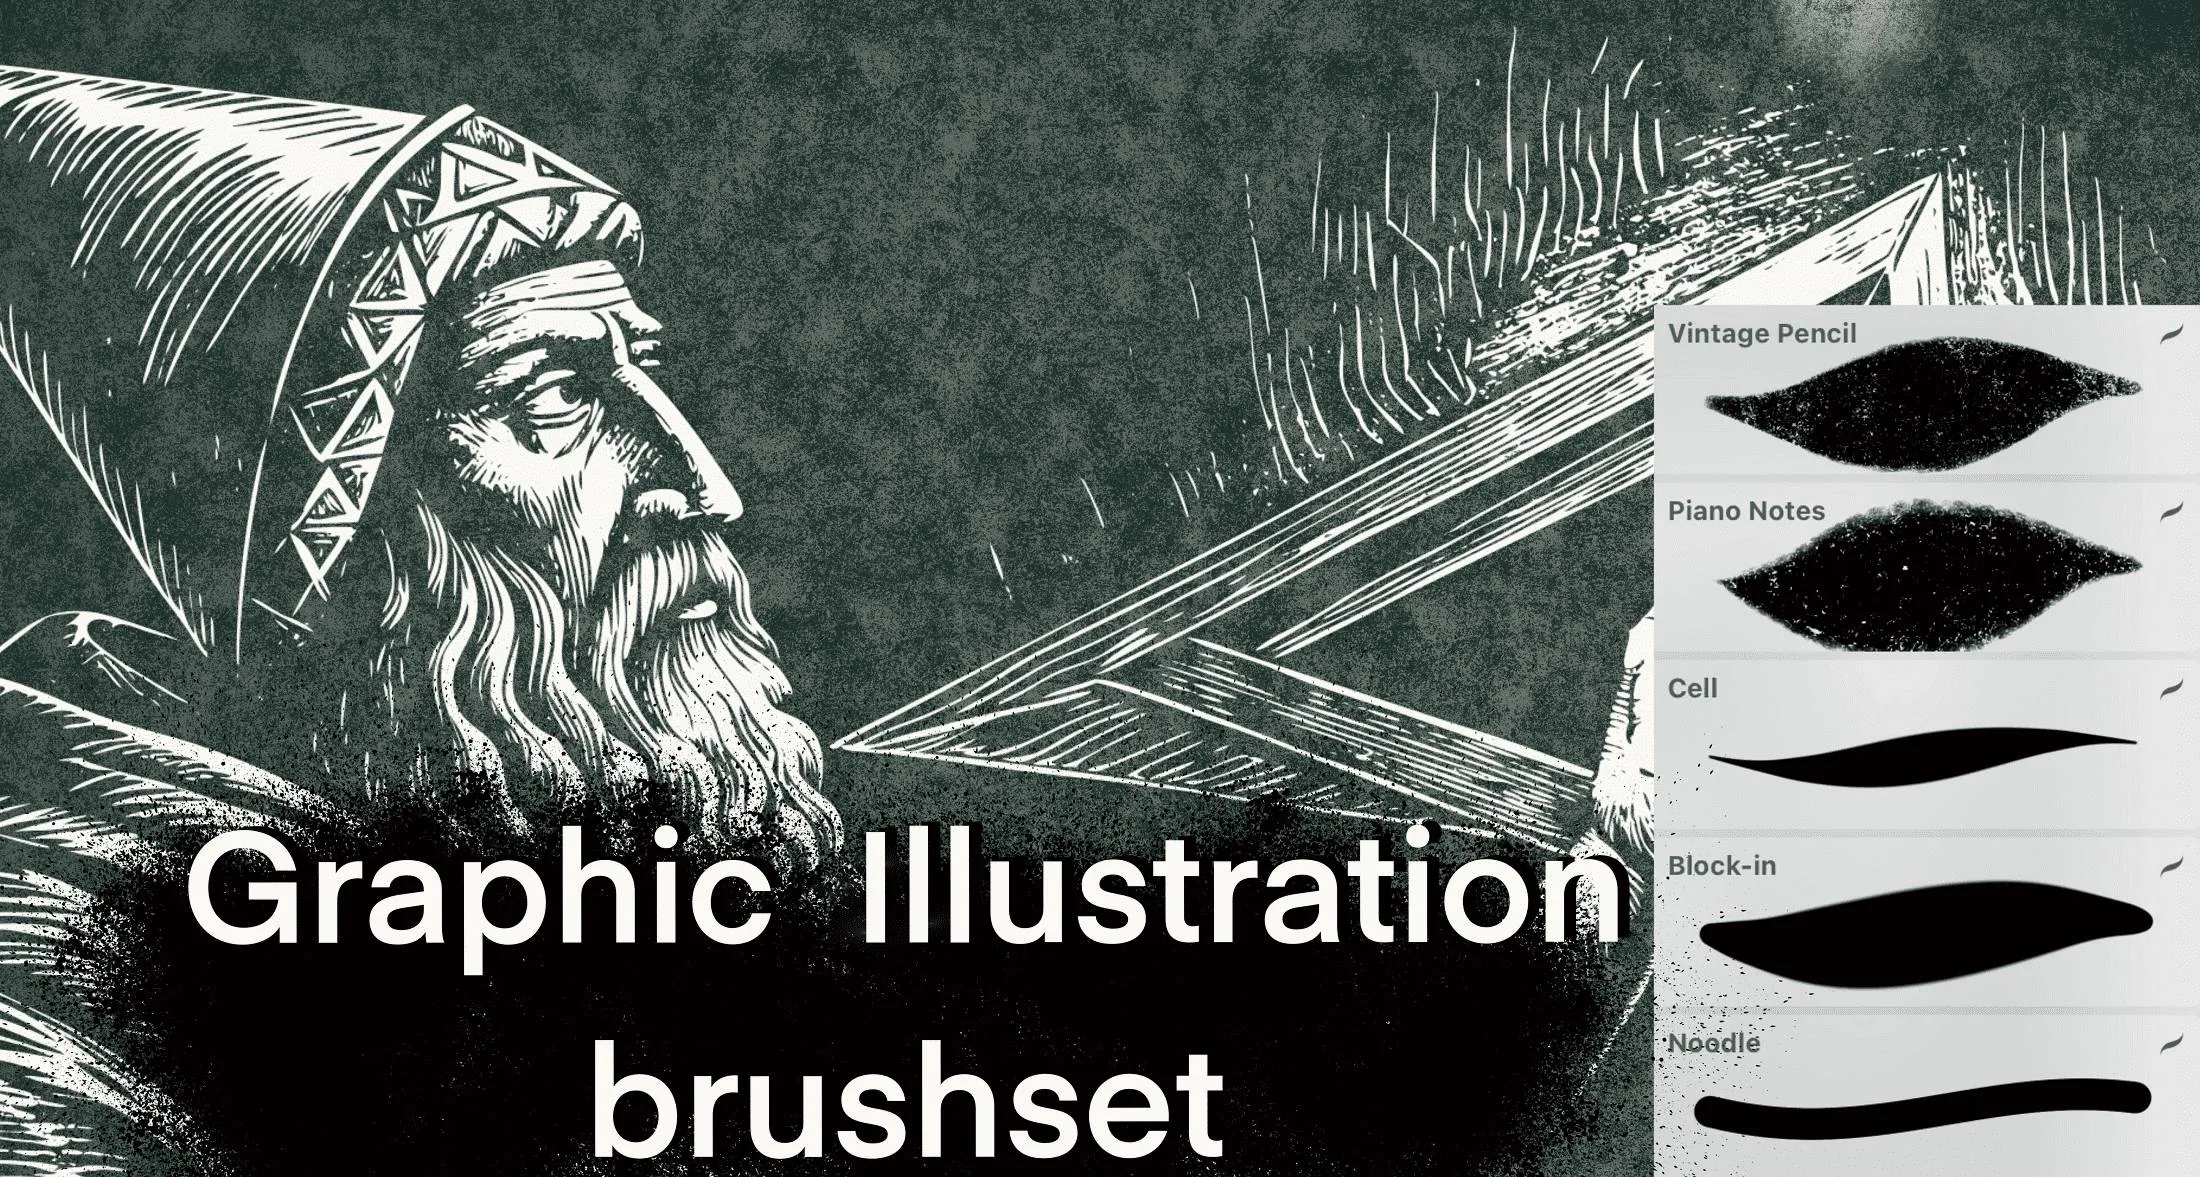
Graphic
vintage textured pencil, block-in and noodle
Procreate Video
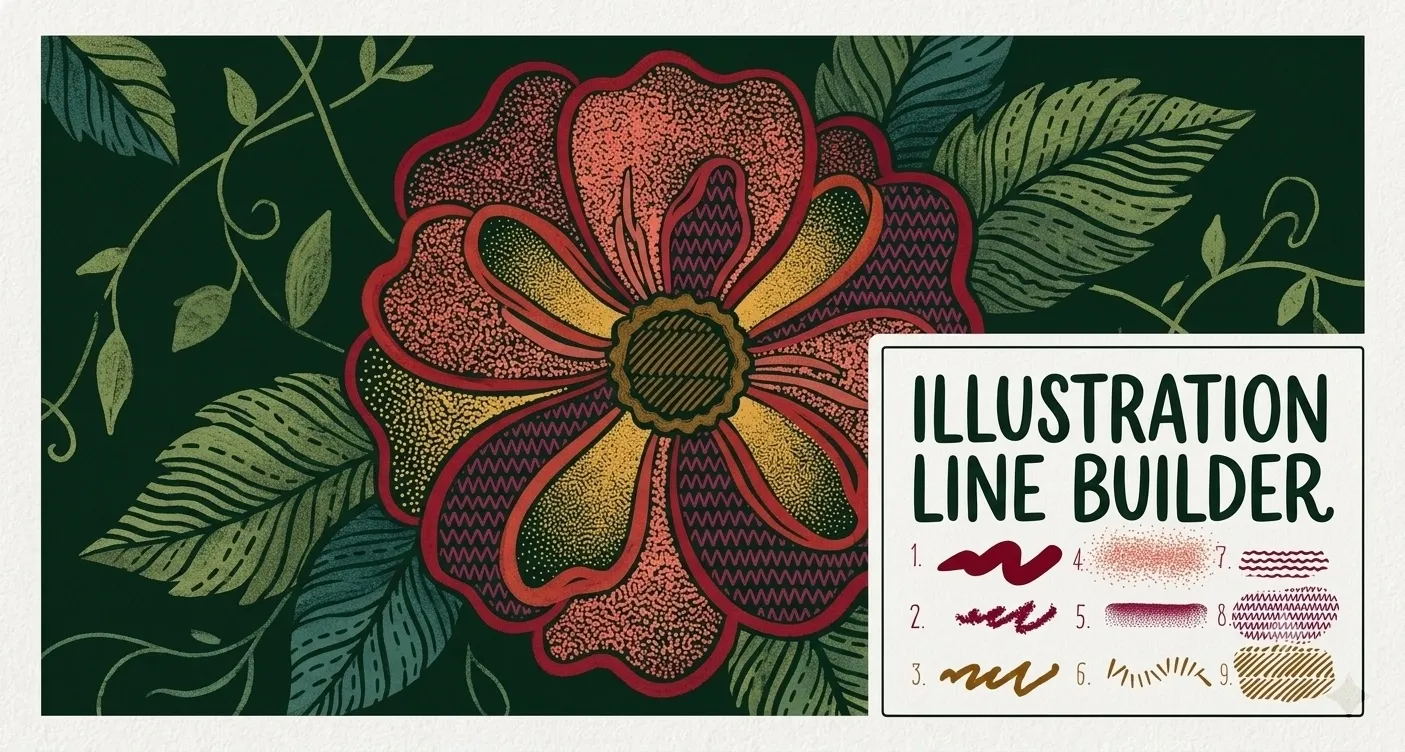
Illustration Line Builder
smooth and textured liners, stipple and dot-spray shading, grainy fills, dash and tick-mark brushes, zigzag lines, and star and flower scatter accents
Procreate Video
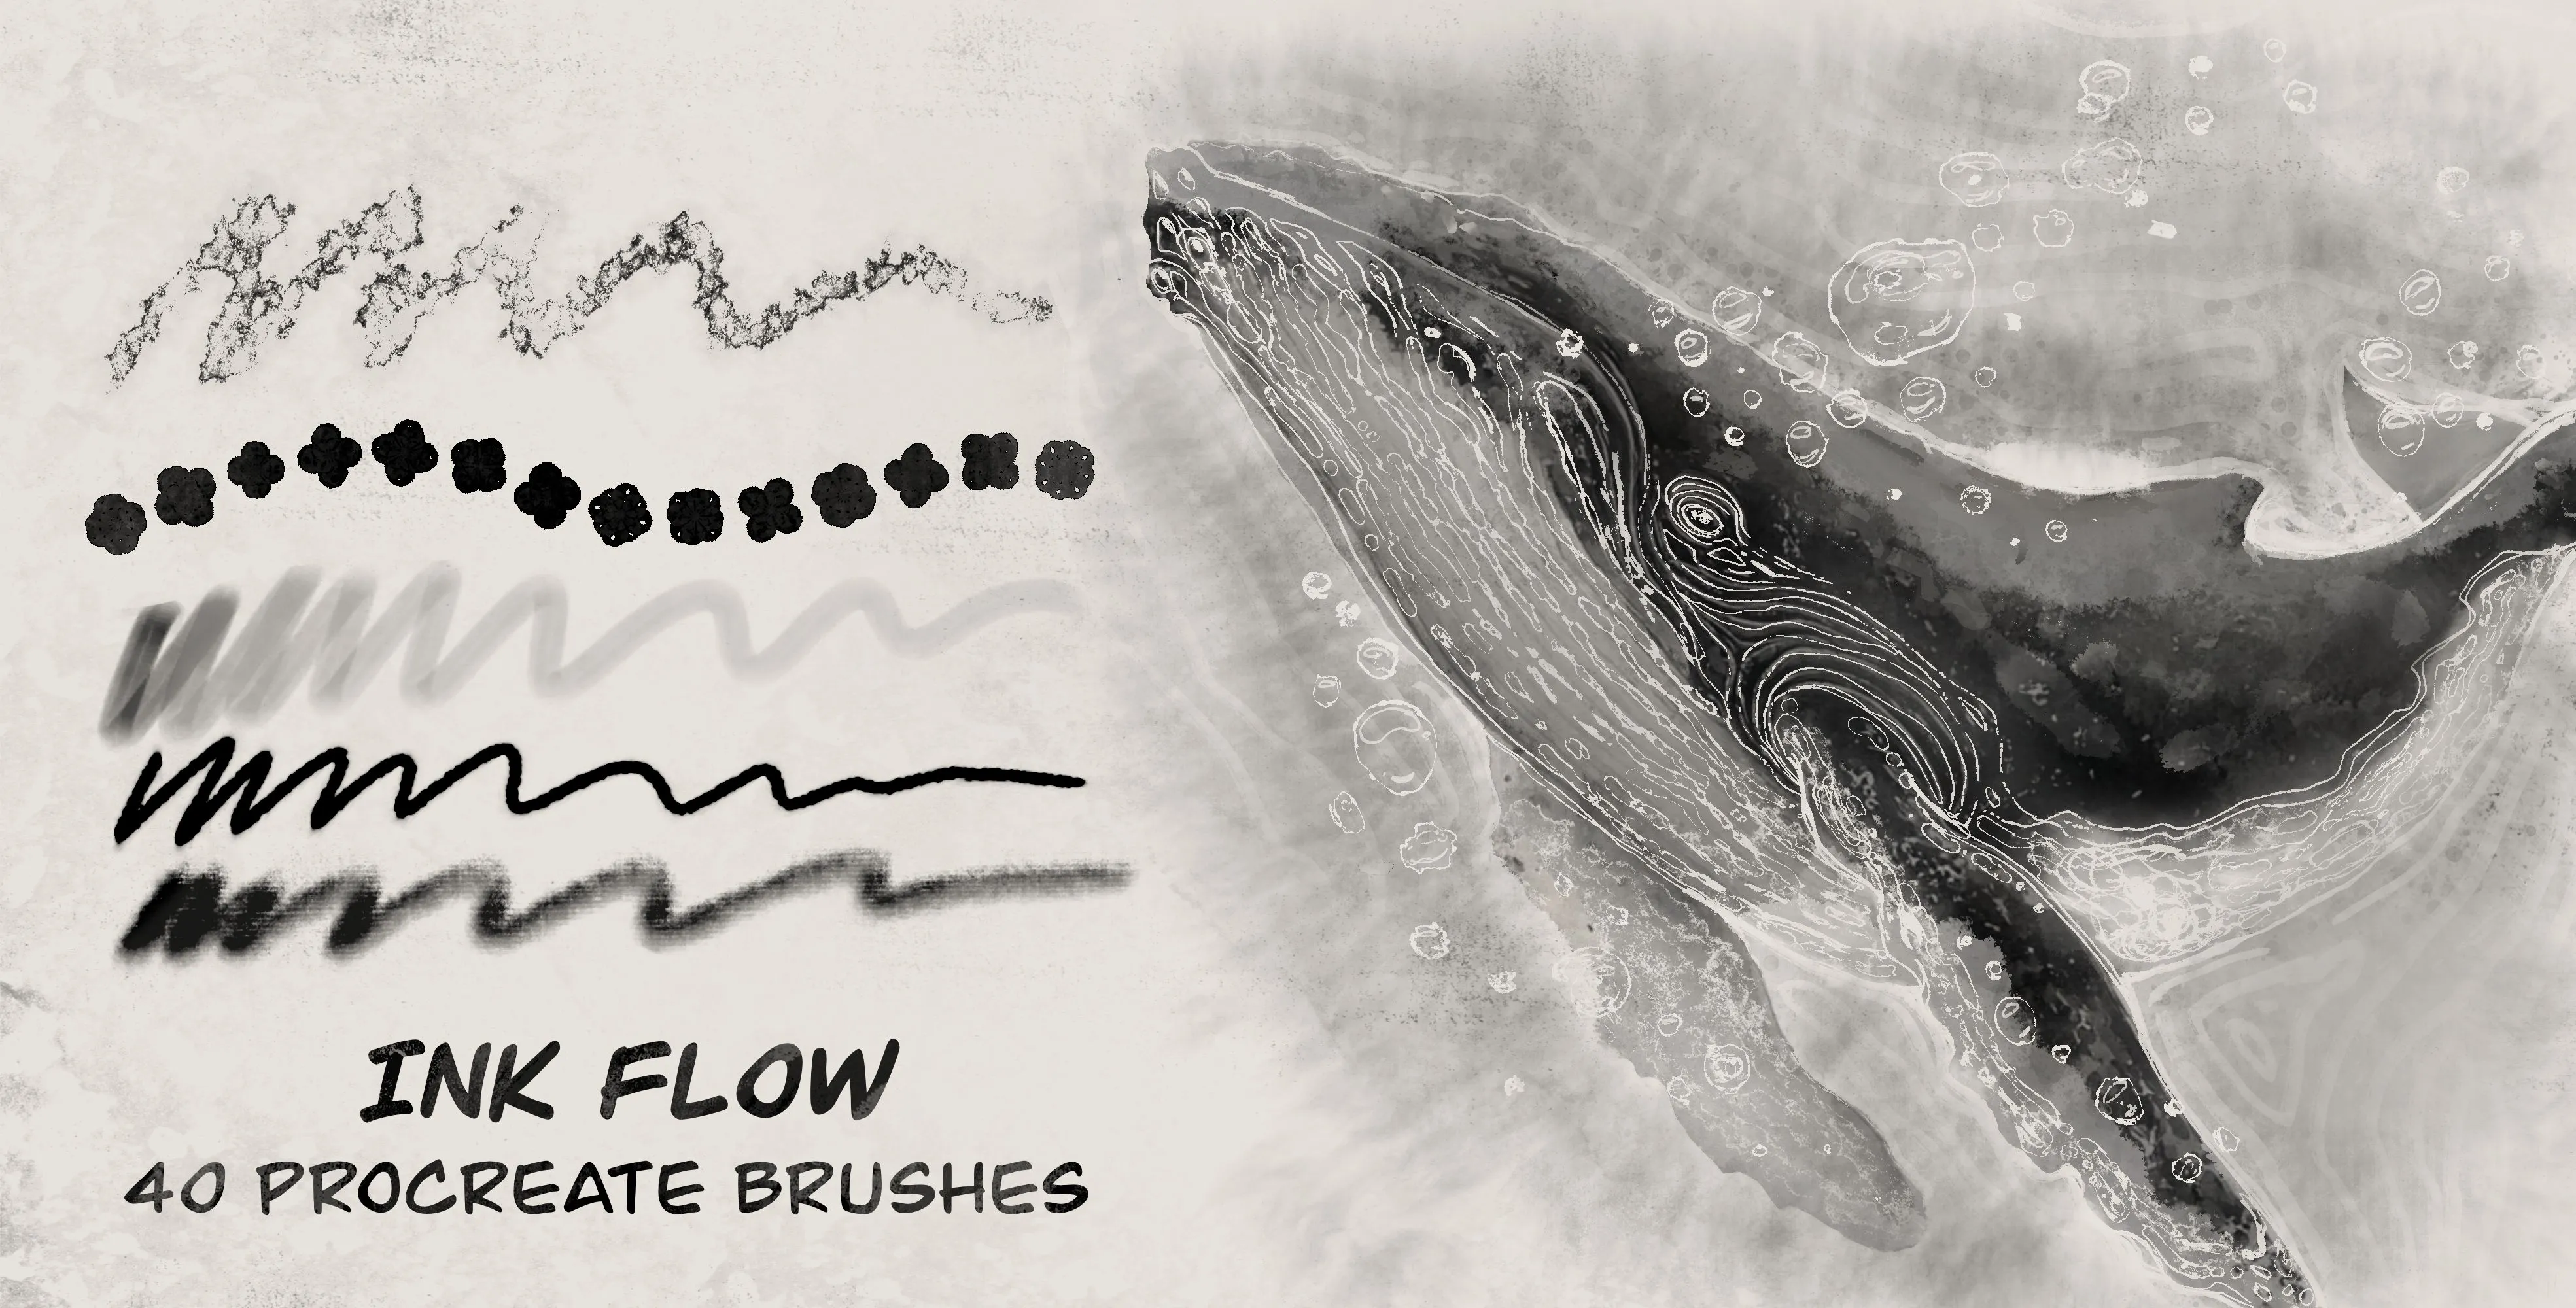
Ink Flow
ink and watery ink lines, ink washes from thin to thick, dry ink and dry brush, wash
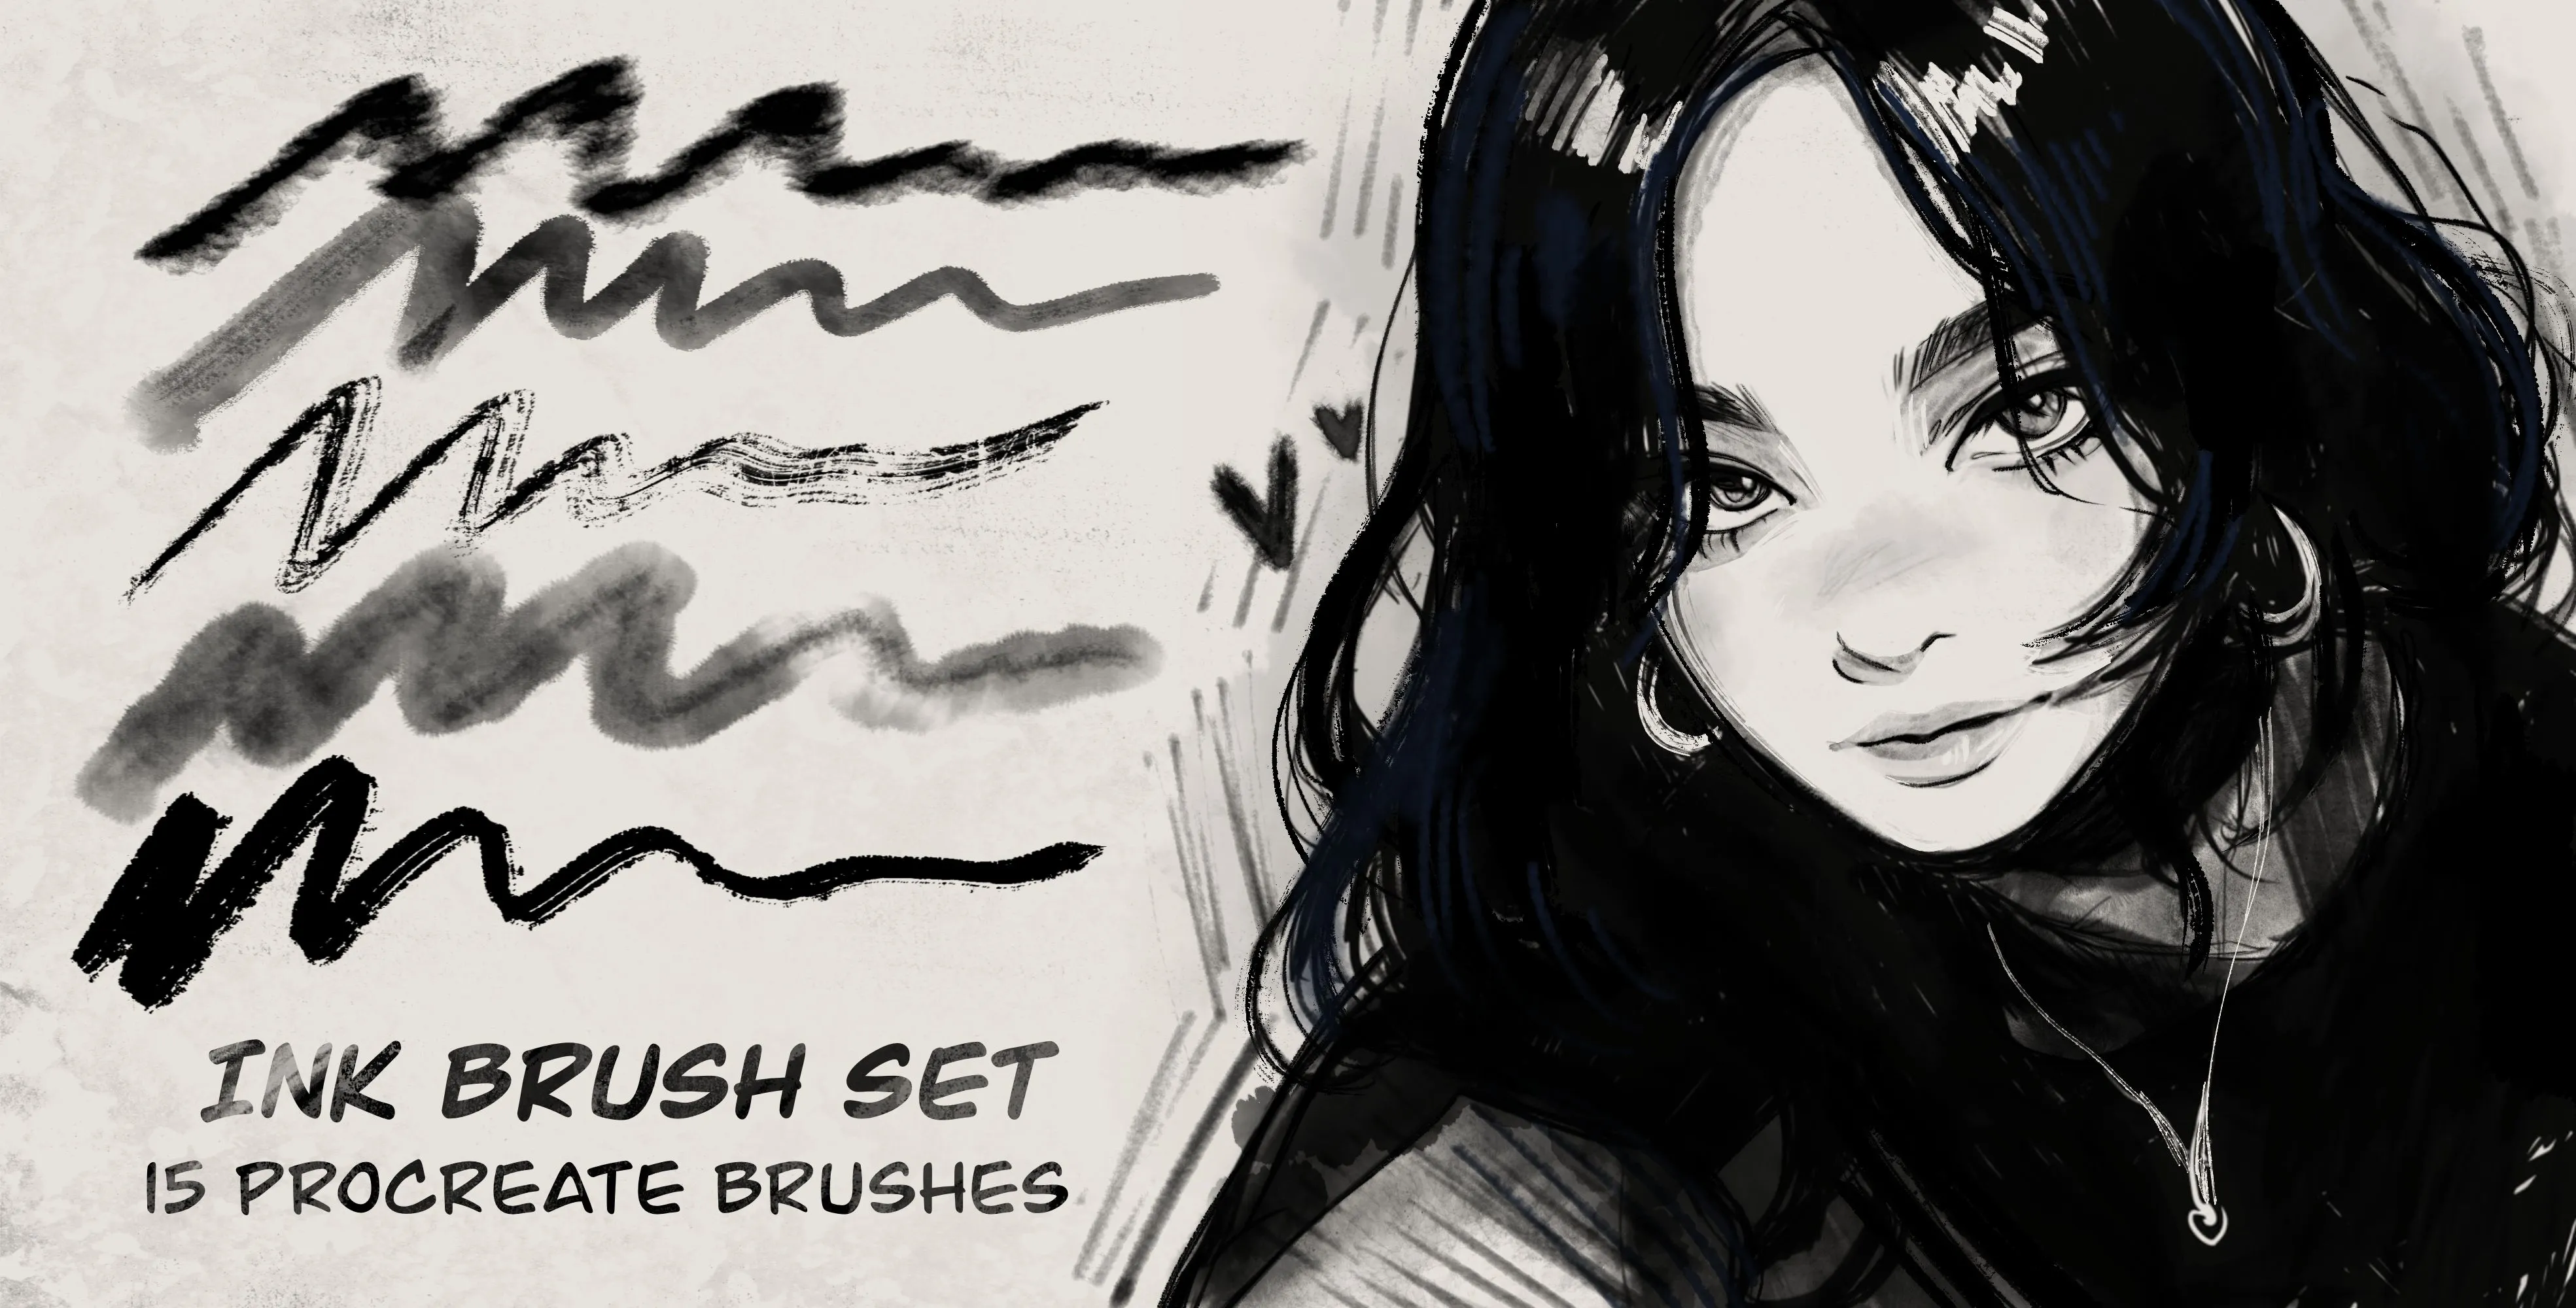 Procreate Video
Ink
smooth ink pens, sharp flow and wet nib, dusty and rough ink, smudge and shadow ink
 Procreate Video
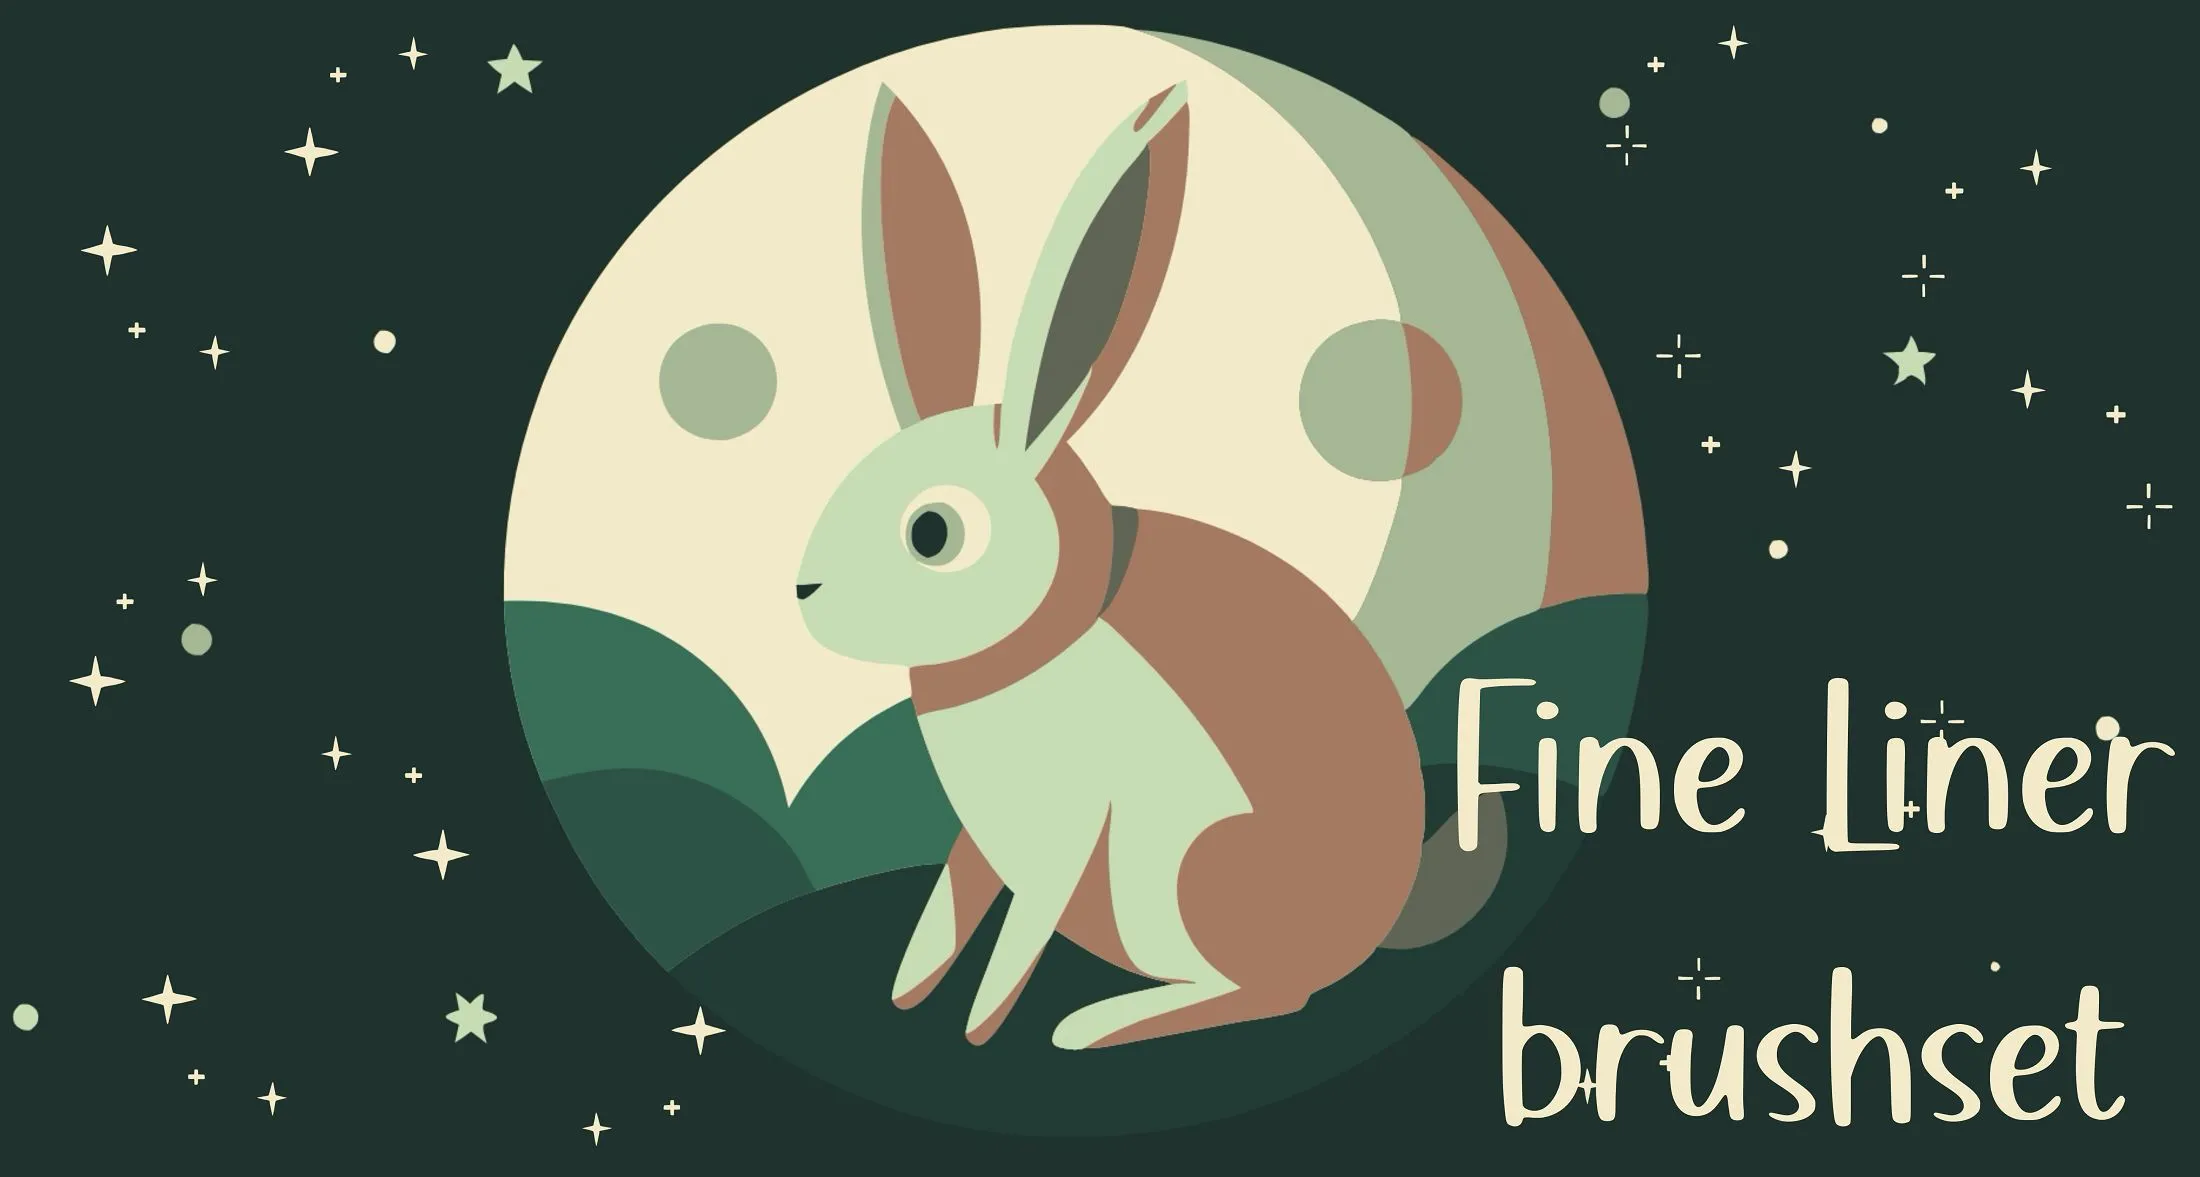
Fine Liner
fineliner pens in many weights and textures, broad and flat markers
 Procreate Video
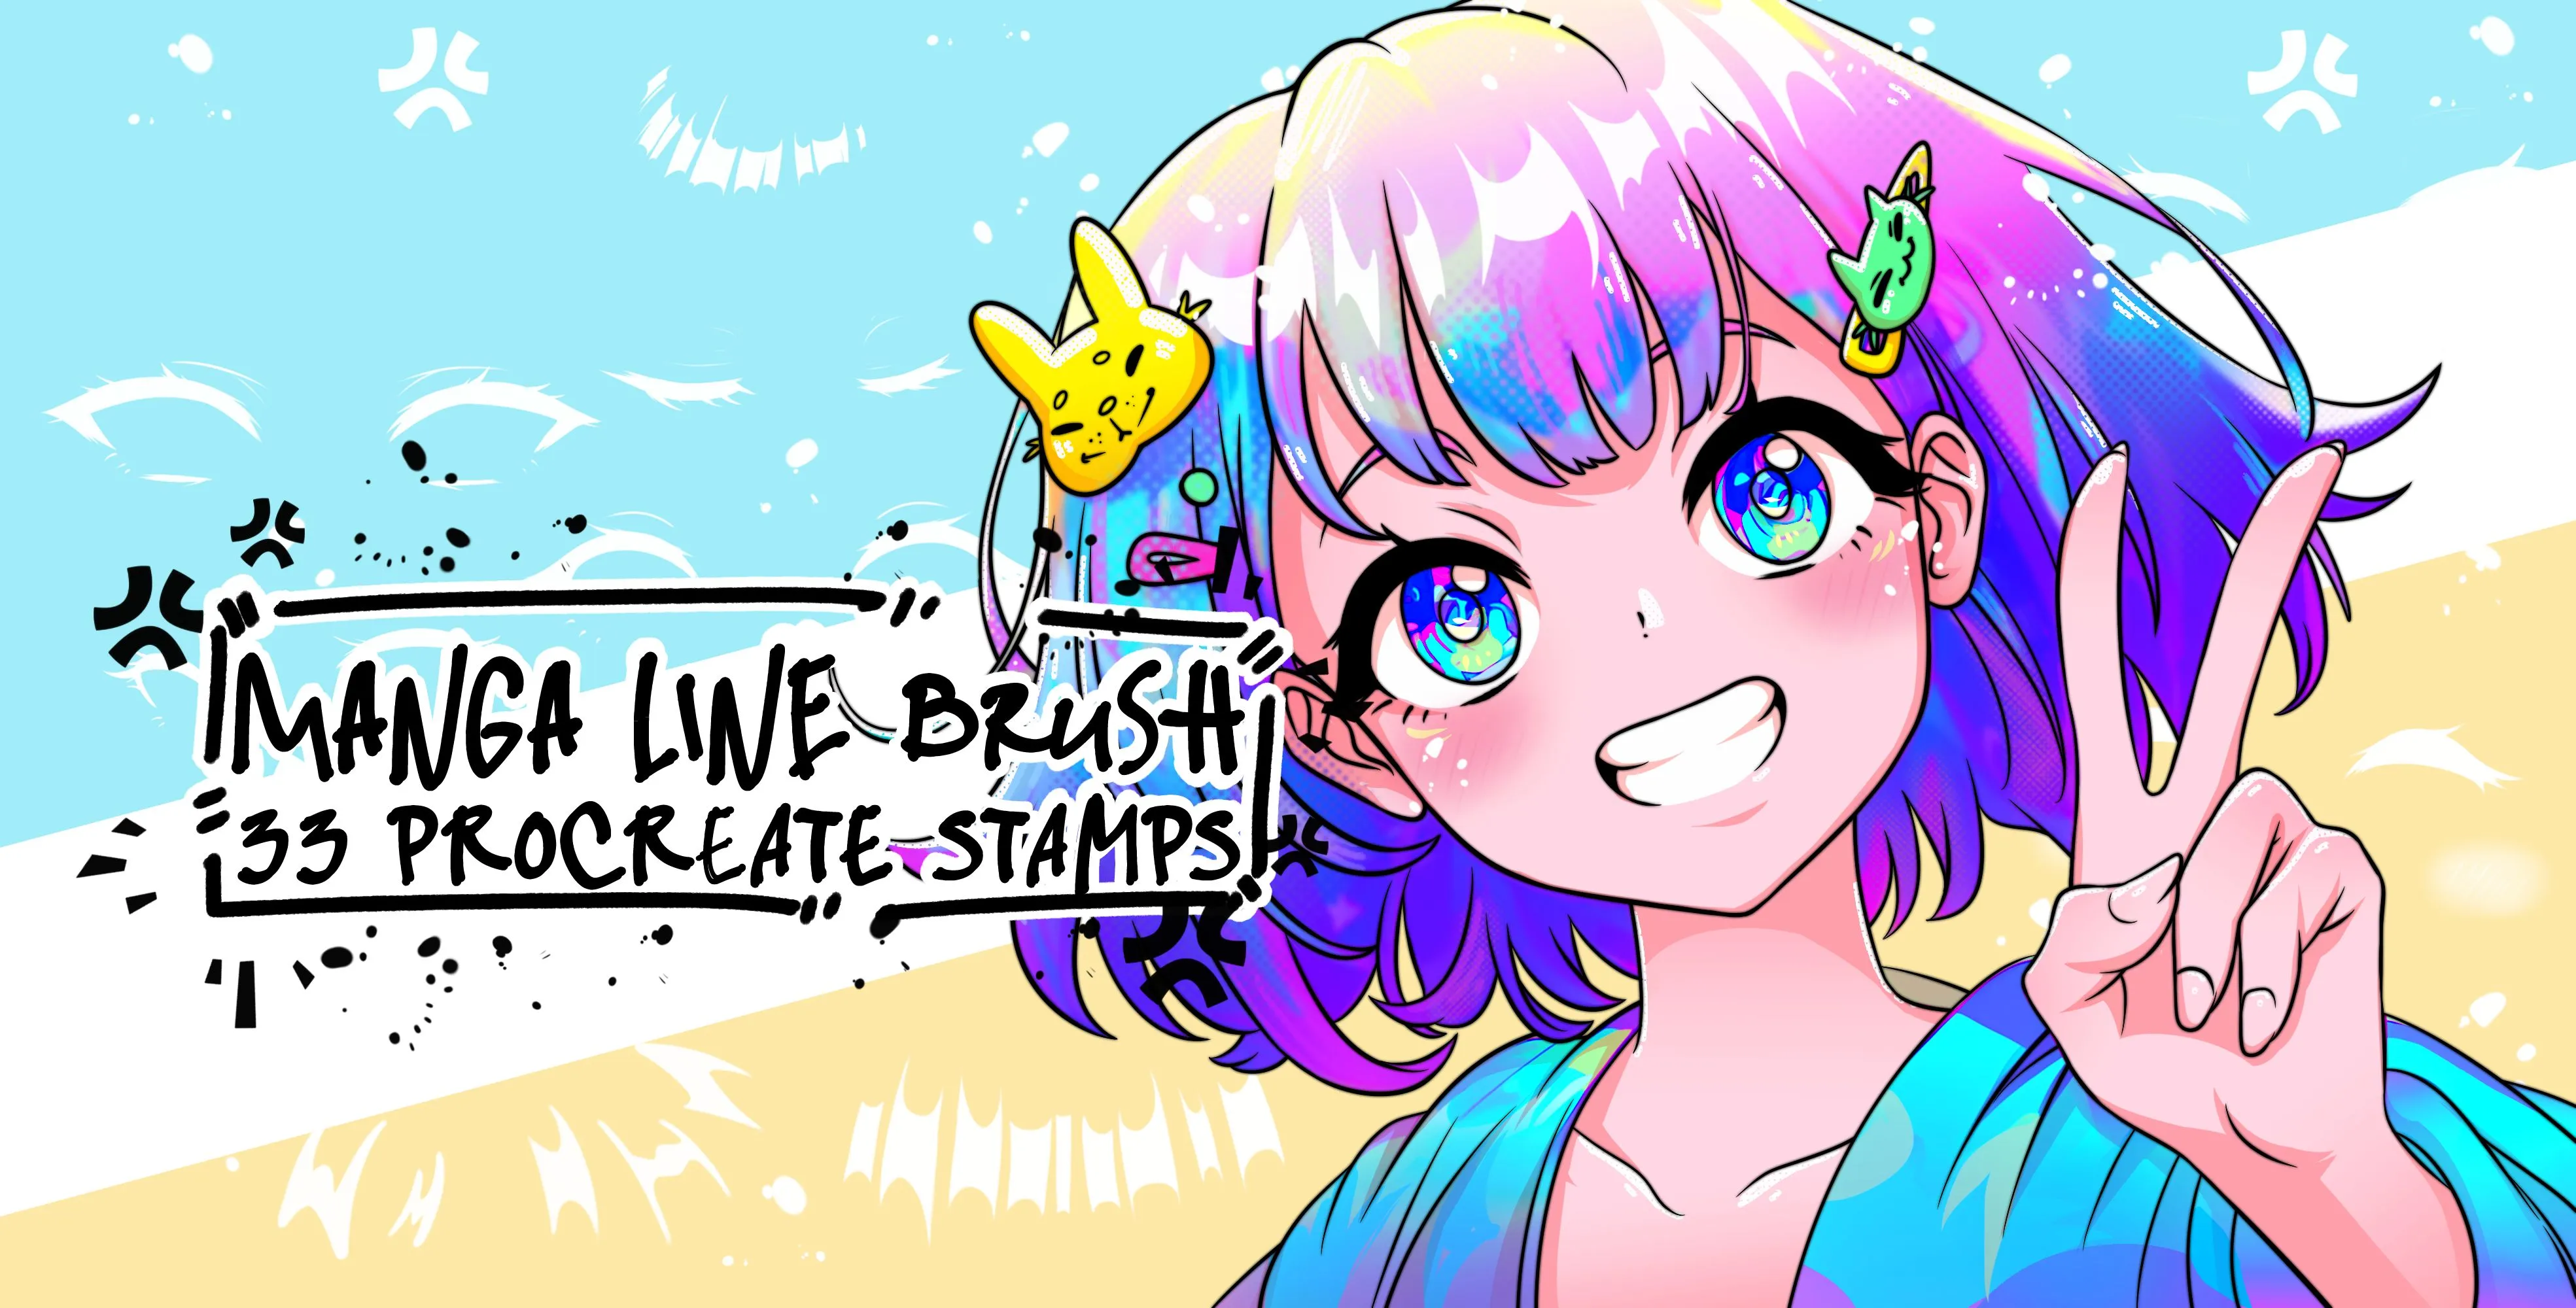
Manga Line
manga eye, expression eyes and eye-highlight
 Procreate Video
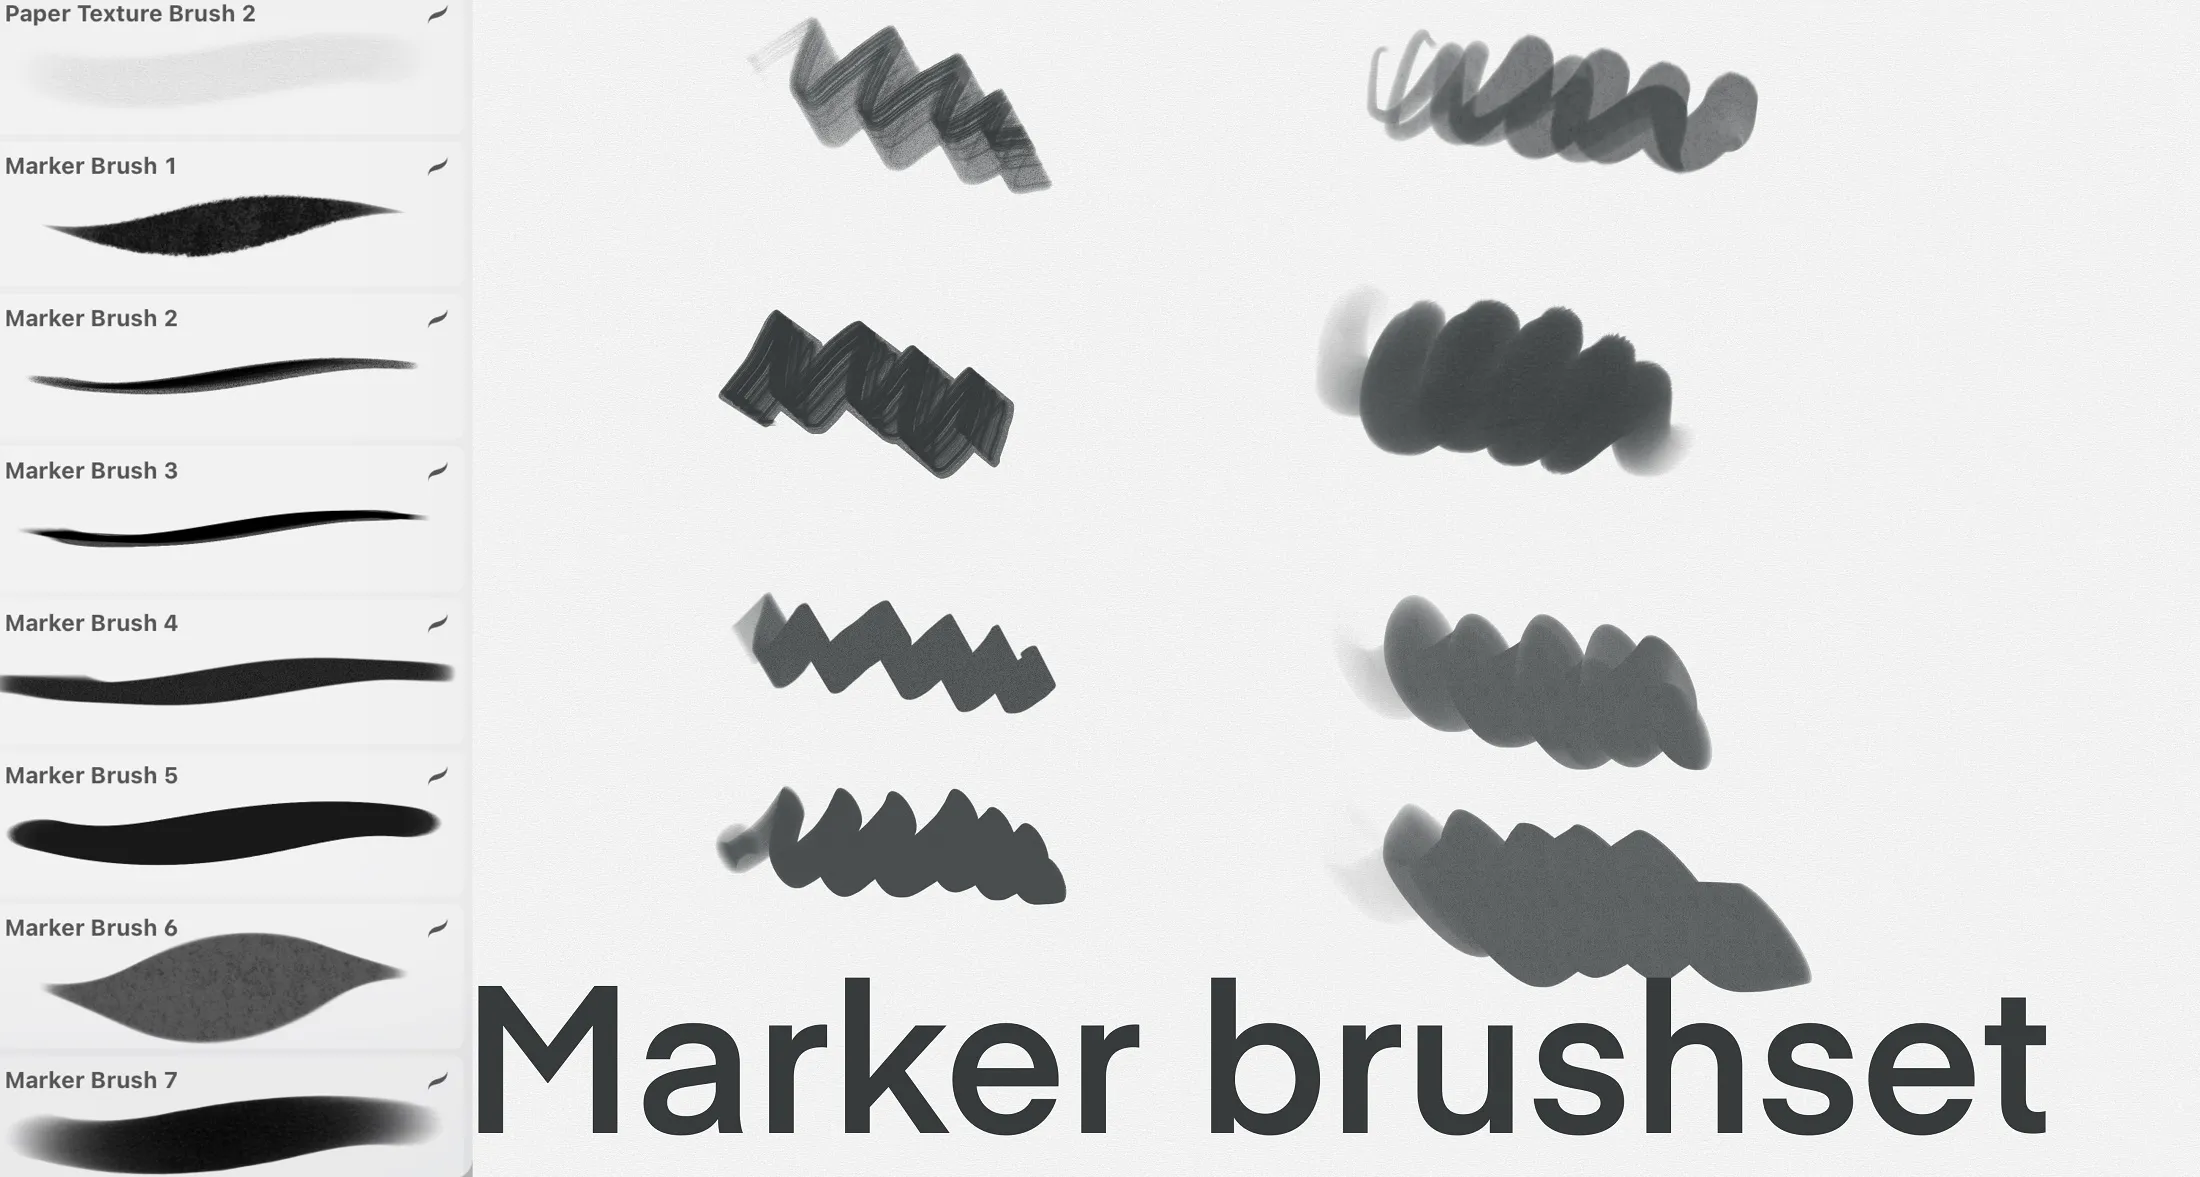
Markers
fine, broad, bold, soft-edge and smooth
 Procreate Video
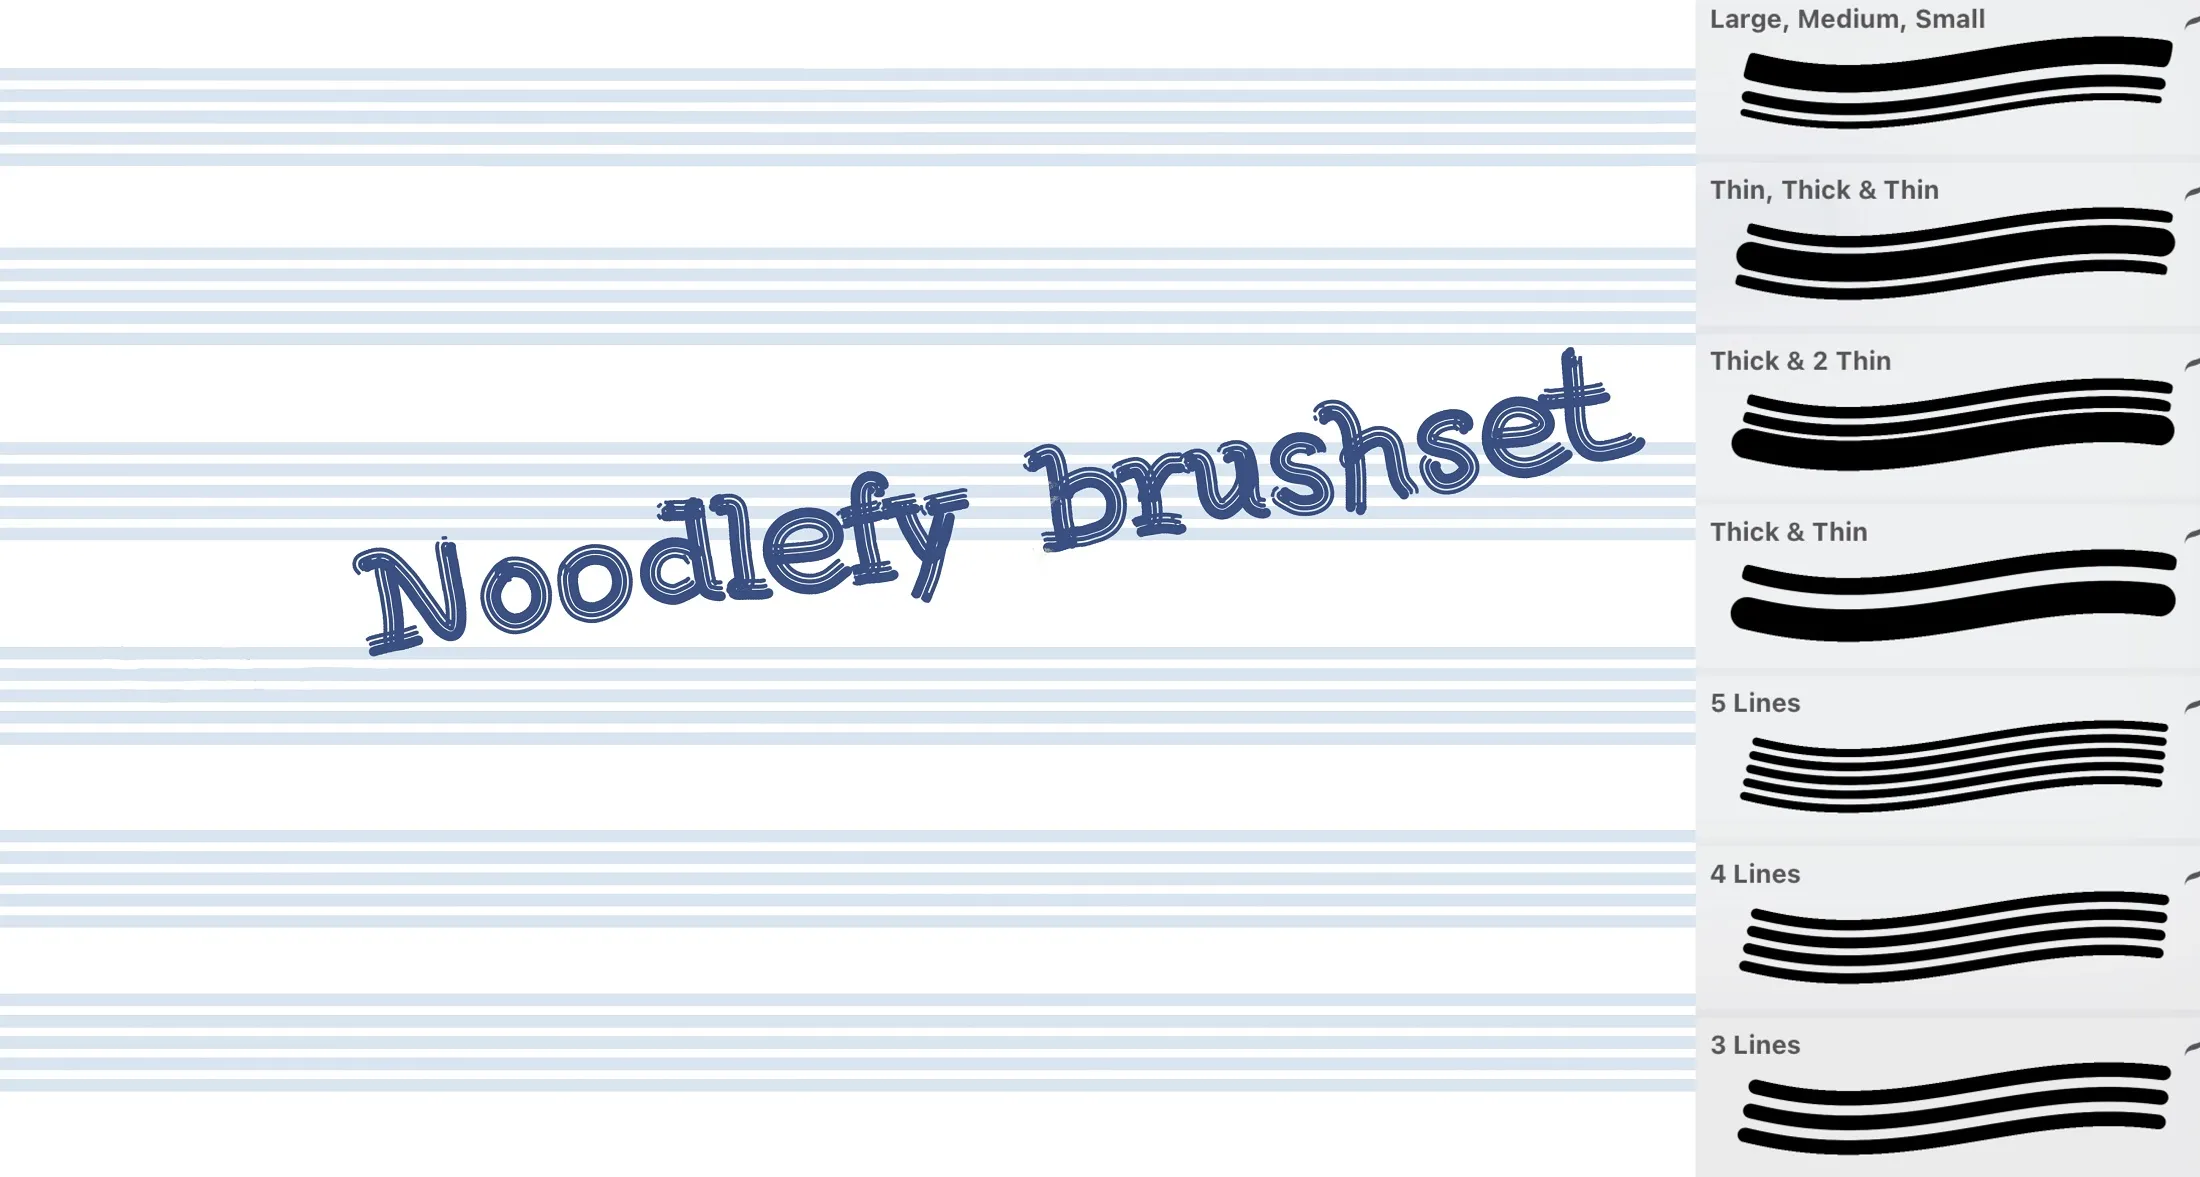
Noodlefy
parallel lines at once
 Procreate Video
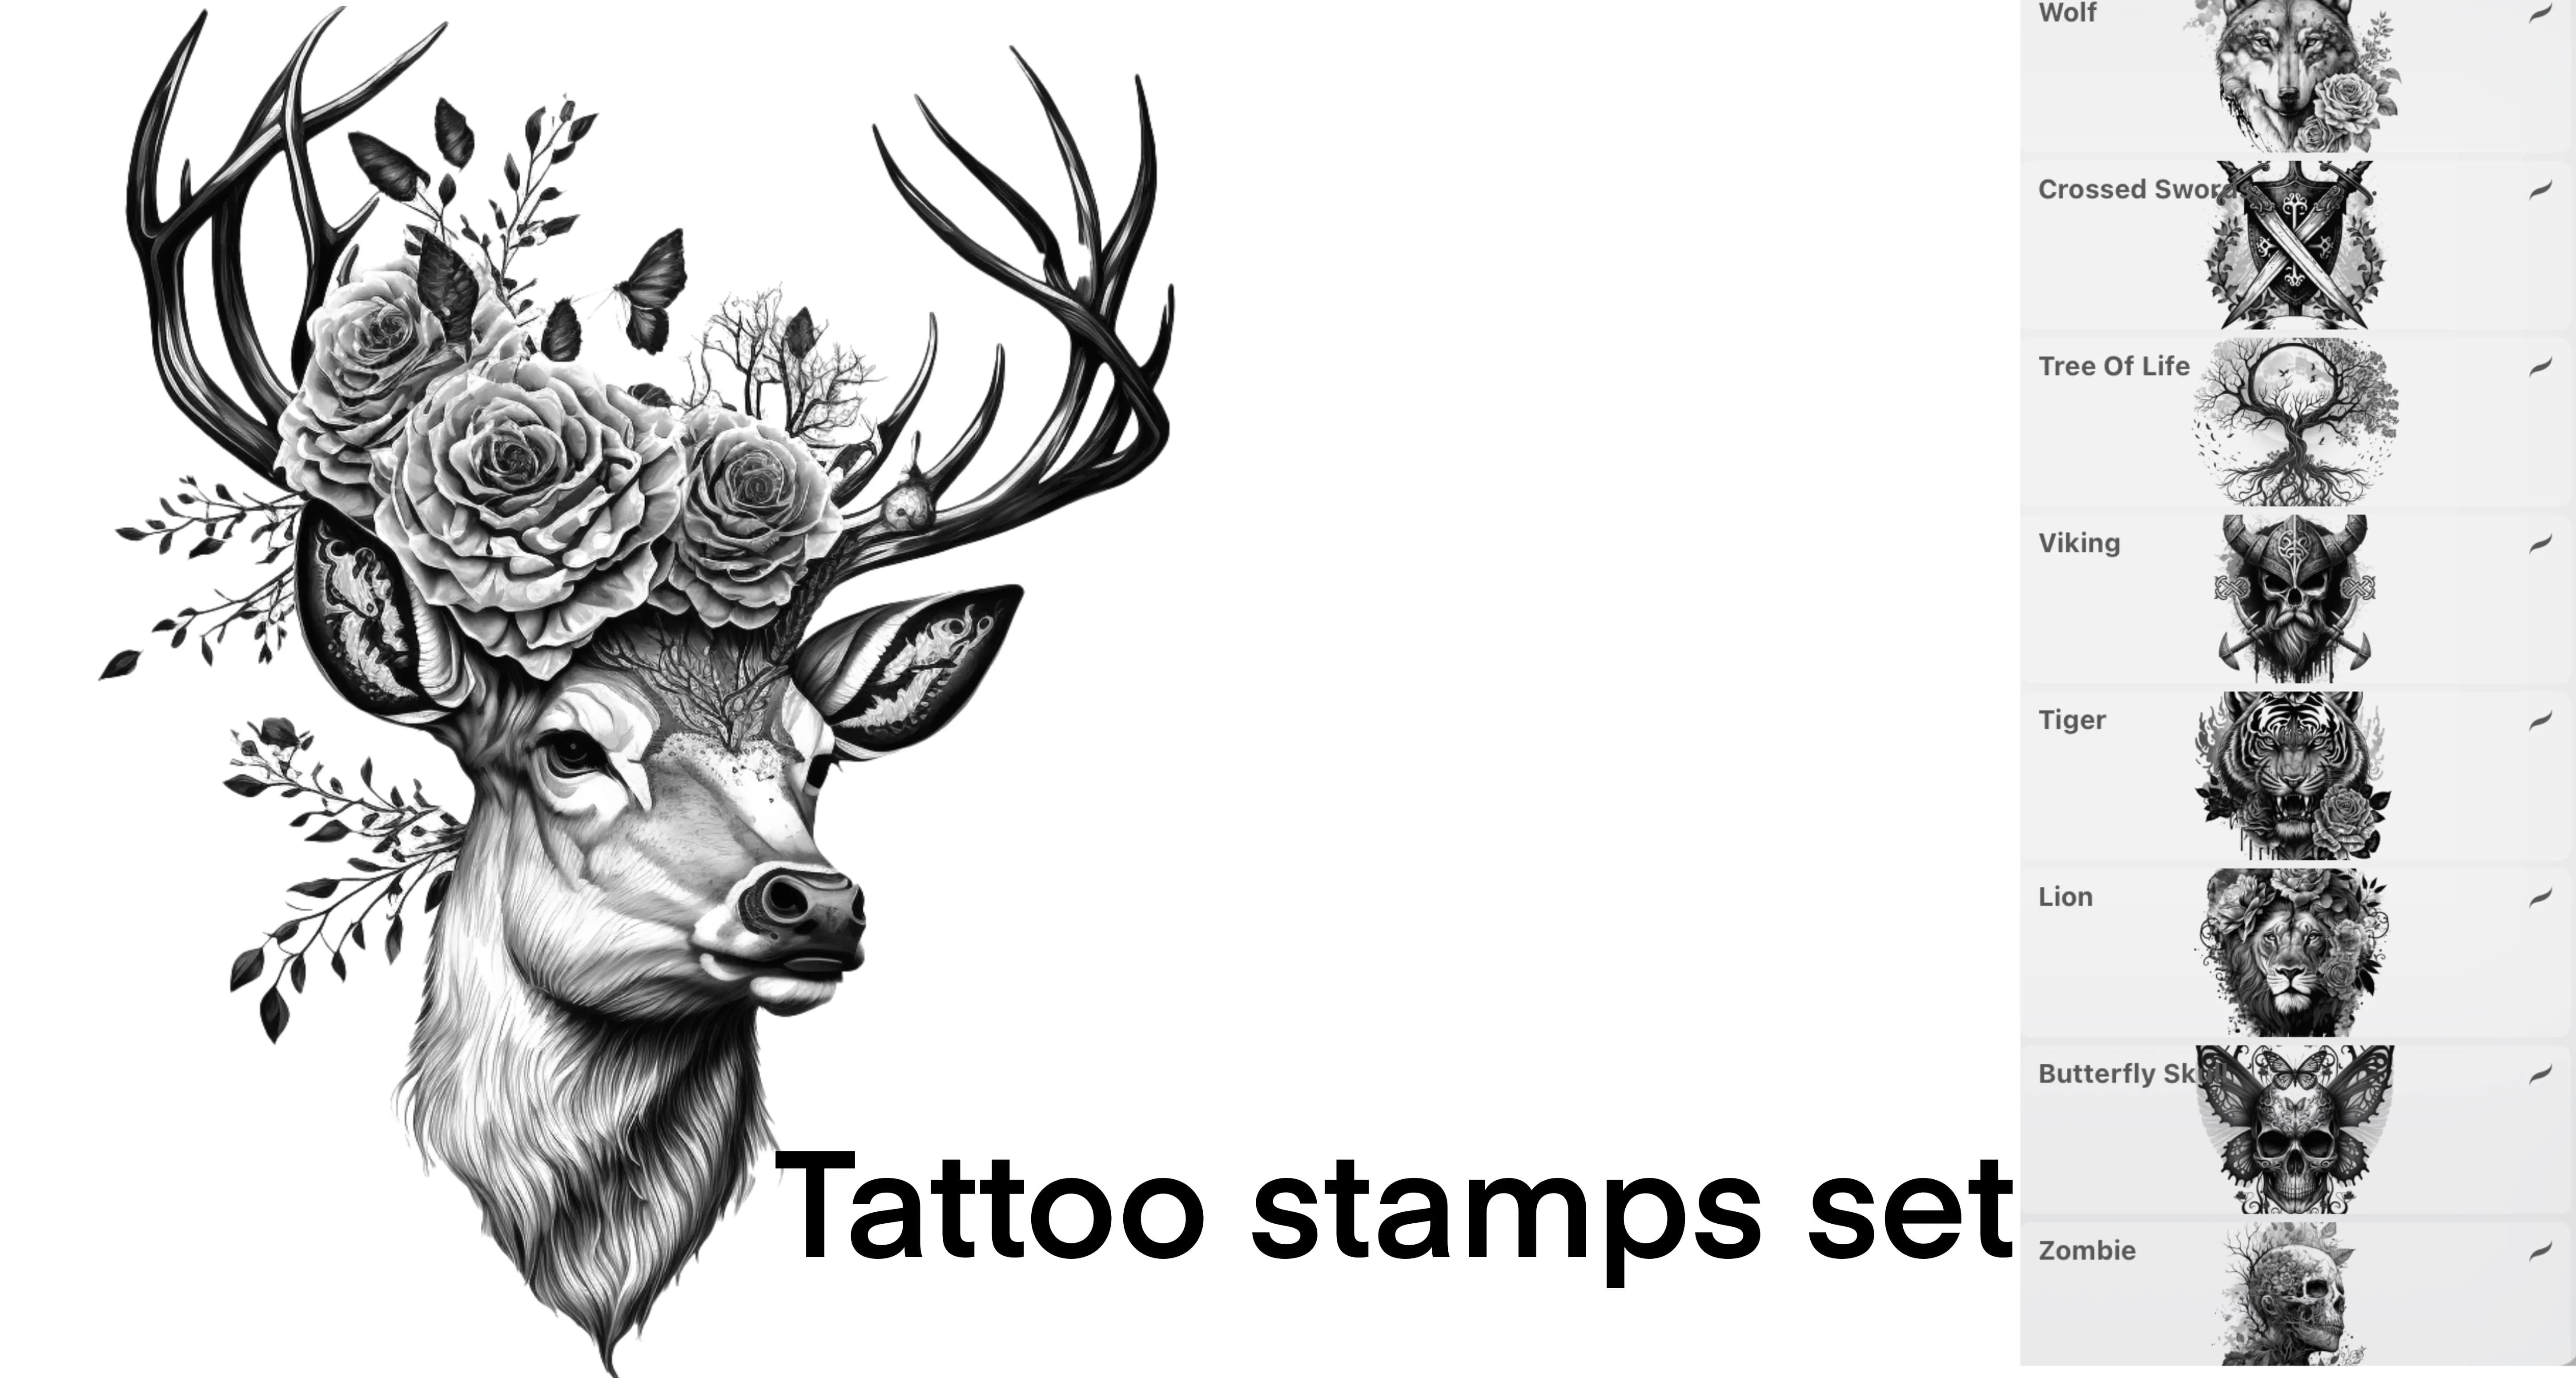
Tattooset
wolves, tigers, lions, bears and elephants
 Scan → get the app
More brush packs in the app
The site is still filling up — the Brusher app already has the complete 200+ set library, with more lineart packs, all one-tap installs into Procreate.
Line Art styles
Line art vs inking — what's the difference?
The terms overlap, but there is a useful distinction. Line art is the clean outline stage — consistent, controlled strokes that define shapes, often with uniform or gently tapered weight. Inking is the more expressive discipline borrowed from comics, where you vary line weight deliberately: thick lines for shadow and weight-bearing edges, thin lines for detail and light.
For pure line art you want a steady brush with strong stabilization; for inking you want one with a wide pressure range so a single stroke can swell and taper. Many artists keep one of each — a clean liner for outlines and a flexible ink pen for weight — and switch depending on the stage.
Getting smooth, professional lines
Shaky lines are almost always a settings problem, not a skill problem. The fix lives in StreamLine — Procreate's line stabilization. Raise it and the app smooths out the wobble in your hand, letting long curves flow confidently. Start around 40–60% for inking and go higher for ultra-clean logo-style lines.
Two more tricks: build weight by varying pressure rather than switching brushes mid-stroke, and use the QuickLine gesture (hold at the end of a stroke) to snap a line perfectly straight. For contrast and depth in a finished piece, keep your line art on its own layer so you can recolour or adjust it without touching the fills beneath.
The best Procreate brush for lineart
There's no single winner — the best Procreate brush for lineart depends on the look. For crisp anime lineart, a tapered ink pen with strong pressure response keeps hair and eyes sharp; for a hand-drawn feel, a textured ink brush frays the edge slightly; and for stickers and logos, a soft lineart brush with heavy stabilization gives even, rounded outlines. This pack includes lineart brushes for all three so you can match the brush to the job.
A common ask is how to add an outline to text or a shape: duplicate the layer, fill the copy with your outline colour, then nudge it out on all sides — or stroke around a selection with a monoline lineart brush for a clean sticker edge.
How to ink clean line art in Procreate
A dependable workflow for turning a rough sketch into crisp, weighted line art ready to colour.
- 1
Lower your sketch layer
Drop the opacity of your rough sketch to around 30% and add a new layer on top for the clean lines. Inking over a faint guide keeps you accurate.
- 2
Set your line stabilization
Pick an ink pen and open Brush Studio. Map pressure to size and raise StreamLine to about 50% so long curves stay smooth and confident.
- 3
Ink the main outlines first
Trace the major shapes with steady, unbroken strokes. Work from the shoulder, not the wrist, for cleaner arcs — and don't be afraid to redo a line rather than patch it.
- 4
Add weight where it matters
Press harder on the underside of forms and along shadowed edges to thicken those lines; lift for detail and light. This variation is what makes ink look alive.
- 5
Clean up the intersections
Zoom in and tidy where lines meet, closing gaps and trimming overshoot with the eraser set to the same brush for a consistent edge.
- 6
Hide the sketch and refine
Turn off the sketch layer to judge the line art on its own. Fix any stroke whose weight fights the others, then it's ready to flat-colour beneath.
Frequently asked questions
How do I get smooth lines in Procreate?+
Raise the StreamLine setting in Brush Studio — it stabilizes your stroke and smooths out hand wobble, so long curves flow confidently. Around 40–60% suits most inking; push it higher for ultra-clean, logo-style lines. Drawing from the shoulder rather than the wrist helps too.
What are the best inking brushes for beginners?+
Start with a steady ink pen that has clear pressure-to-size taper and moderate StreamLine. It gives you clean outlines while you build control, and later you can add a more flexible brush with a wider pressure range for expressive weight variation.
What's the difference between line art and inking?+
Line art is the clean outline stage with consistent, controlled strokes; inking is the more expressive discipline where you deliberately vary line weight — thick for shadow and heavy edges, thin for detail. Line art wants a steady stabilized brush; inking wants a wide pressure range.
How do I set up line stabilization?+
Select your brush, open Brush Studio, go to the Stroke tab and increase StreamLine. Higher values smooth the line more but add slight lag as it catches up to your pen, so tune it to a level that feels responsive yet clean for your hand.
Related styles
Comic & Manga Procreate Brushes
Comic and manga Procreate brushes for iPad: bold ink, halftone dots, speed lines, screen tones. Free & premium downloads.
Marker & Pen Procreate Brushes
Marker and pen Procreate brushes for iPad: copic, brush pen, fineliner, gel pen, highlighter. Free & premium downloads.