Tattoo Procreate Brushes
Updated September 2026
Tattoo Procreate brushes for iPad: liners, shaders, stencils, dotwork and flash. Used by tattoo artists worldwide.
Brusher has 14 tattoo Procreate brush packs — liners, shaders, stencils — each a native .brushset that installs into Procreate in one tap on iPad.
Tattoo Procreate brushes turn the iPad into a complete tattoo design studio — the tool most modern artists now use to draft flash, build stencils and show clients a design before the needle ever touches skin. A proper tattoo set gives you crisp liners that mimic a tattoo machine's line, smooth shaders for grey-wash and blackwork, and stencil-ready brushes that translate cleanly to thermal paper. If you're just starting out, those three brush types are all you need to go from idea to inkable design.
This collection covers the whole tattoo pipeline: bold and fine liners, soft and textured shaders, dotwork and stipple brushes, plus reference stamps for anatomy and classic motifs. Whether you design traditional flash, fine-line pieces or blackwork, these brushes are built to read the way real tattoos do.
Tattoo Procreate Brushes
Procreate Video
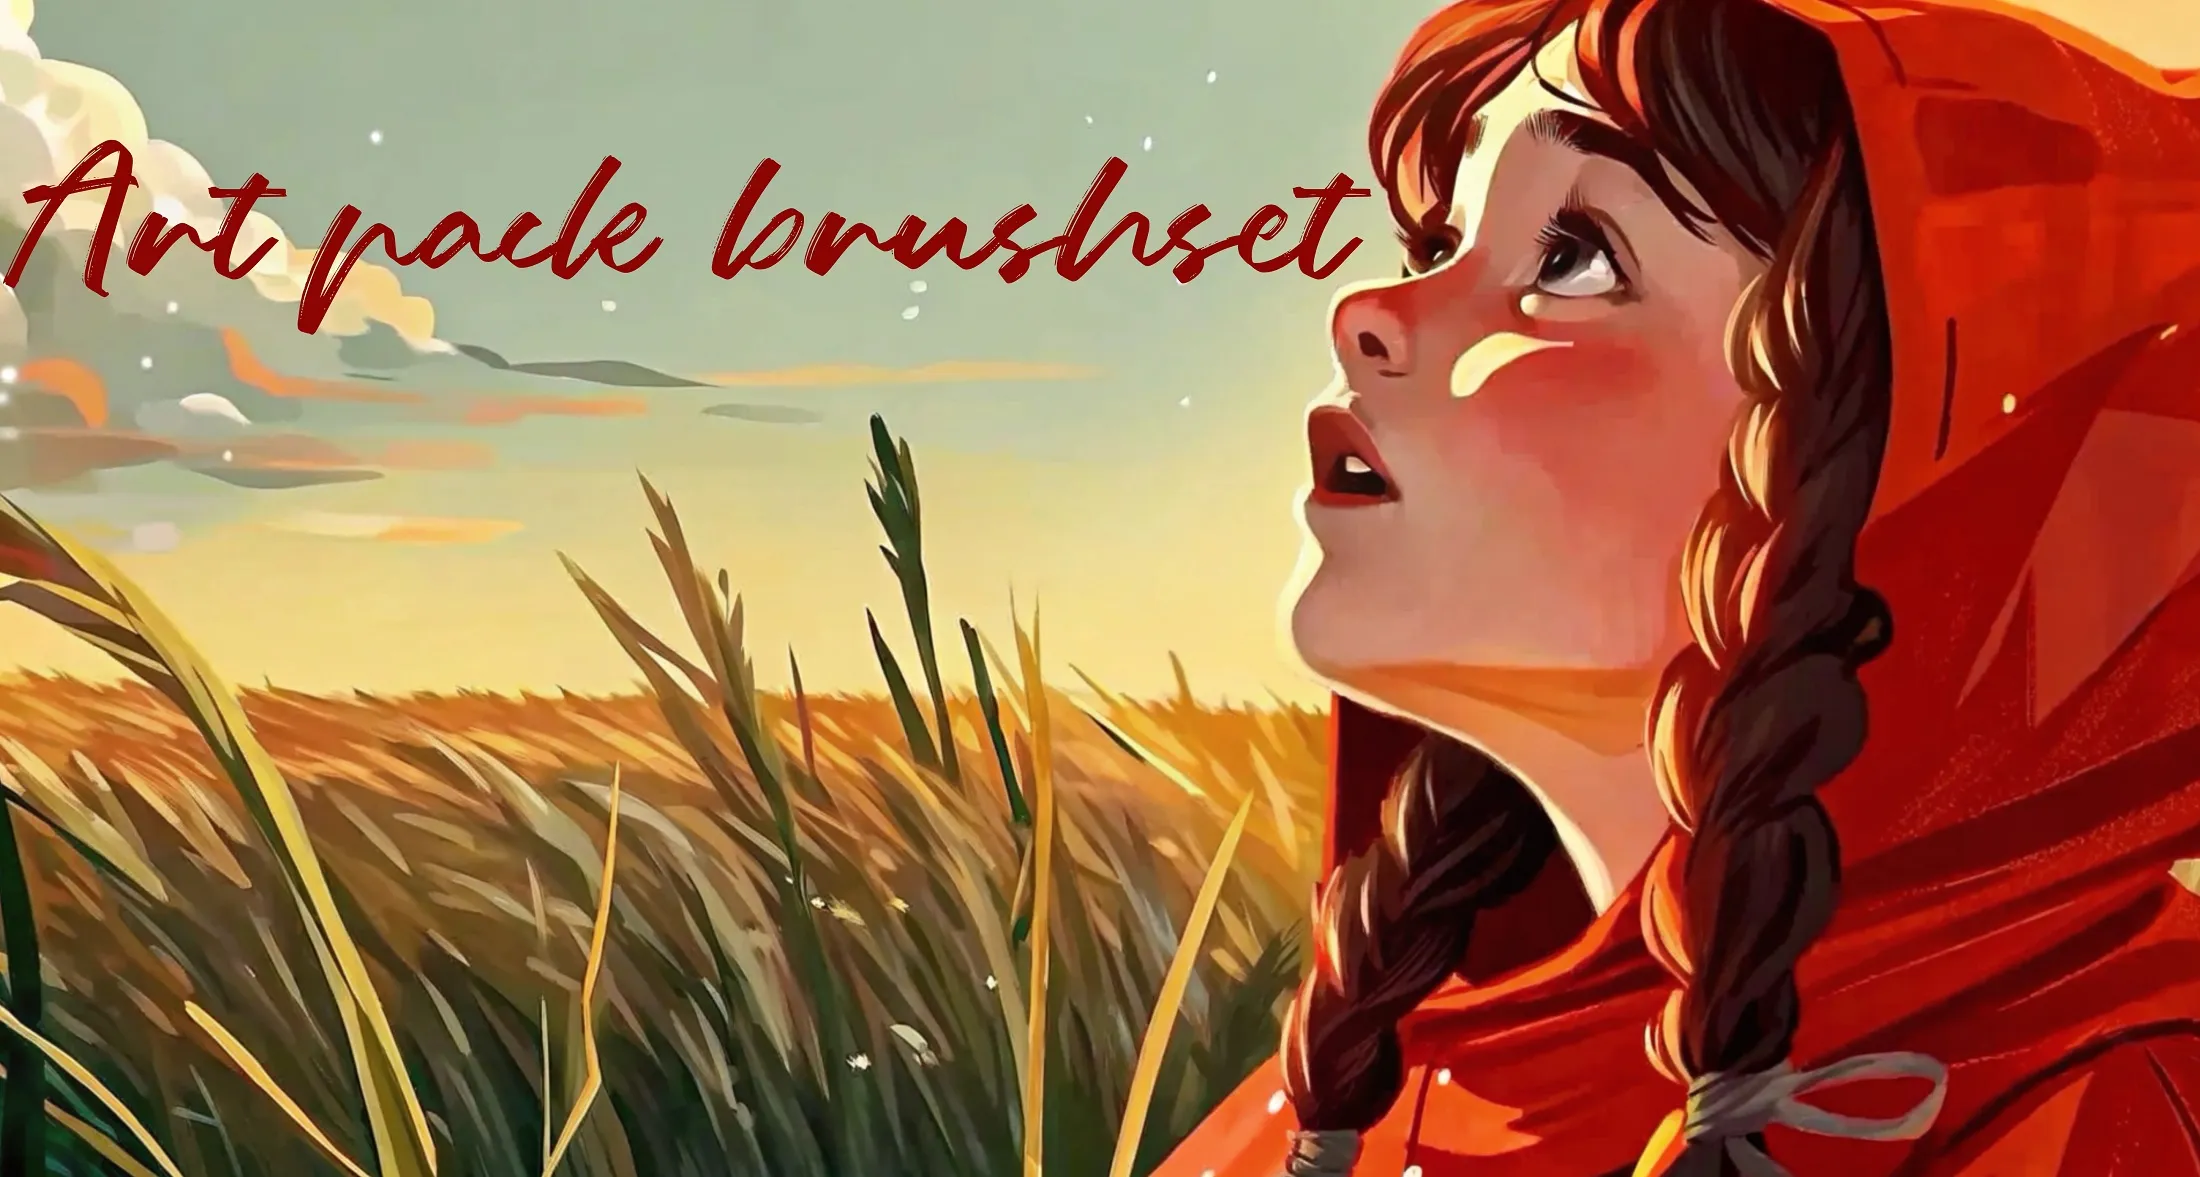
Artpack
ink liners, coloring and blending
Procreate Video
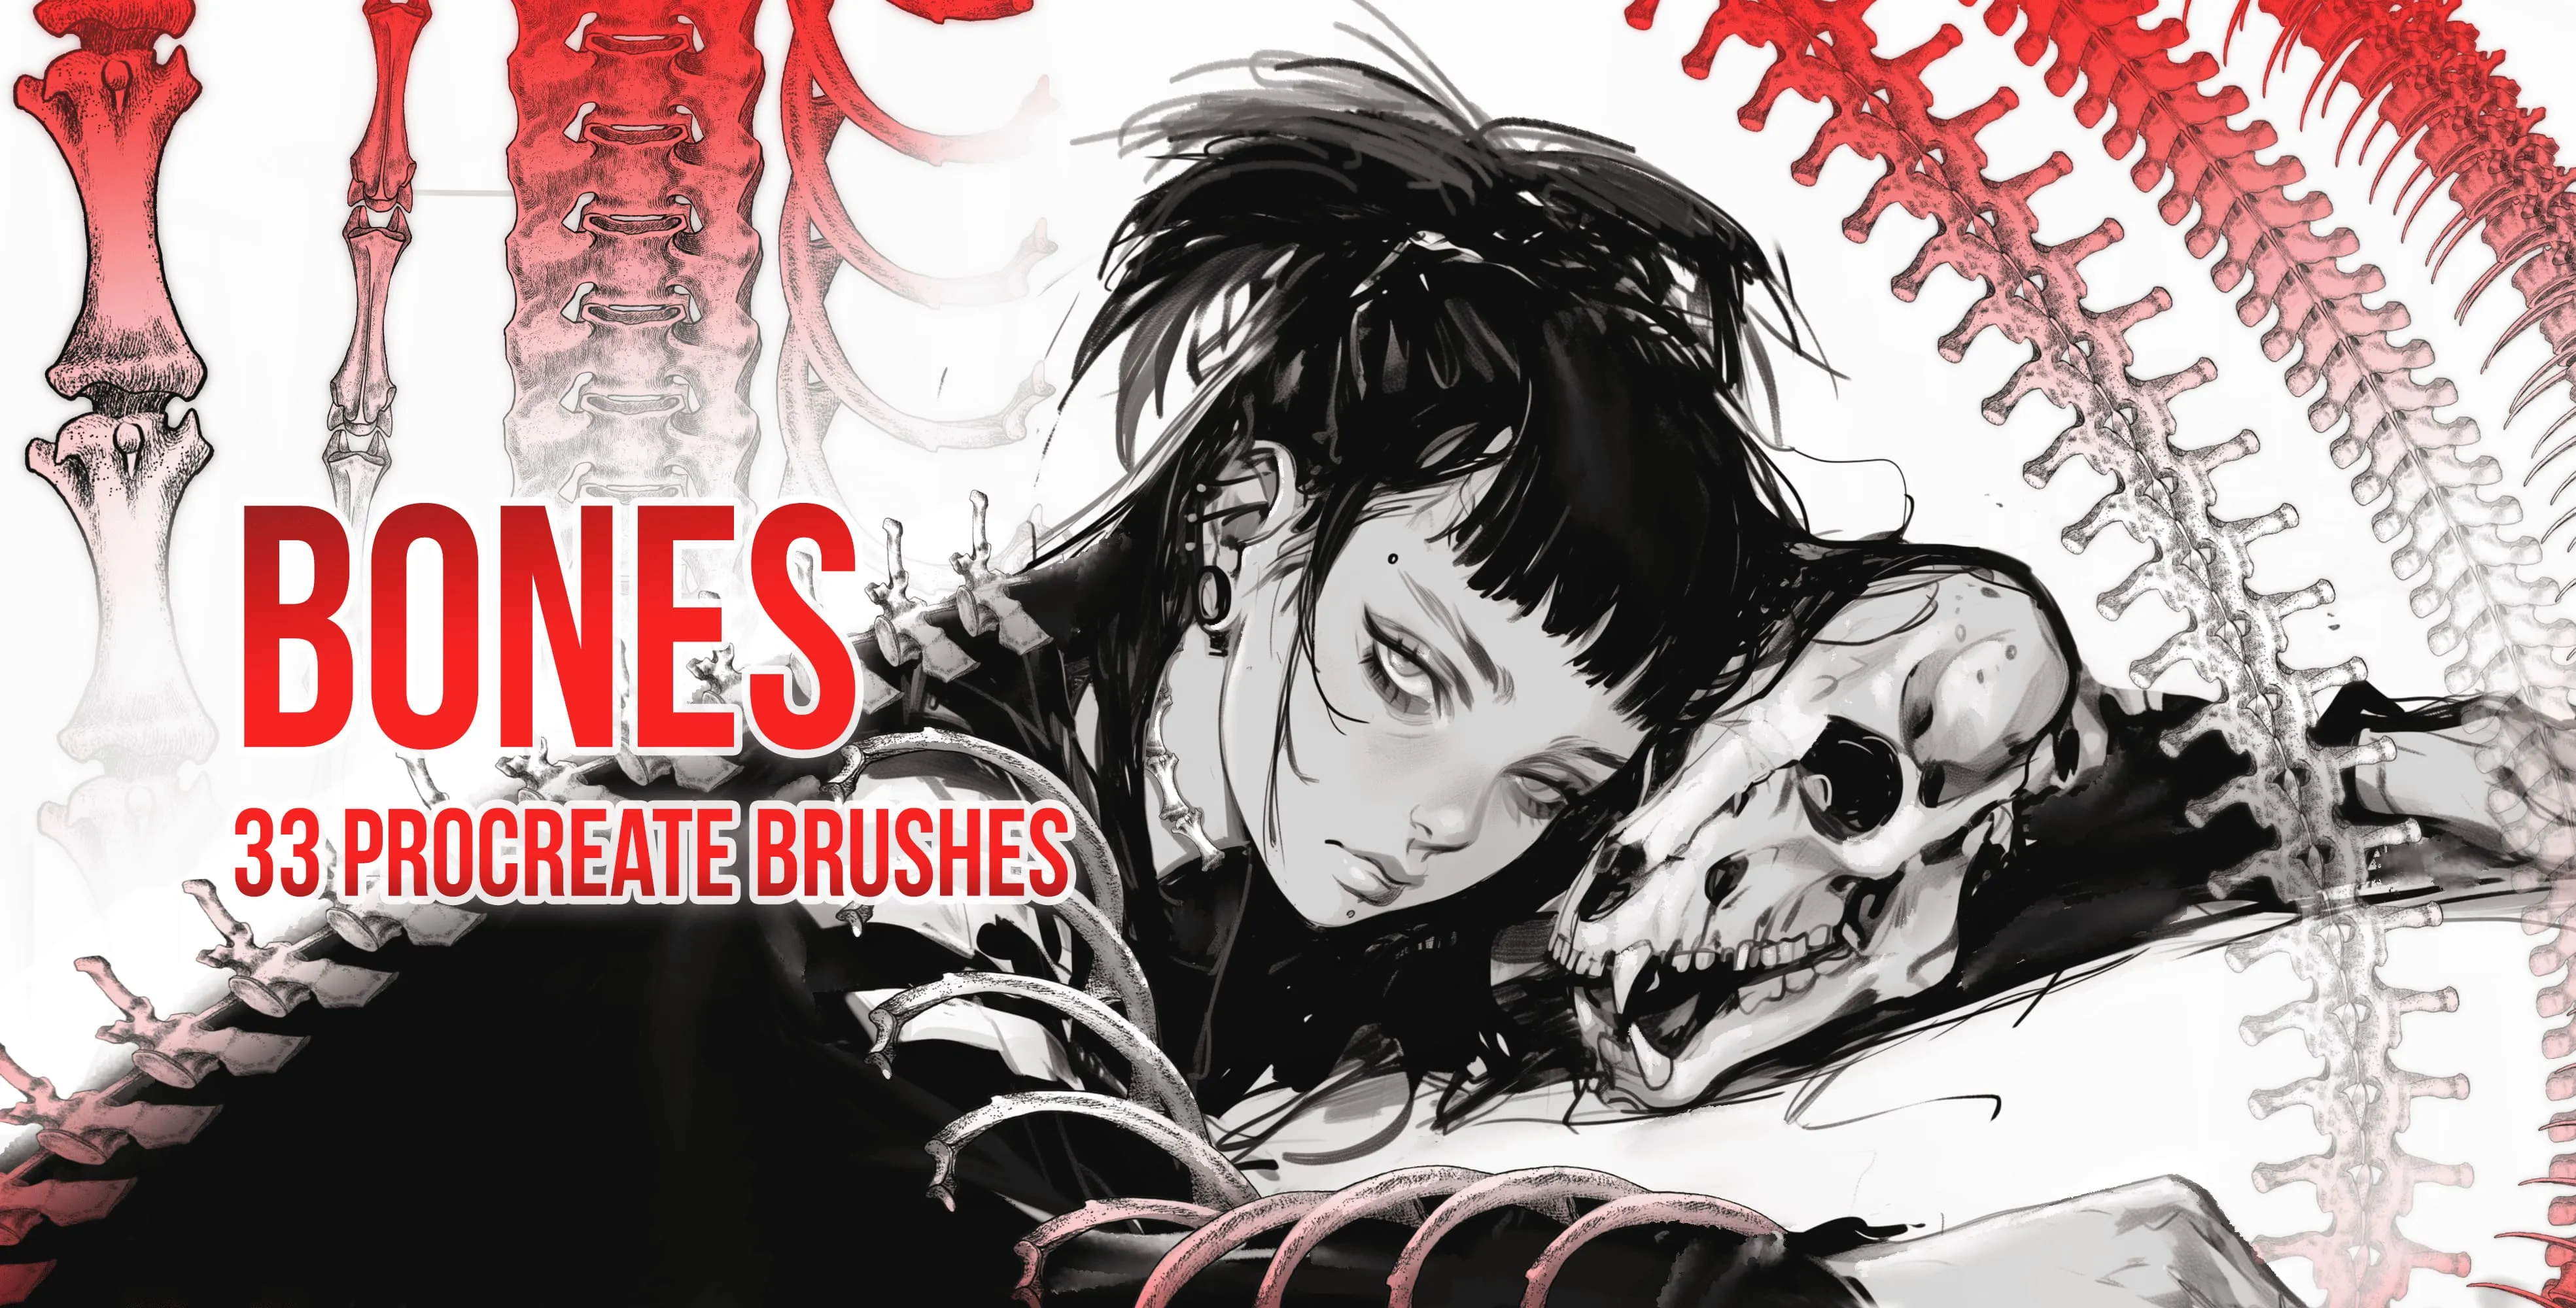
Bones
spine, vertebrae stroke, ribcage and fish-bone
Procreate Video
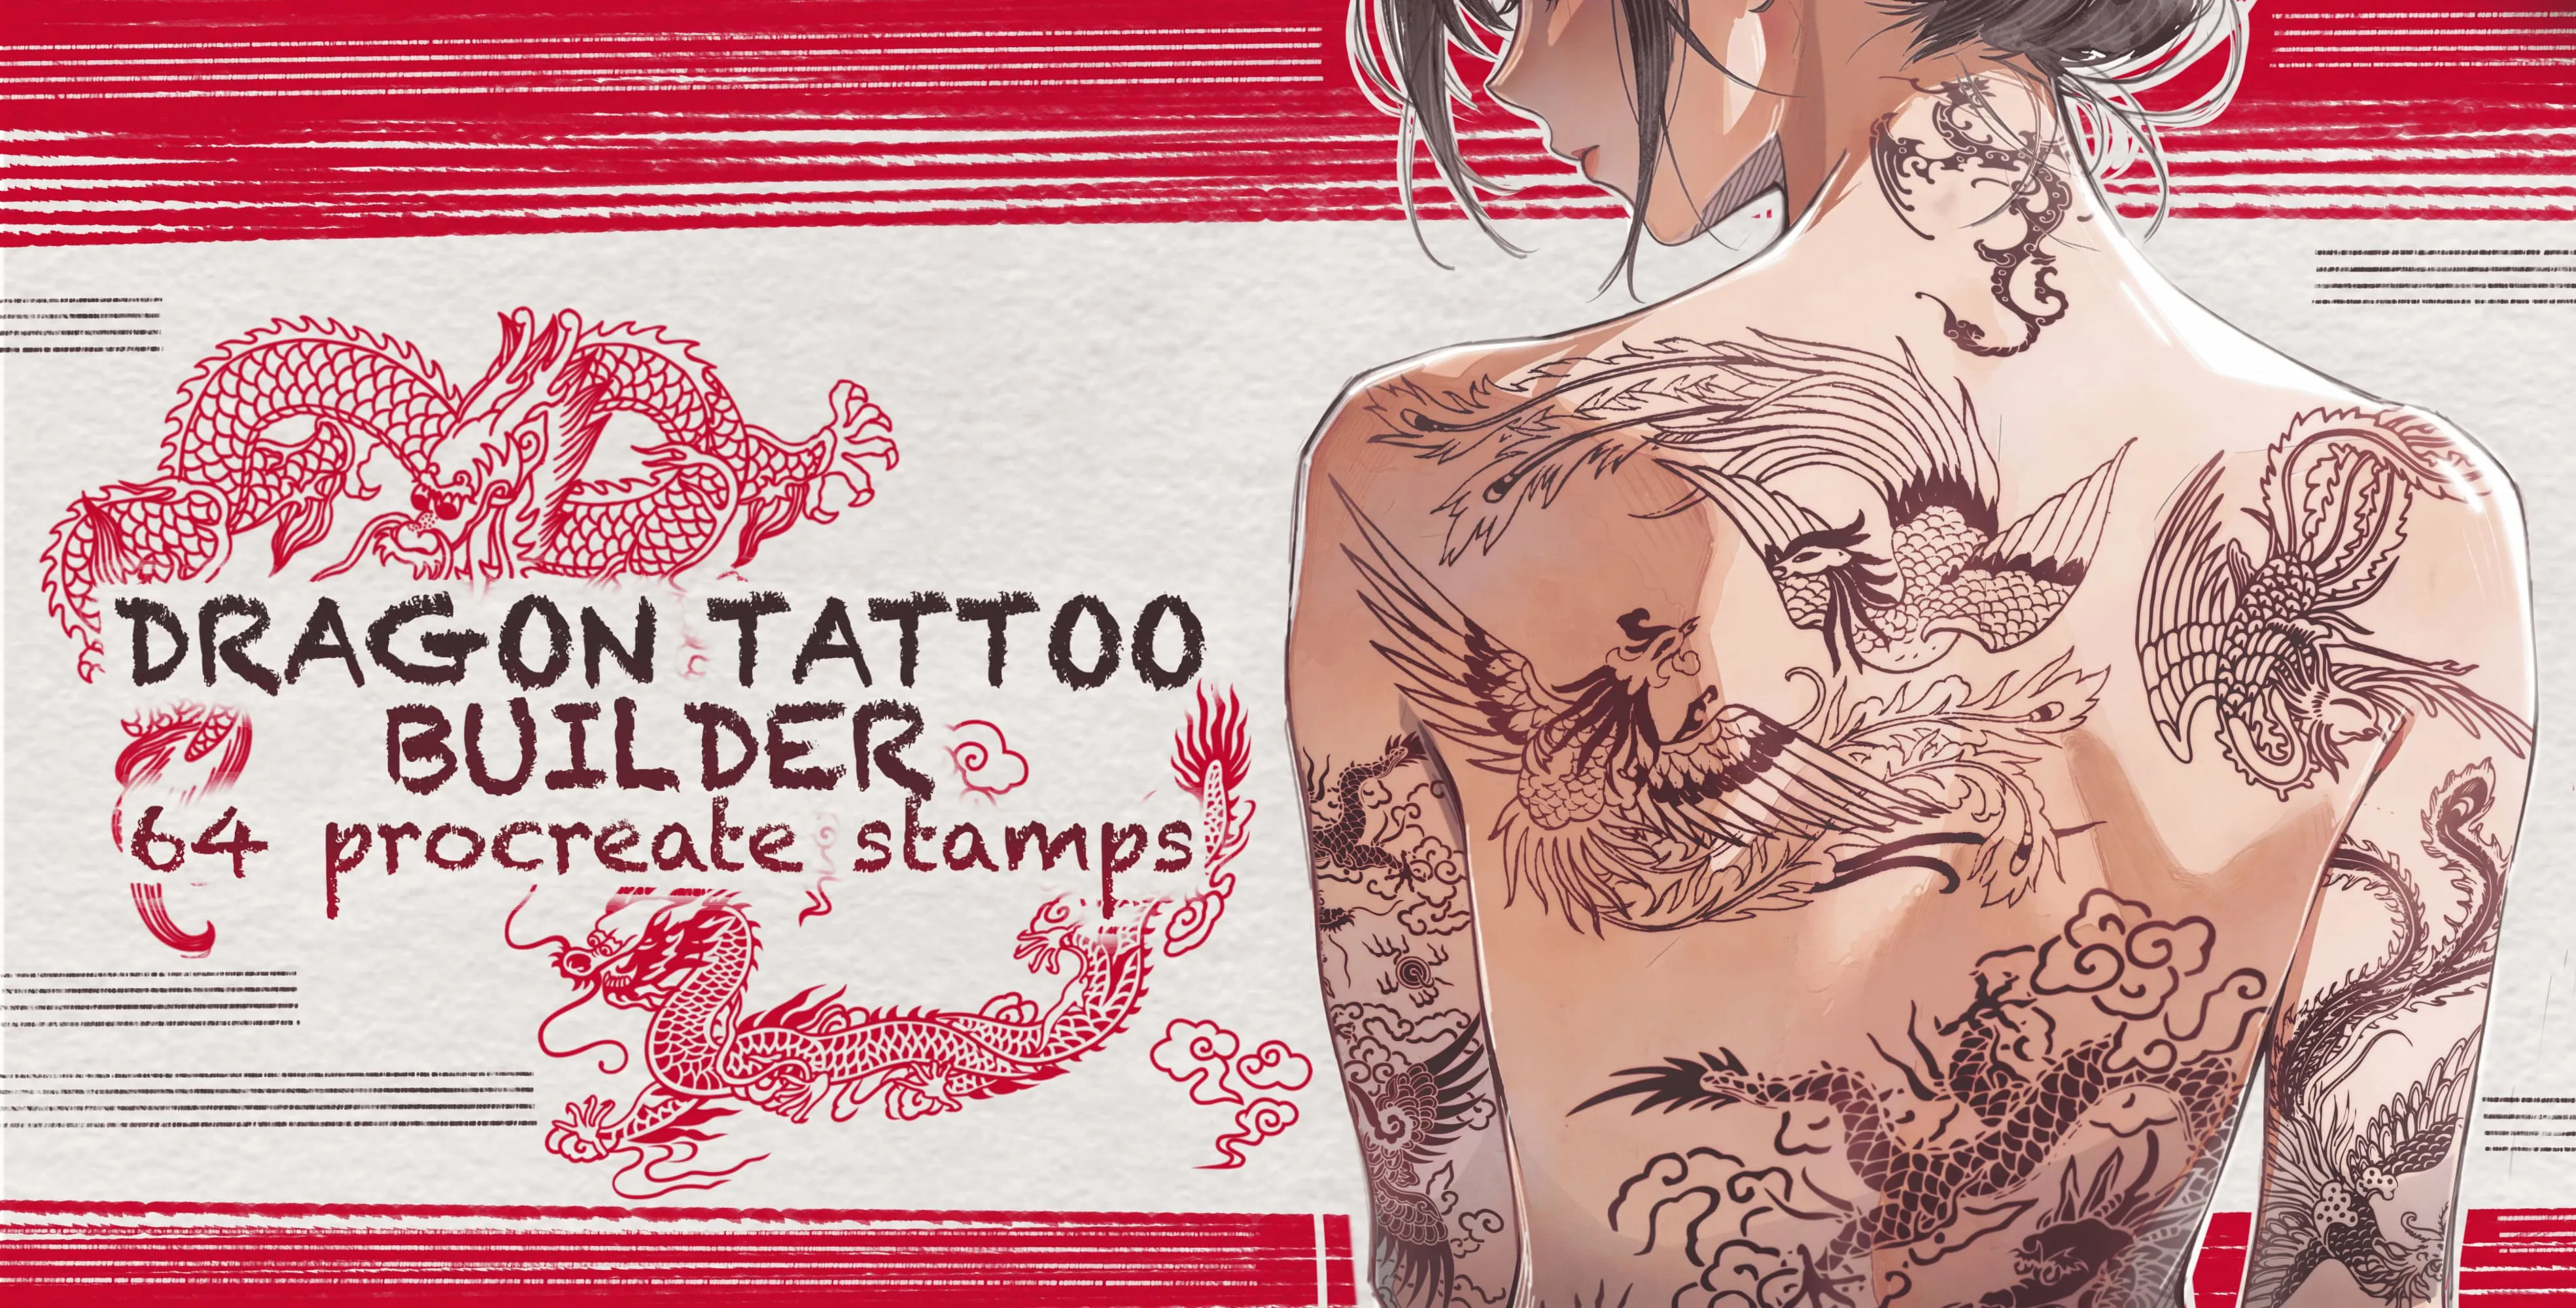
Dragon Tattoo Builder
coiled, rearing, flying, soaring and diving
Procreate Video
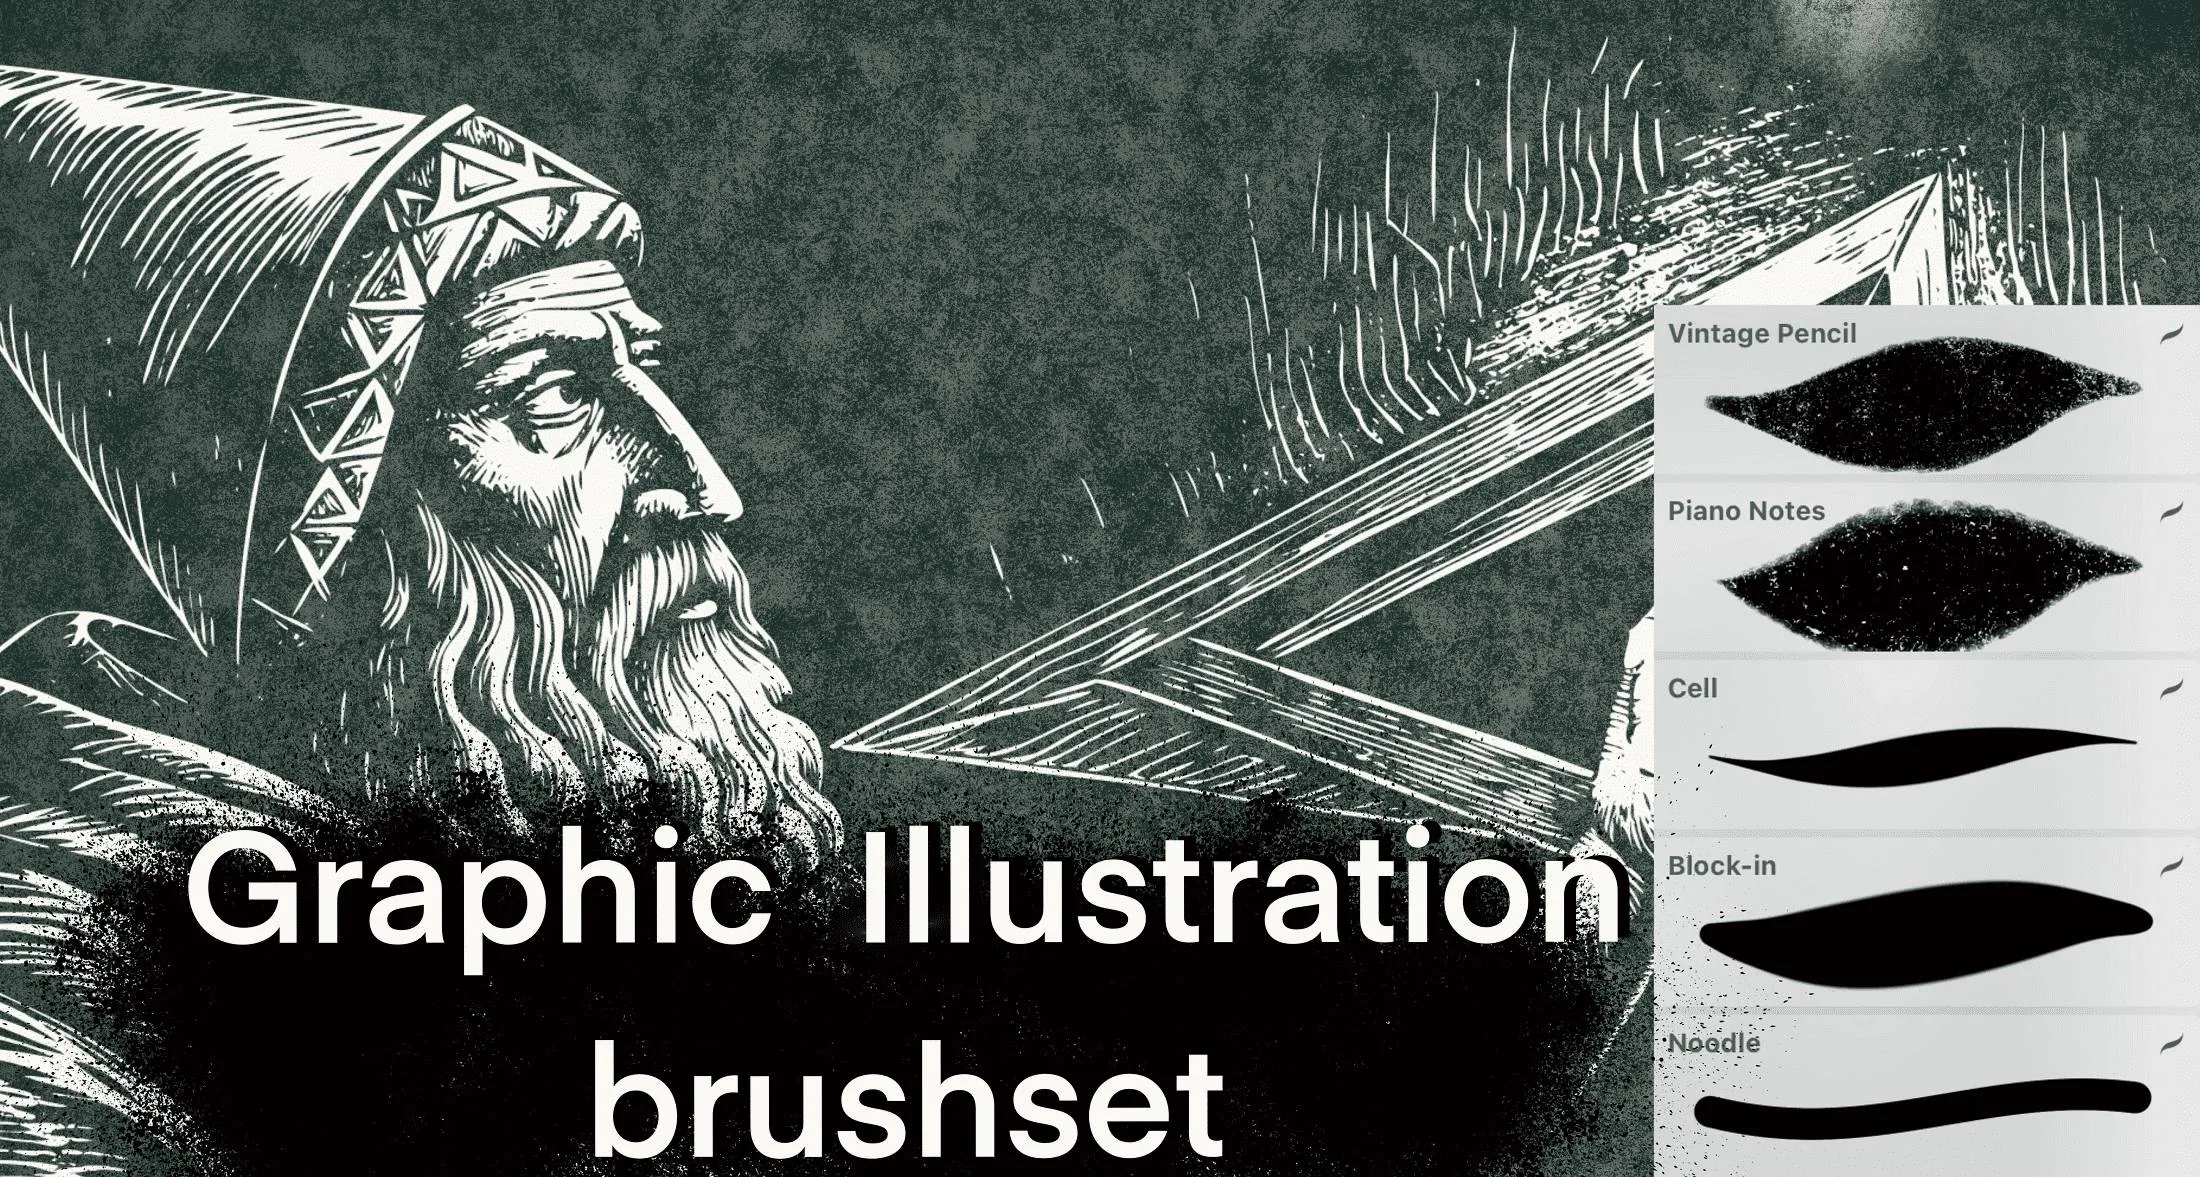
Graphic
vintage textured pencil, block-in and noodle
 Procreate Video
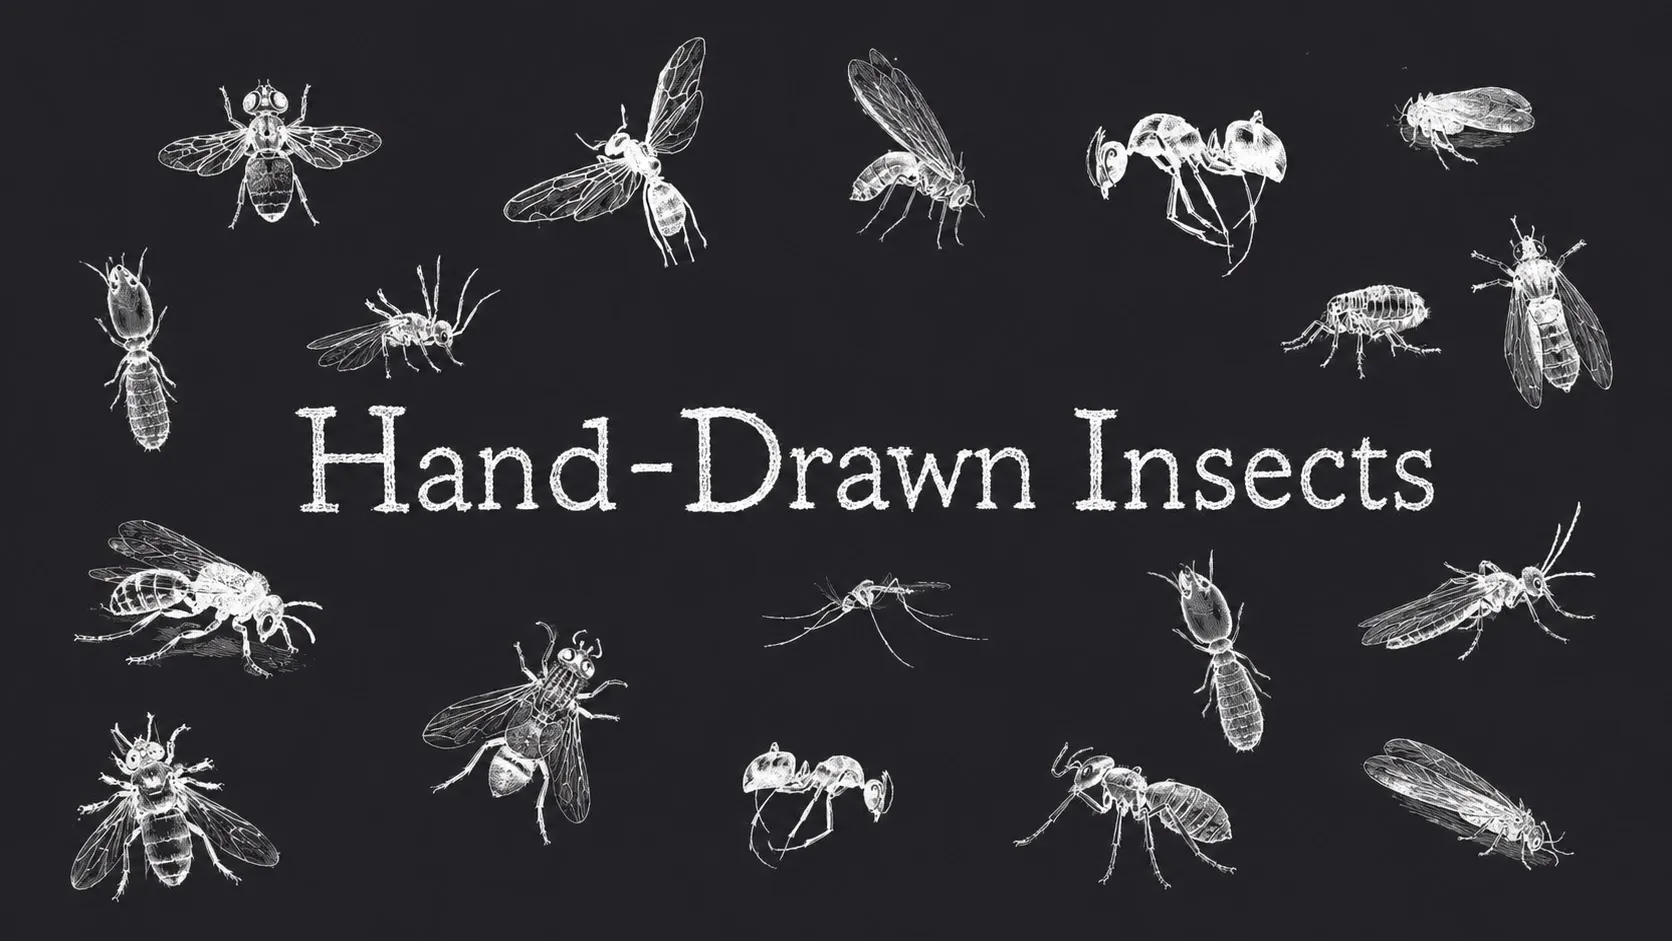
Hand-Drawn Insects
bees, wasps, hornets and ants, flies, gnats and dragonflies, beetles (stag, longhorn, scarab, ladybird, weevil), grasshoppers, crickets, mantis and cicadas, moths and butterflies, plus spiders, scorpion and tick
 Procreate Video
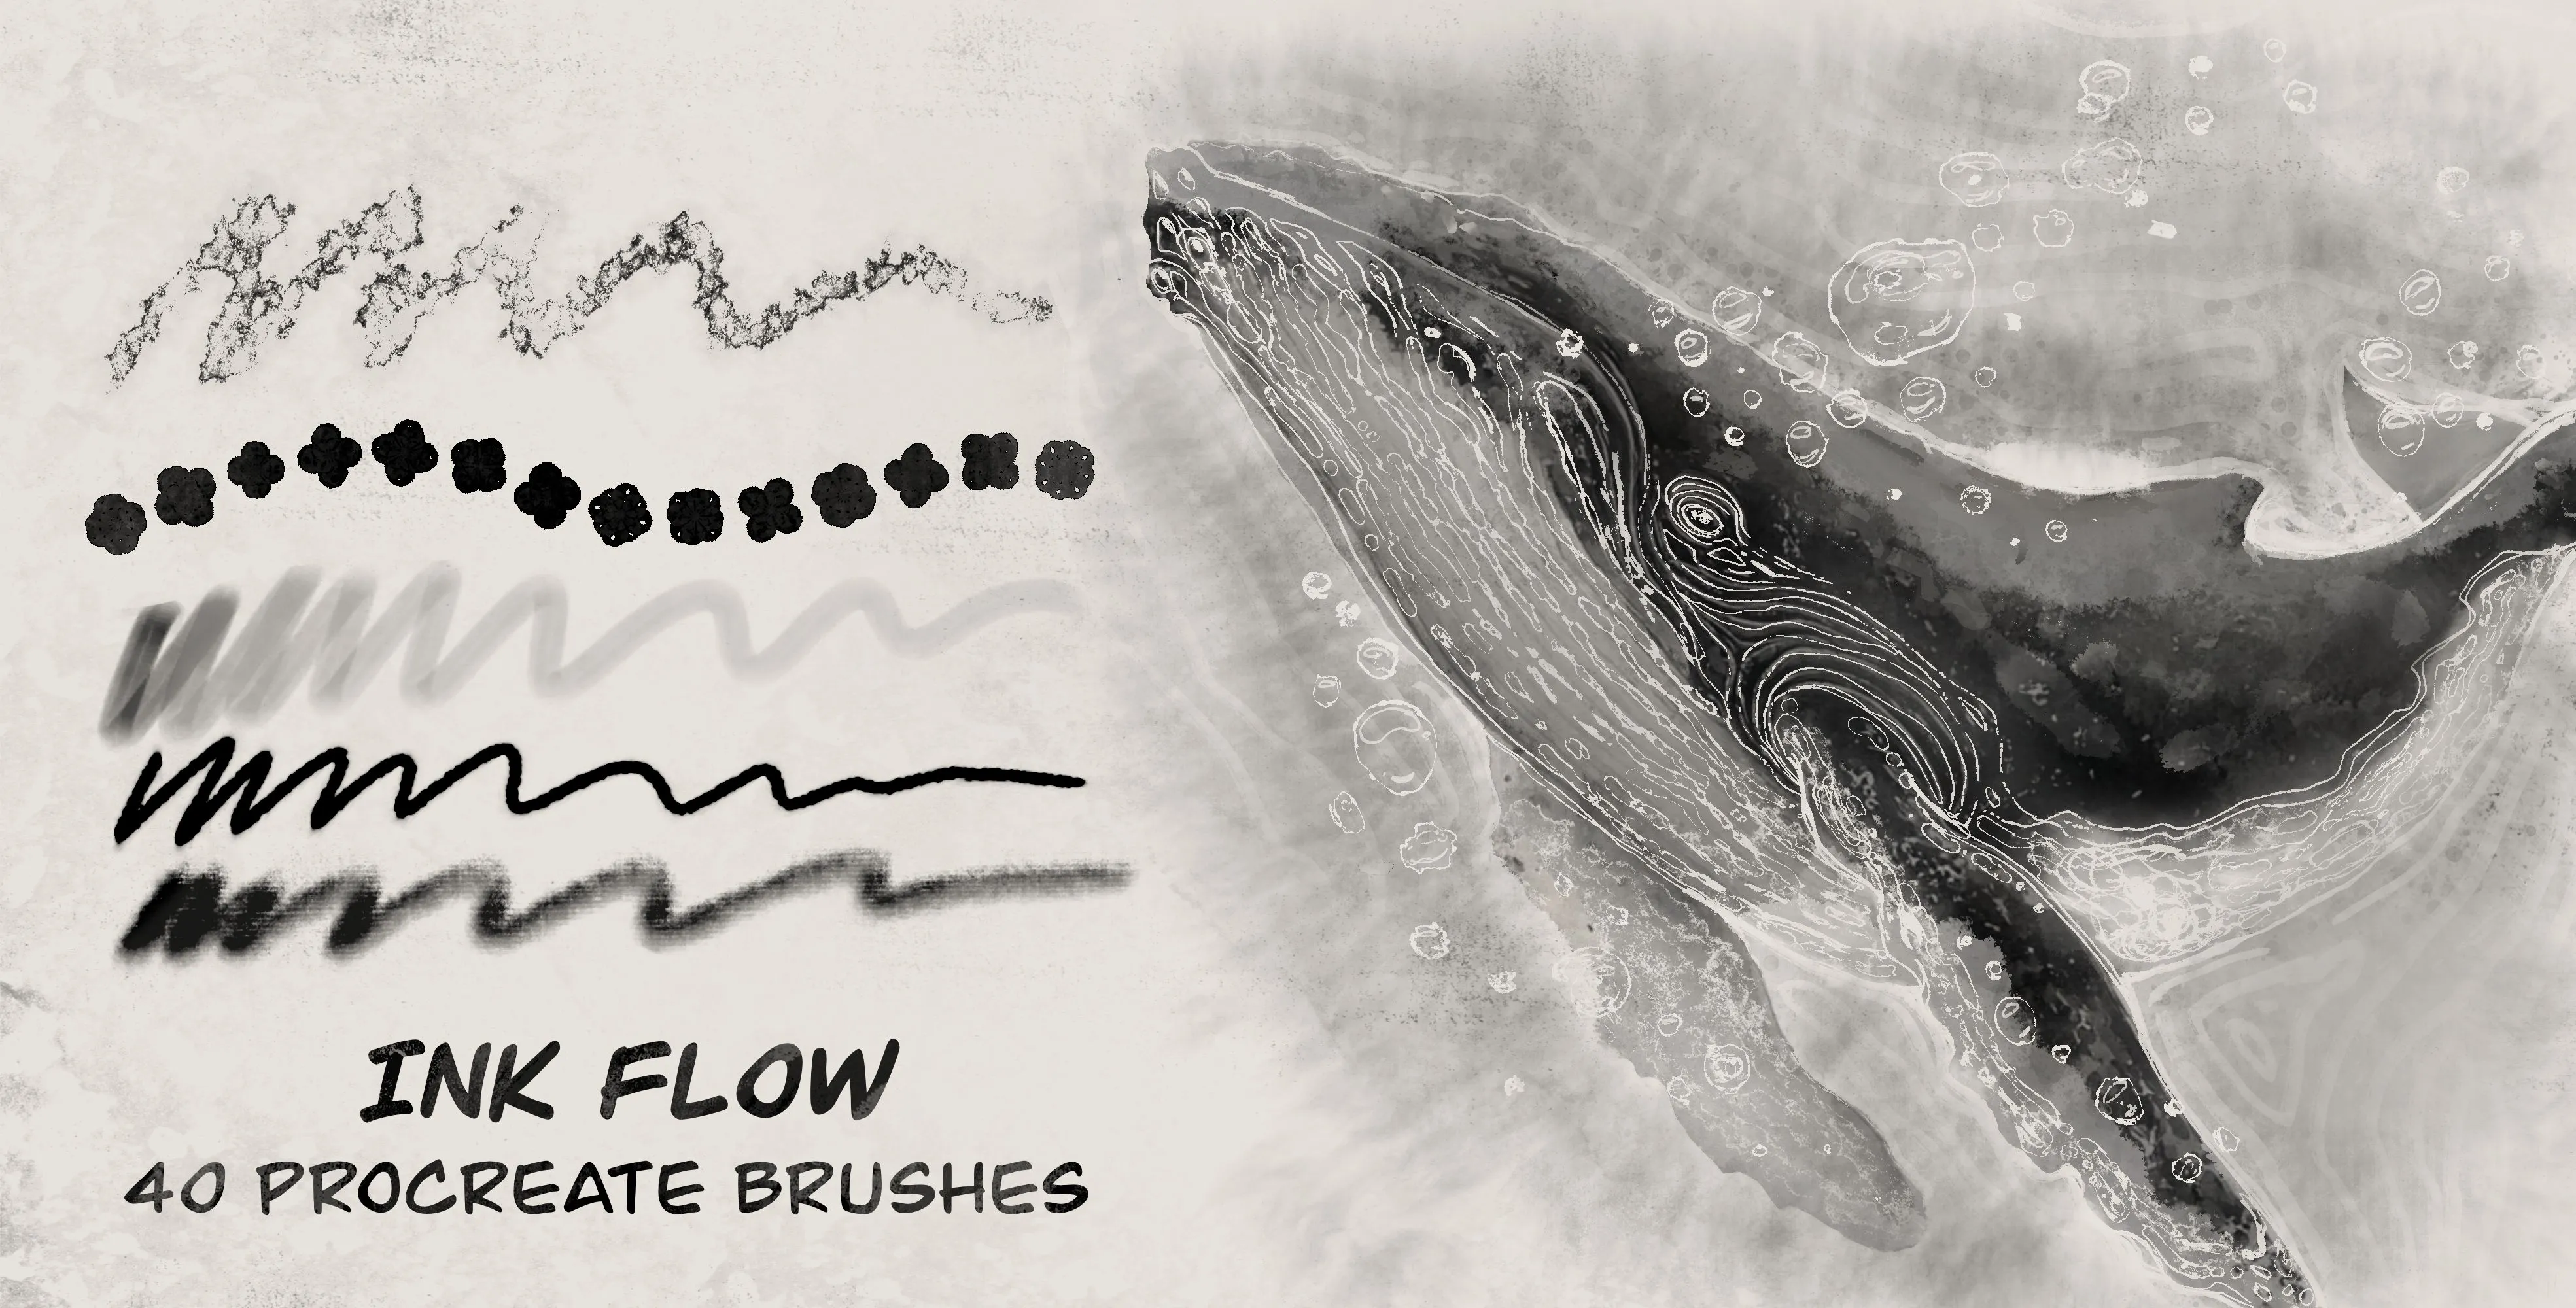
Ink Flow
ink and watery ink lines, ink washes from thin to thick, dry ink and dry brush, wash
 Procreate Video
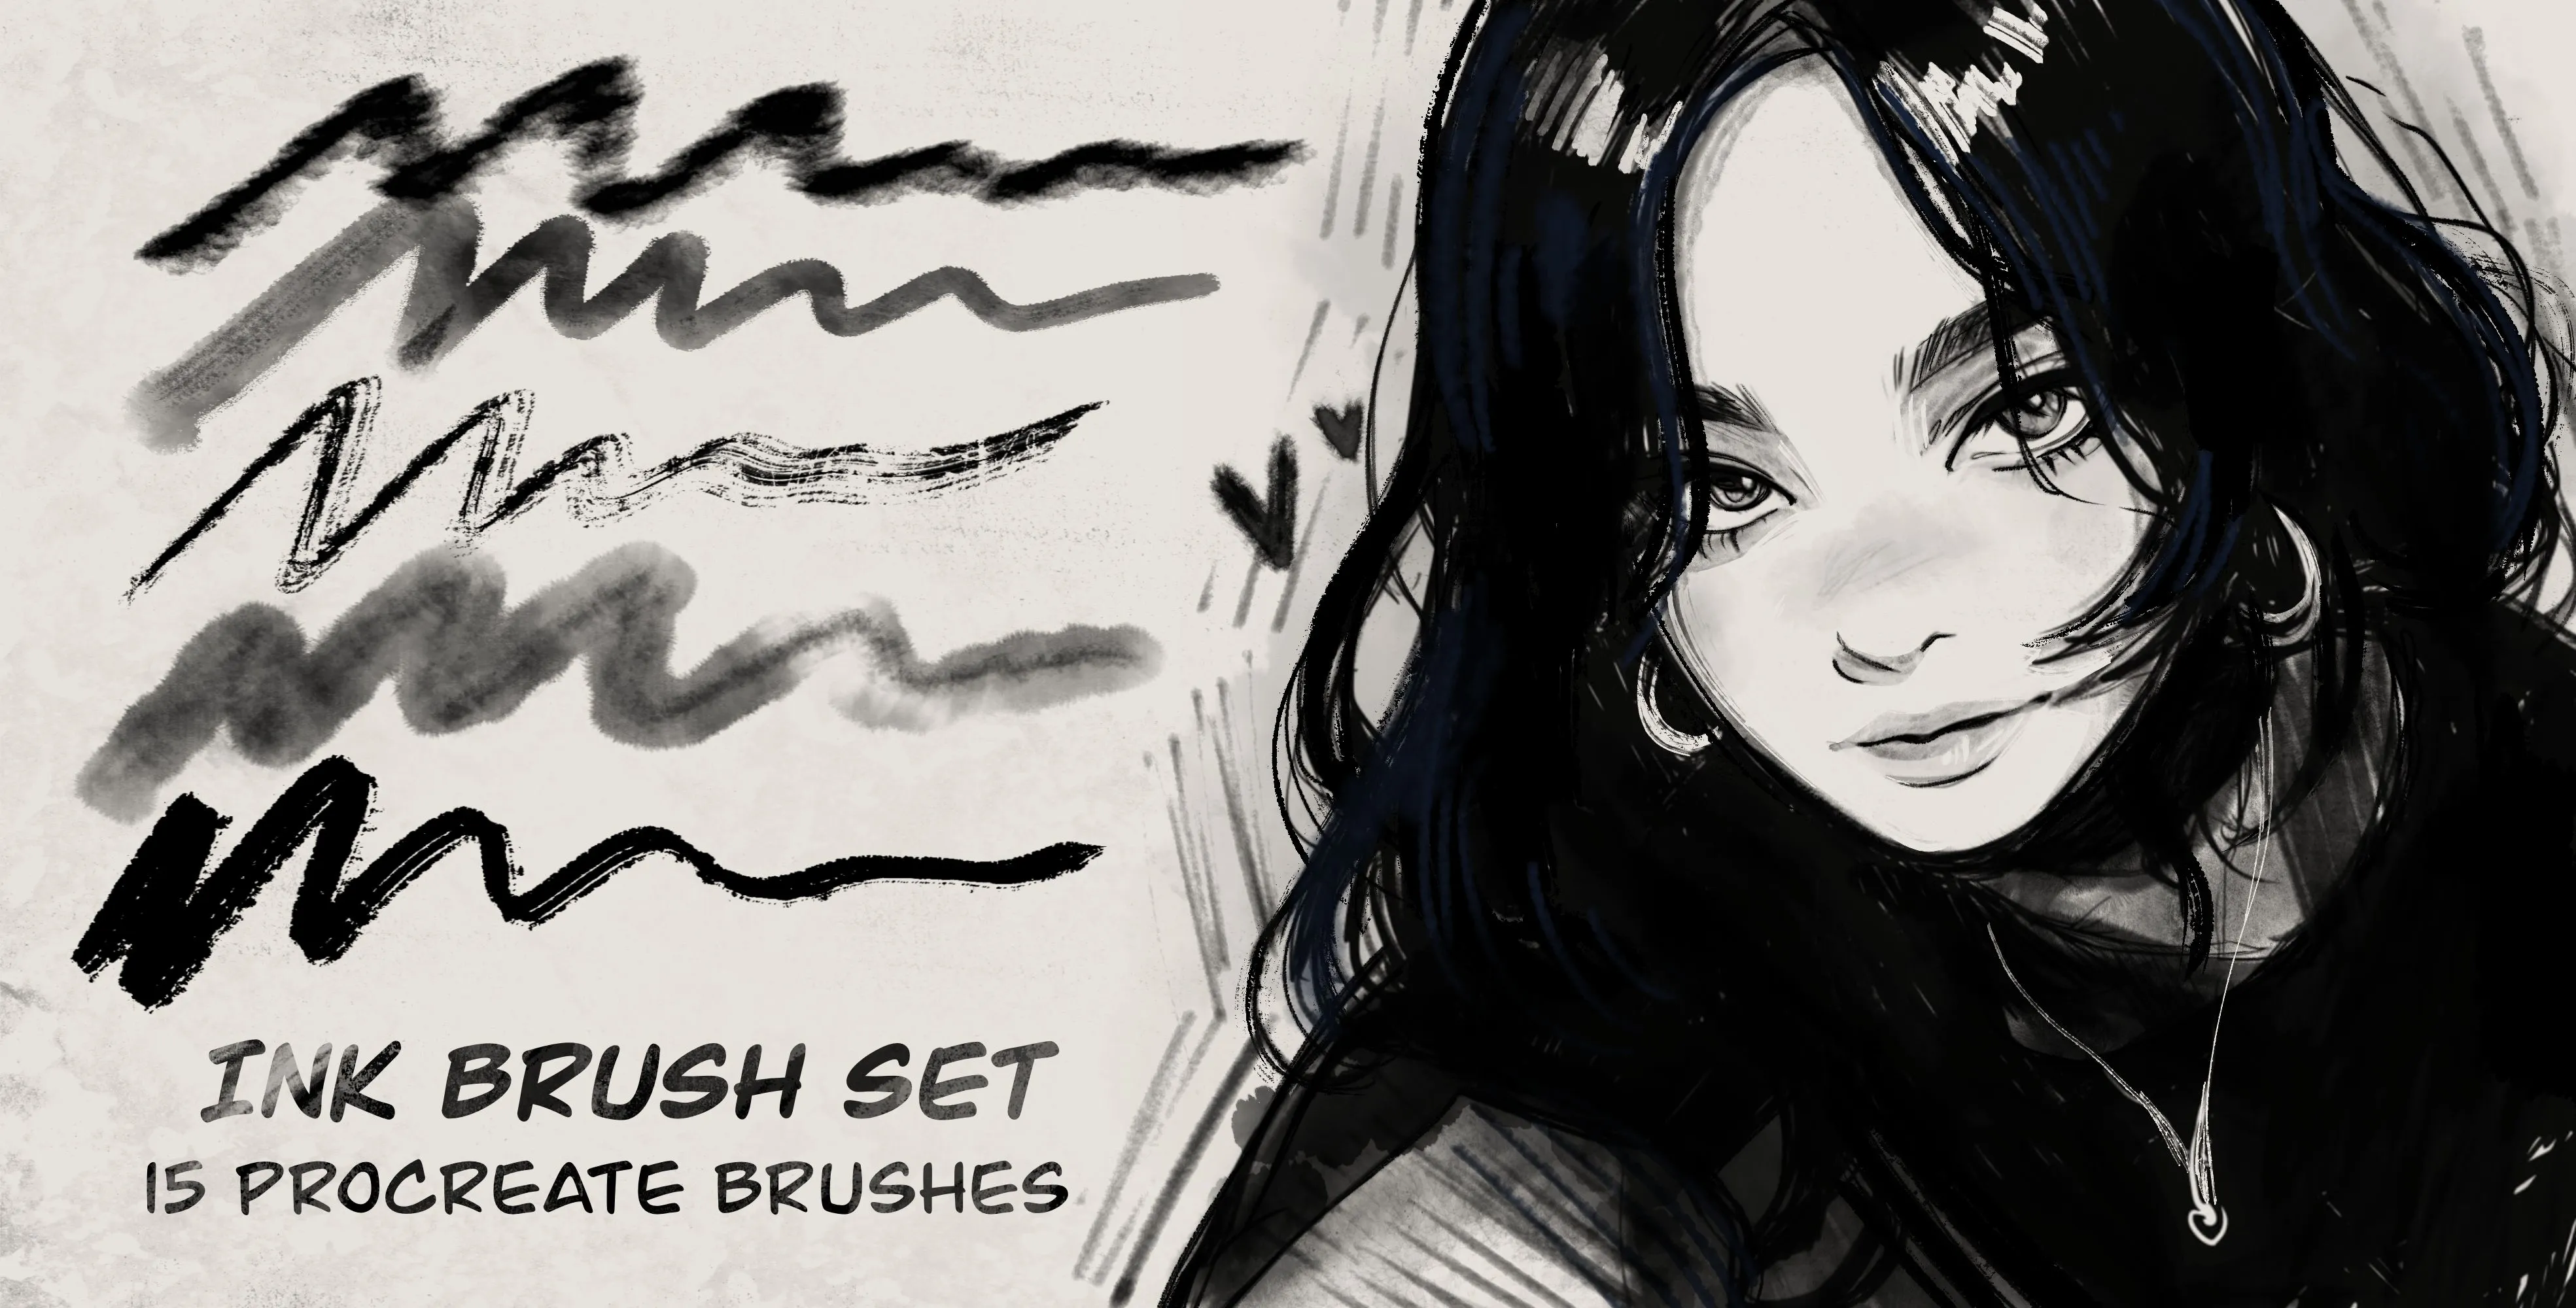
Ink
smooth ink pens, sharp flow and wet nib, dusty and rough ink, smudge and shadow ink
 Procreate Video
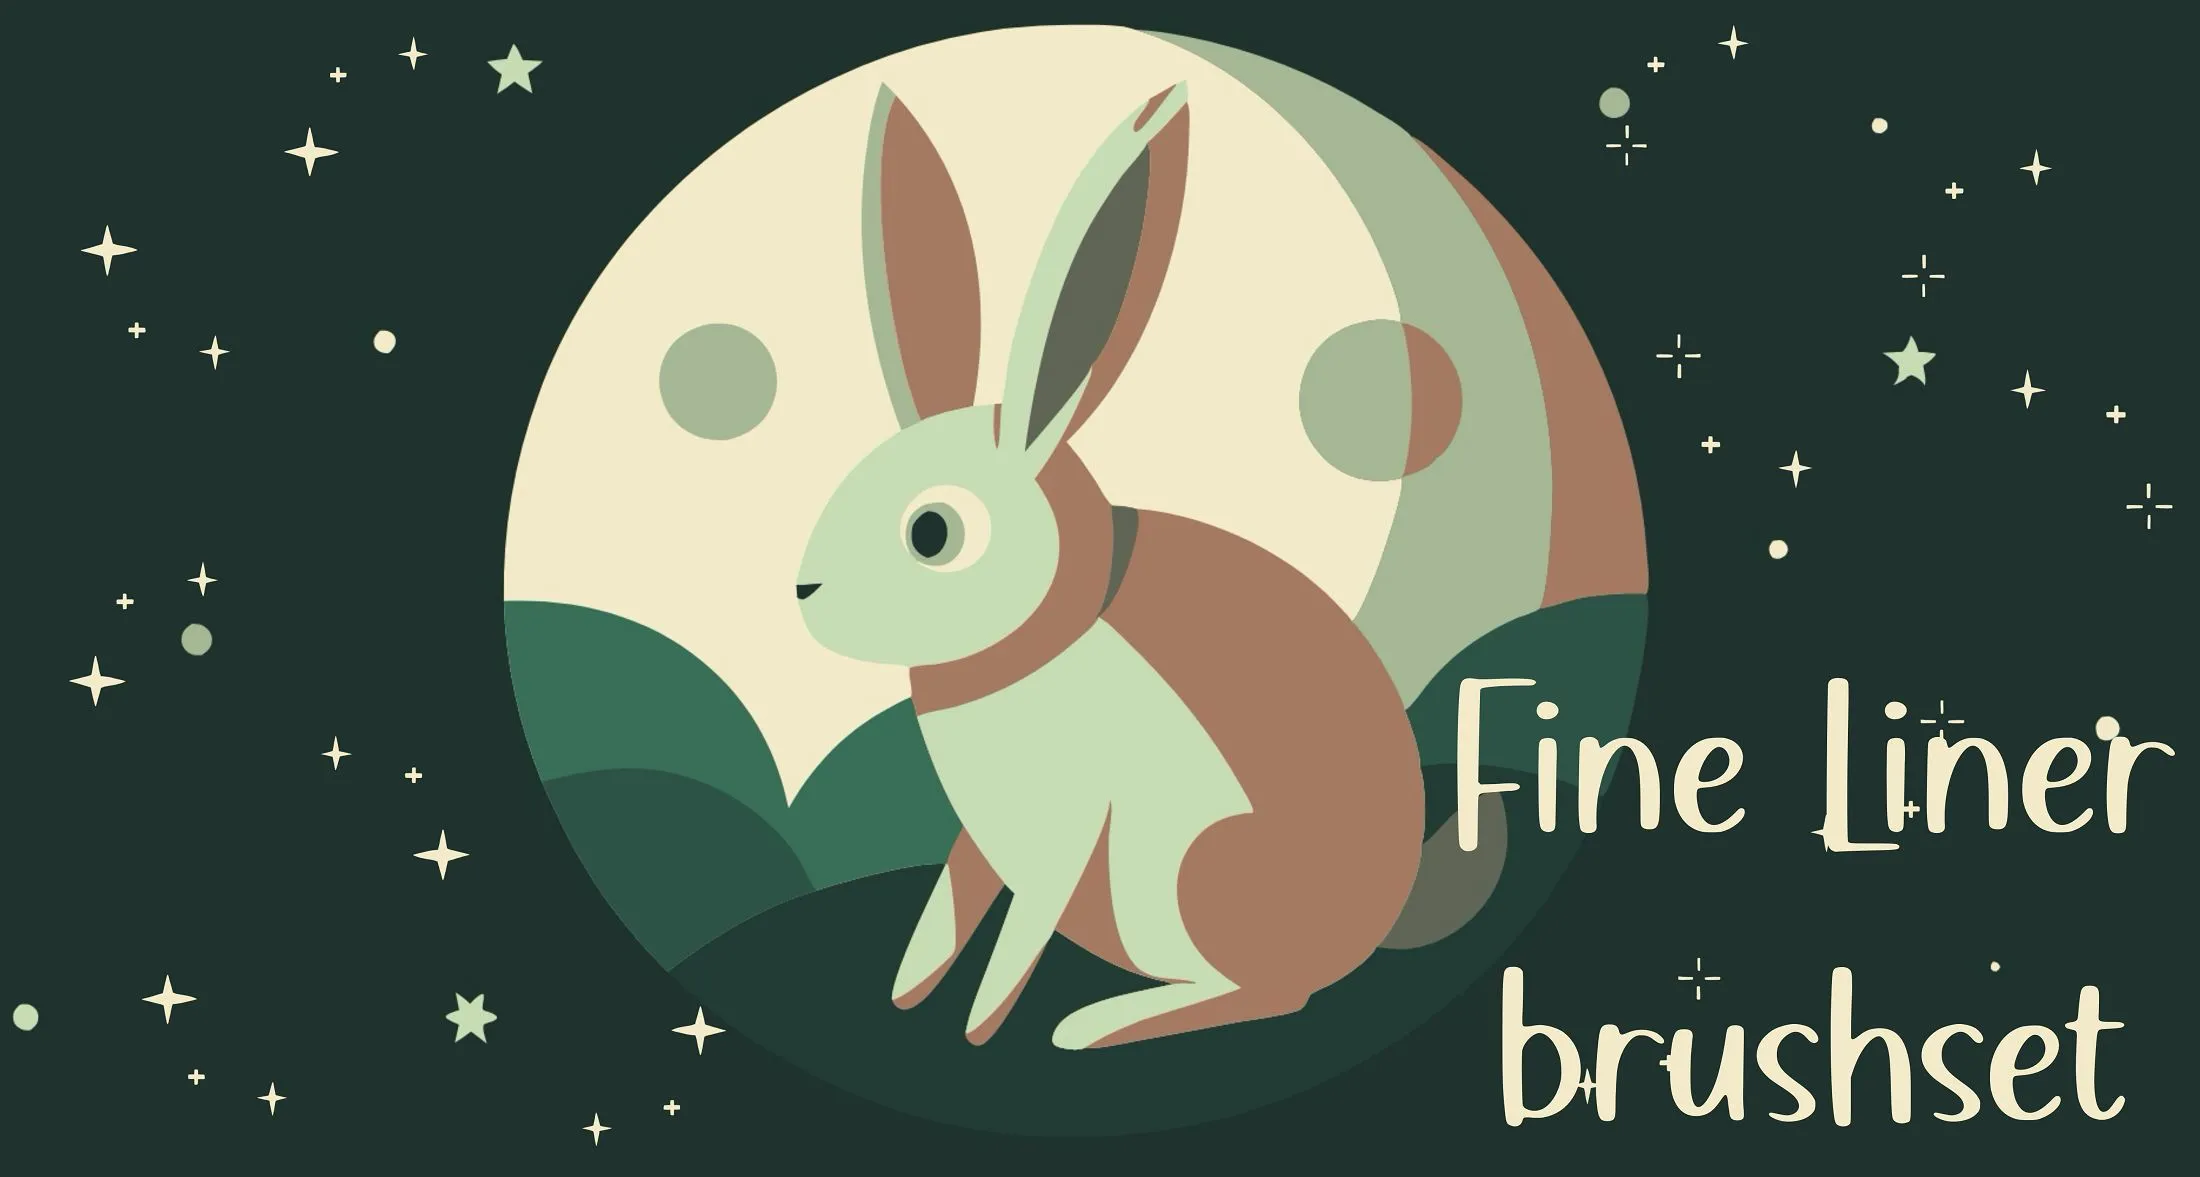
Fine Liner
fineliner pens in many weights and textures, broad and flat markers
 Procreate Video
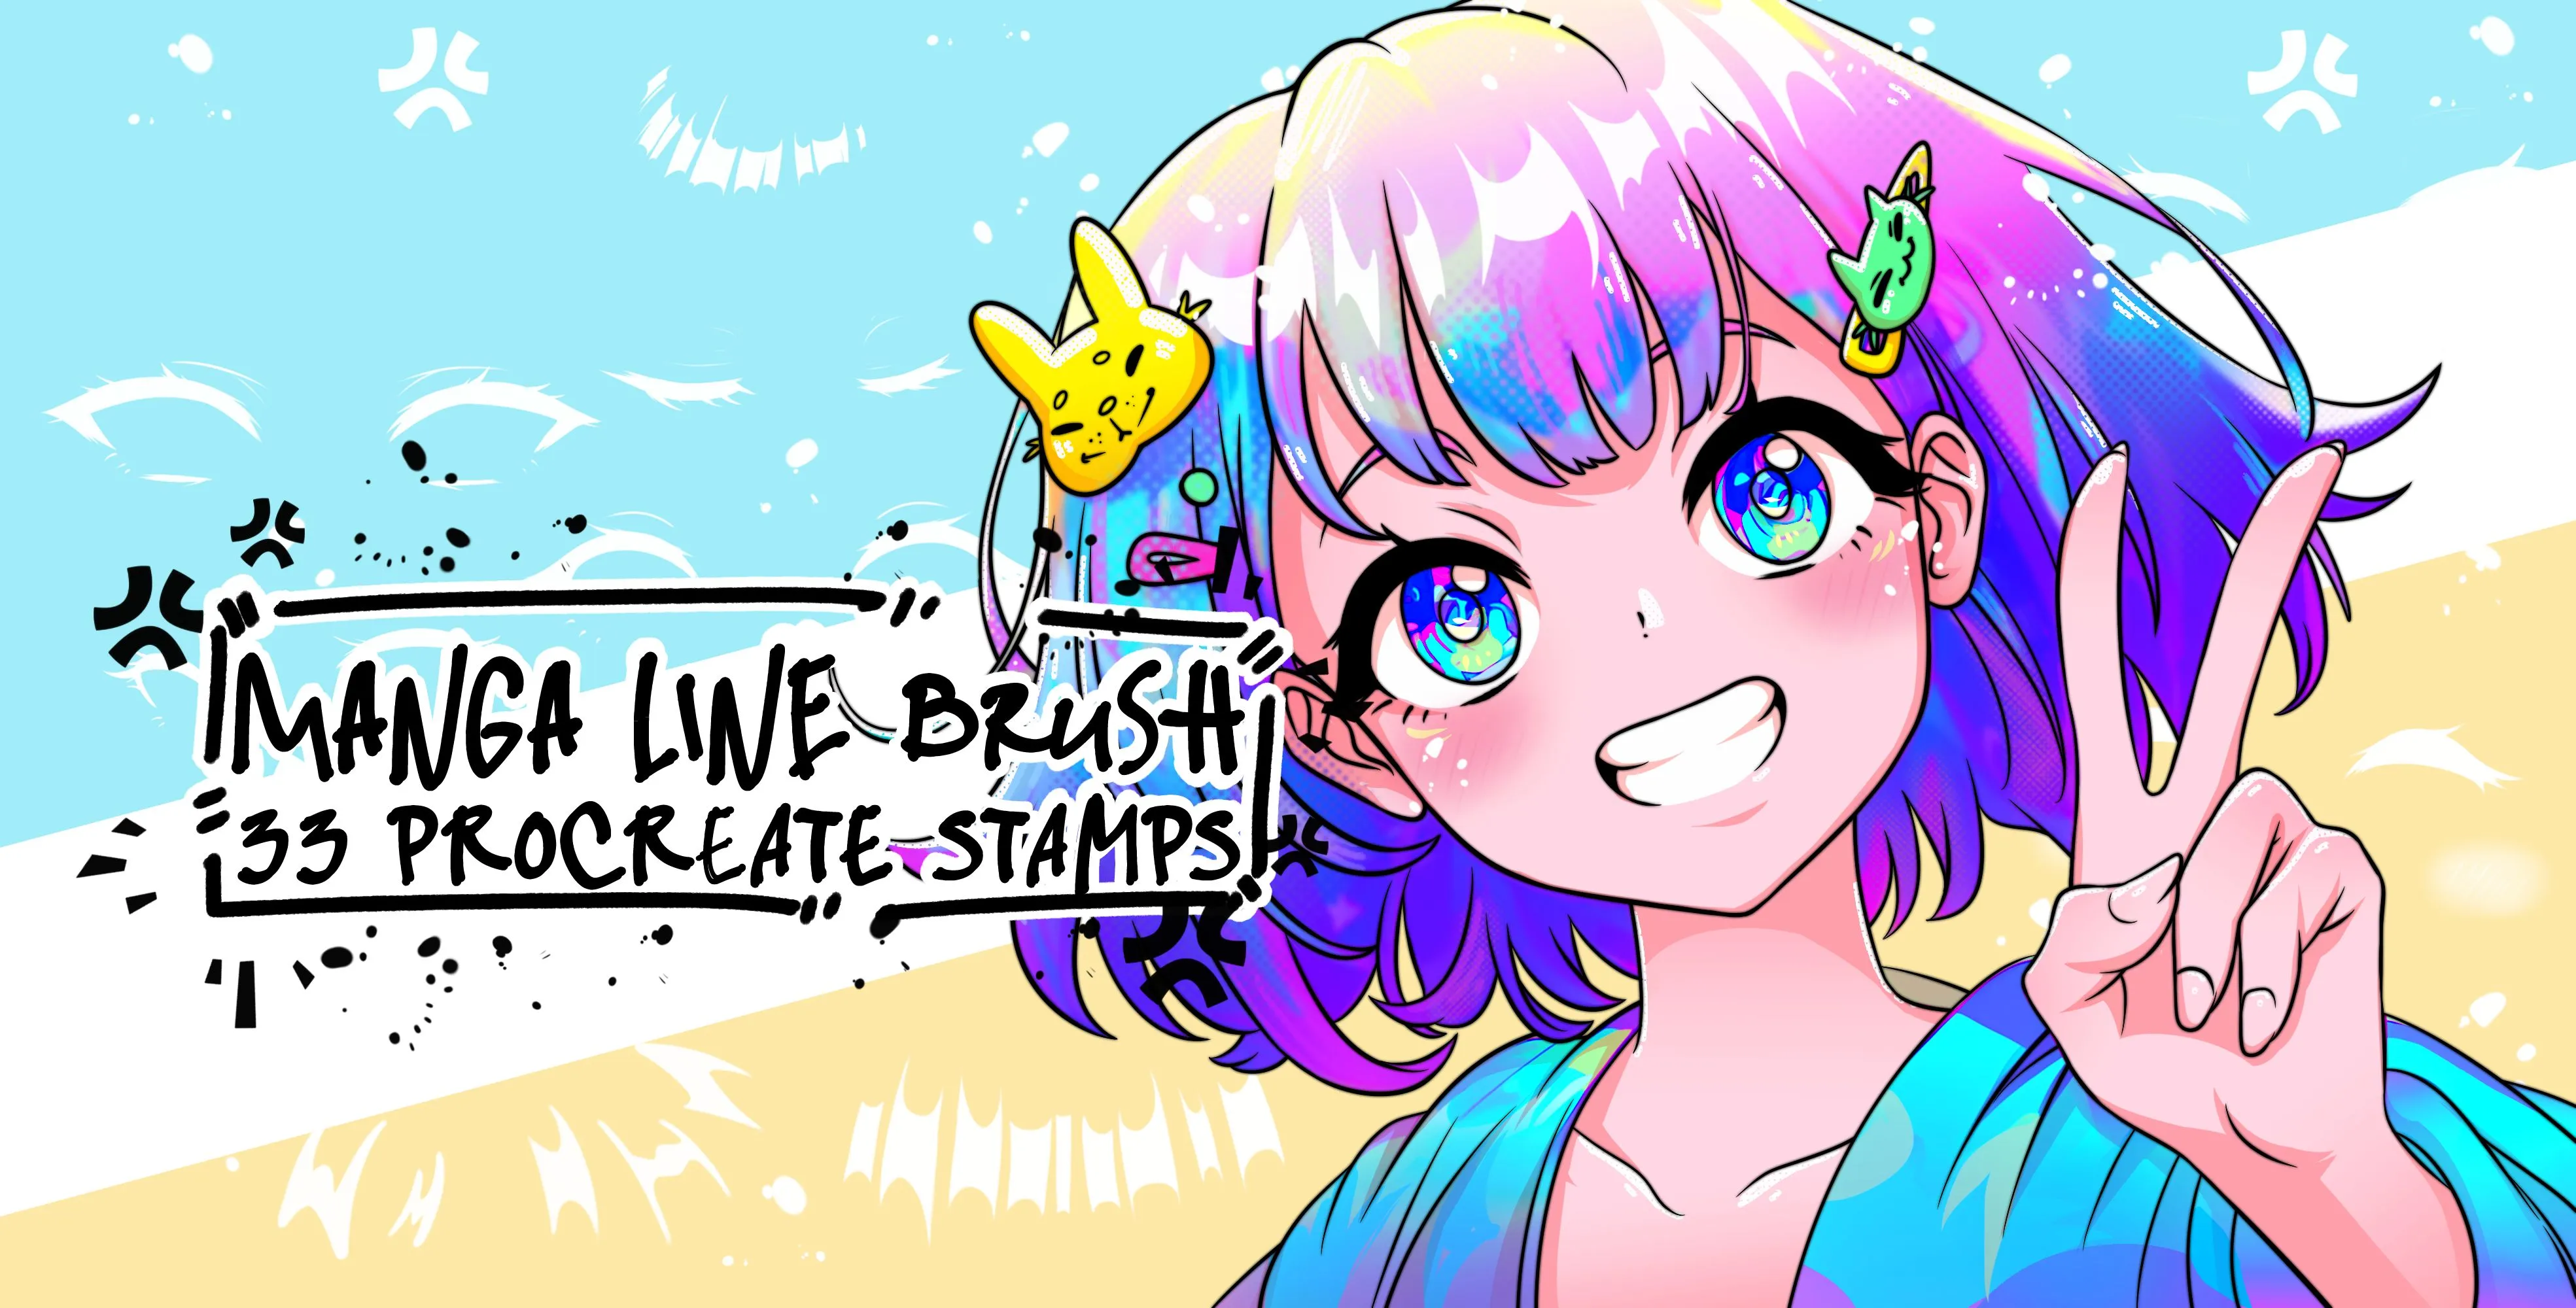
Manga Line
manga eye, expression eyes and eye-highlight
 Procreate Video
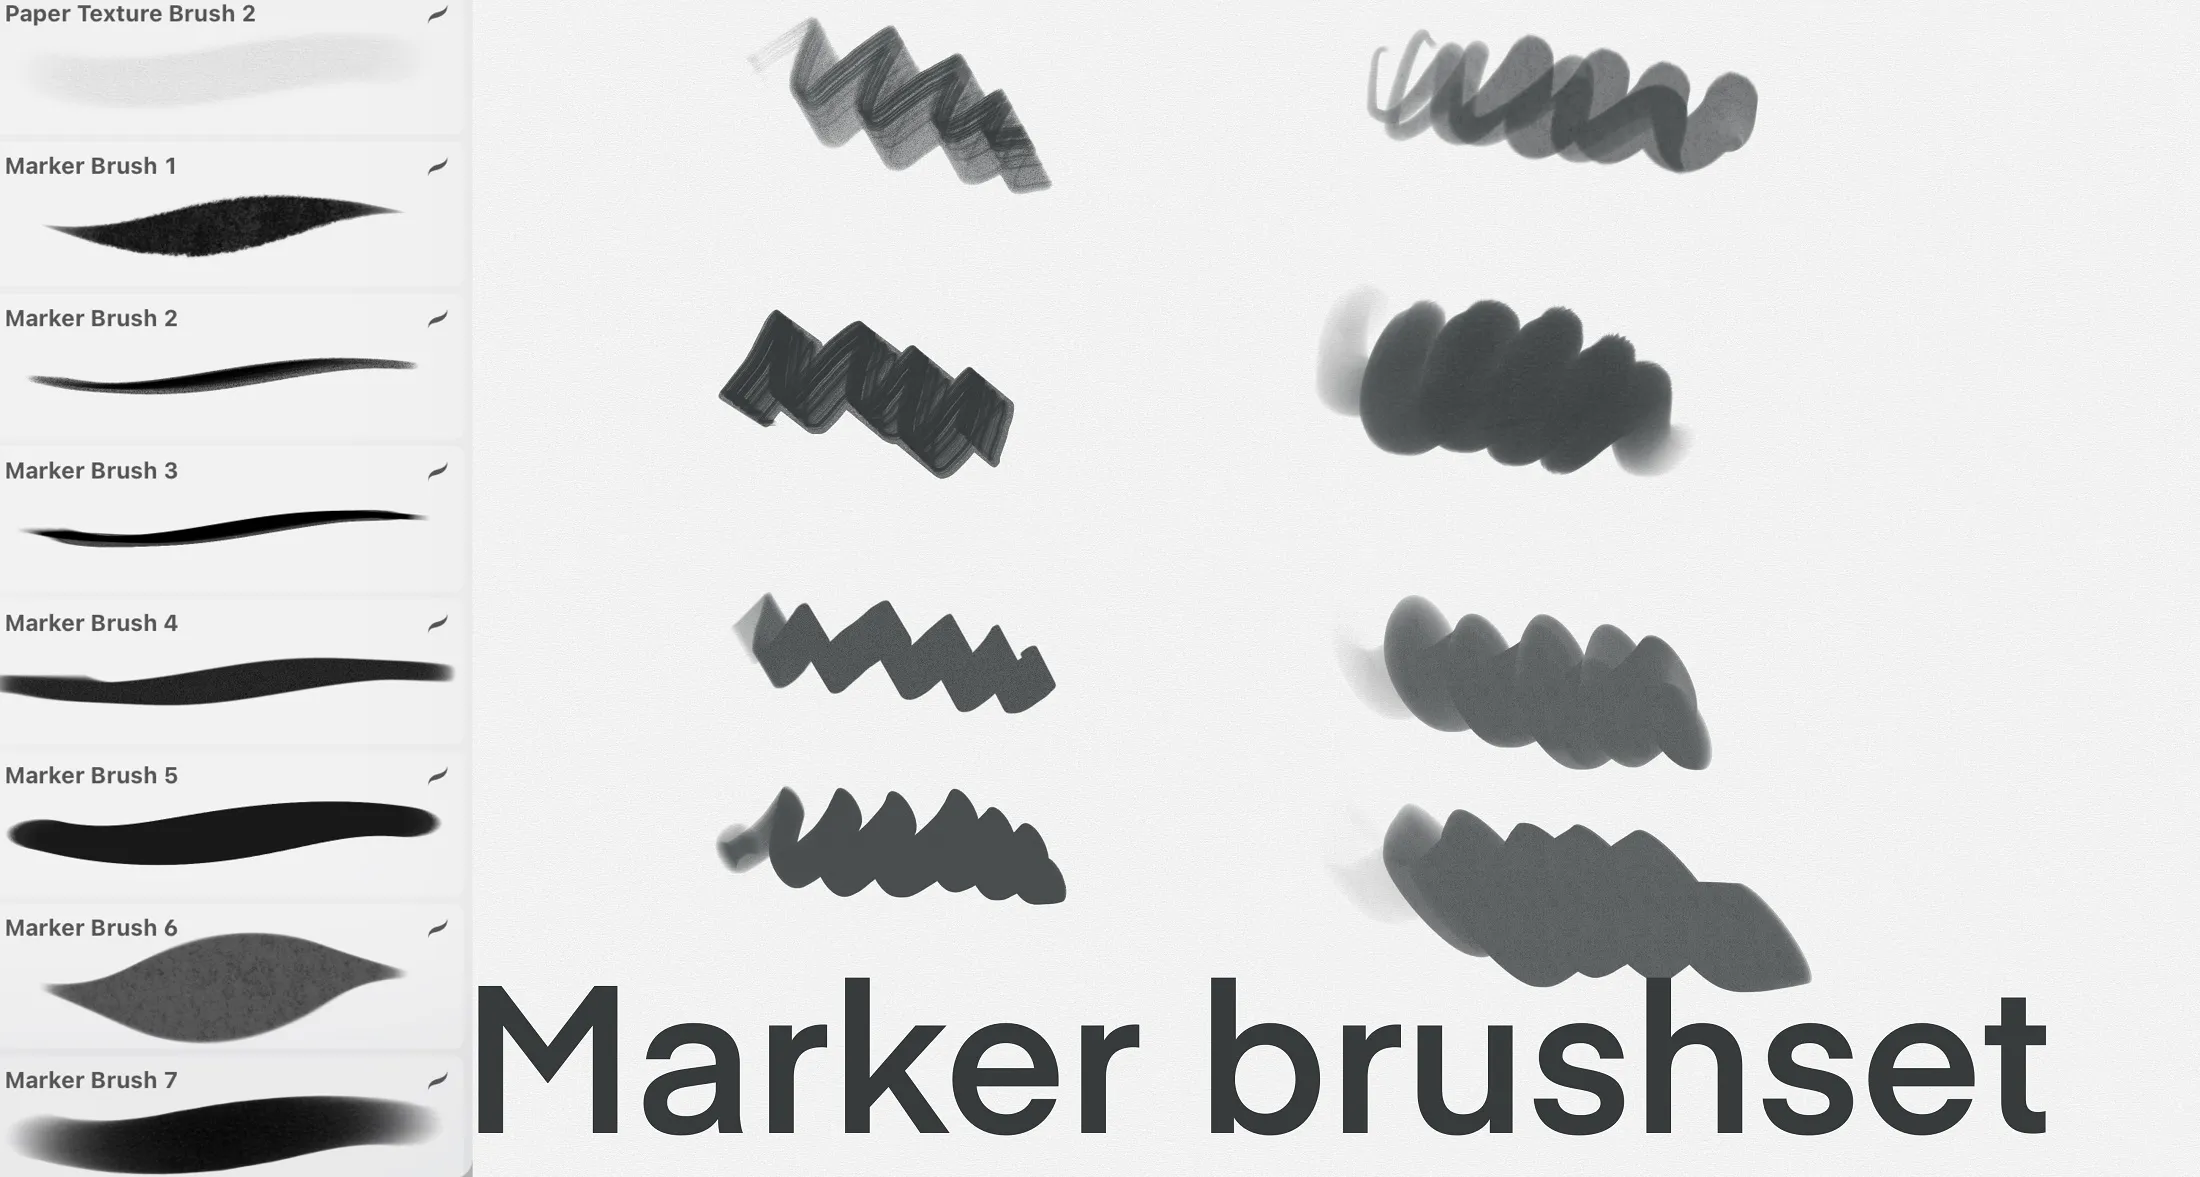
Markers
fine, broad, bold, soft-edge and smooth
 Procreate Video
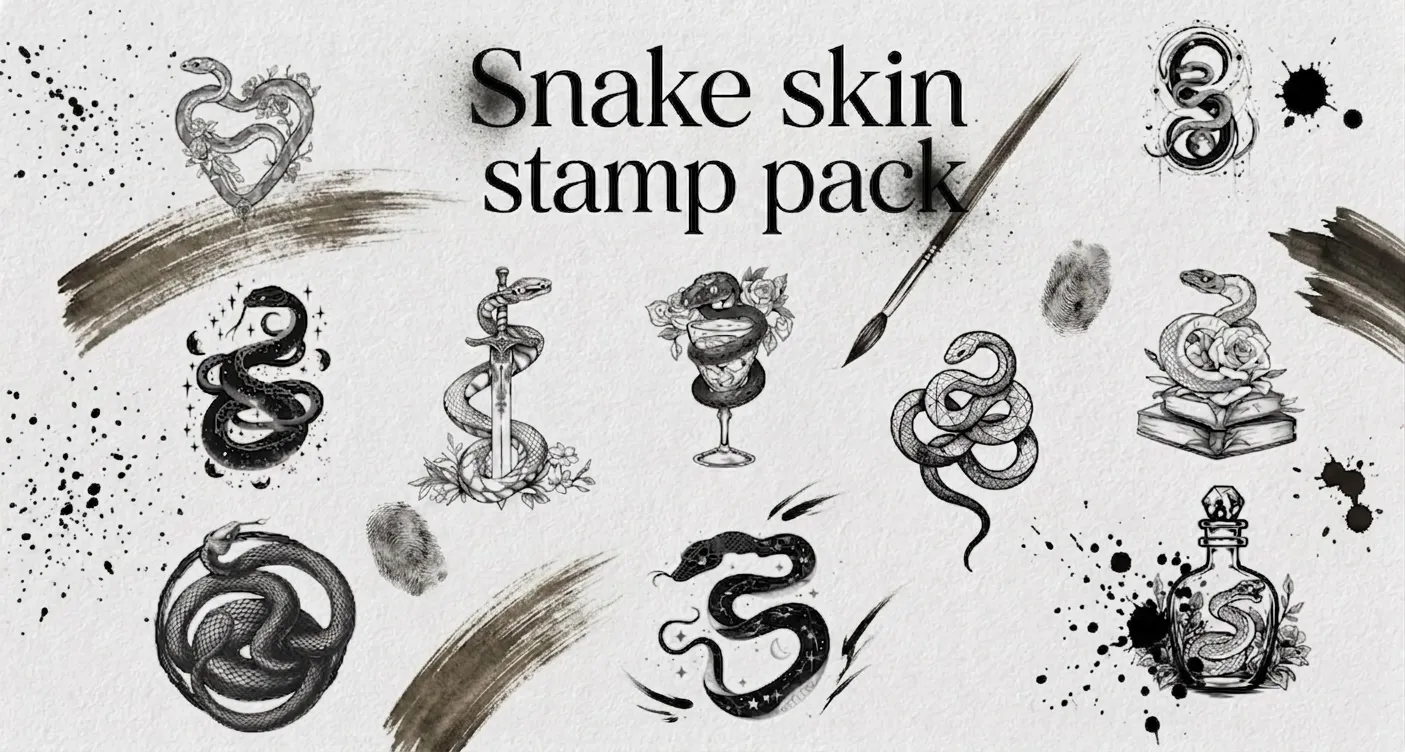
Snake Kit
quick snake sketches and detailed coiled snakes
 Procreate Video
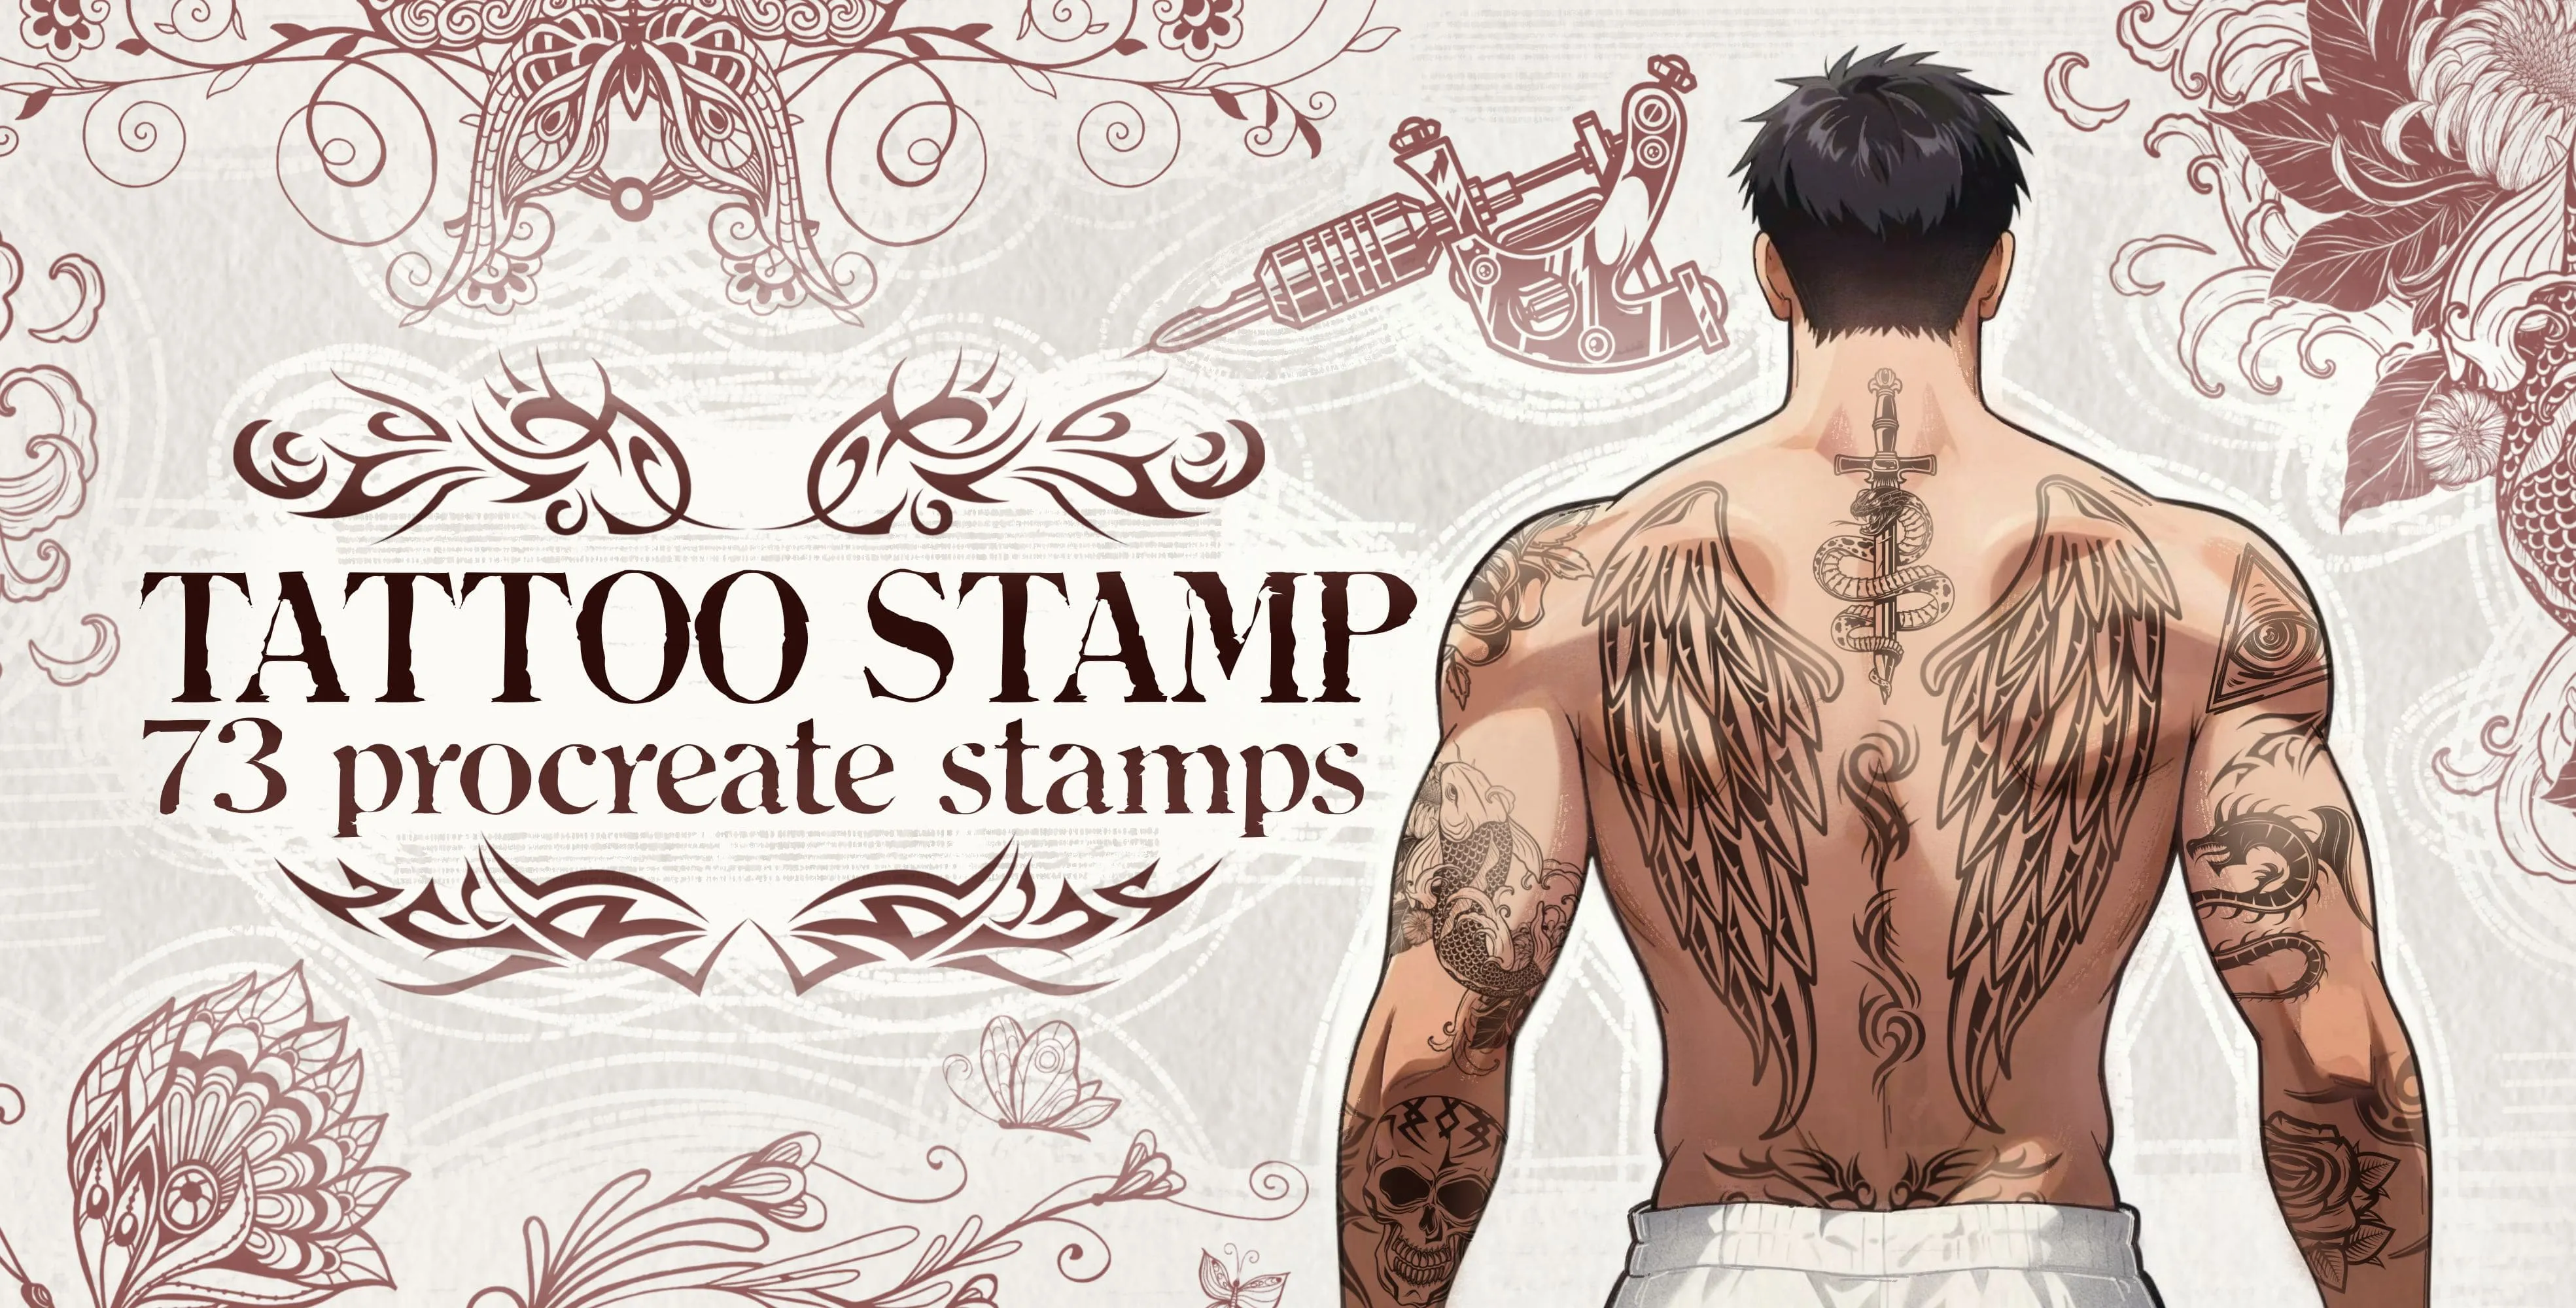
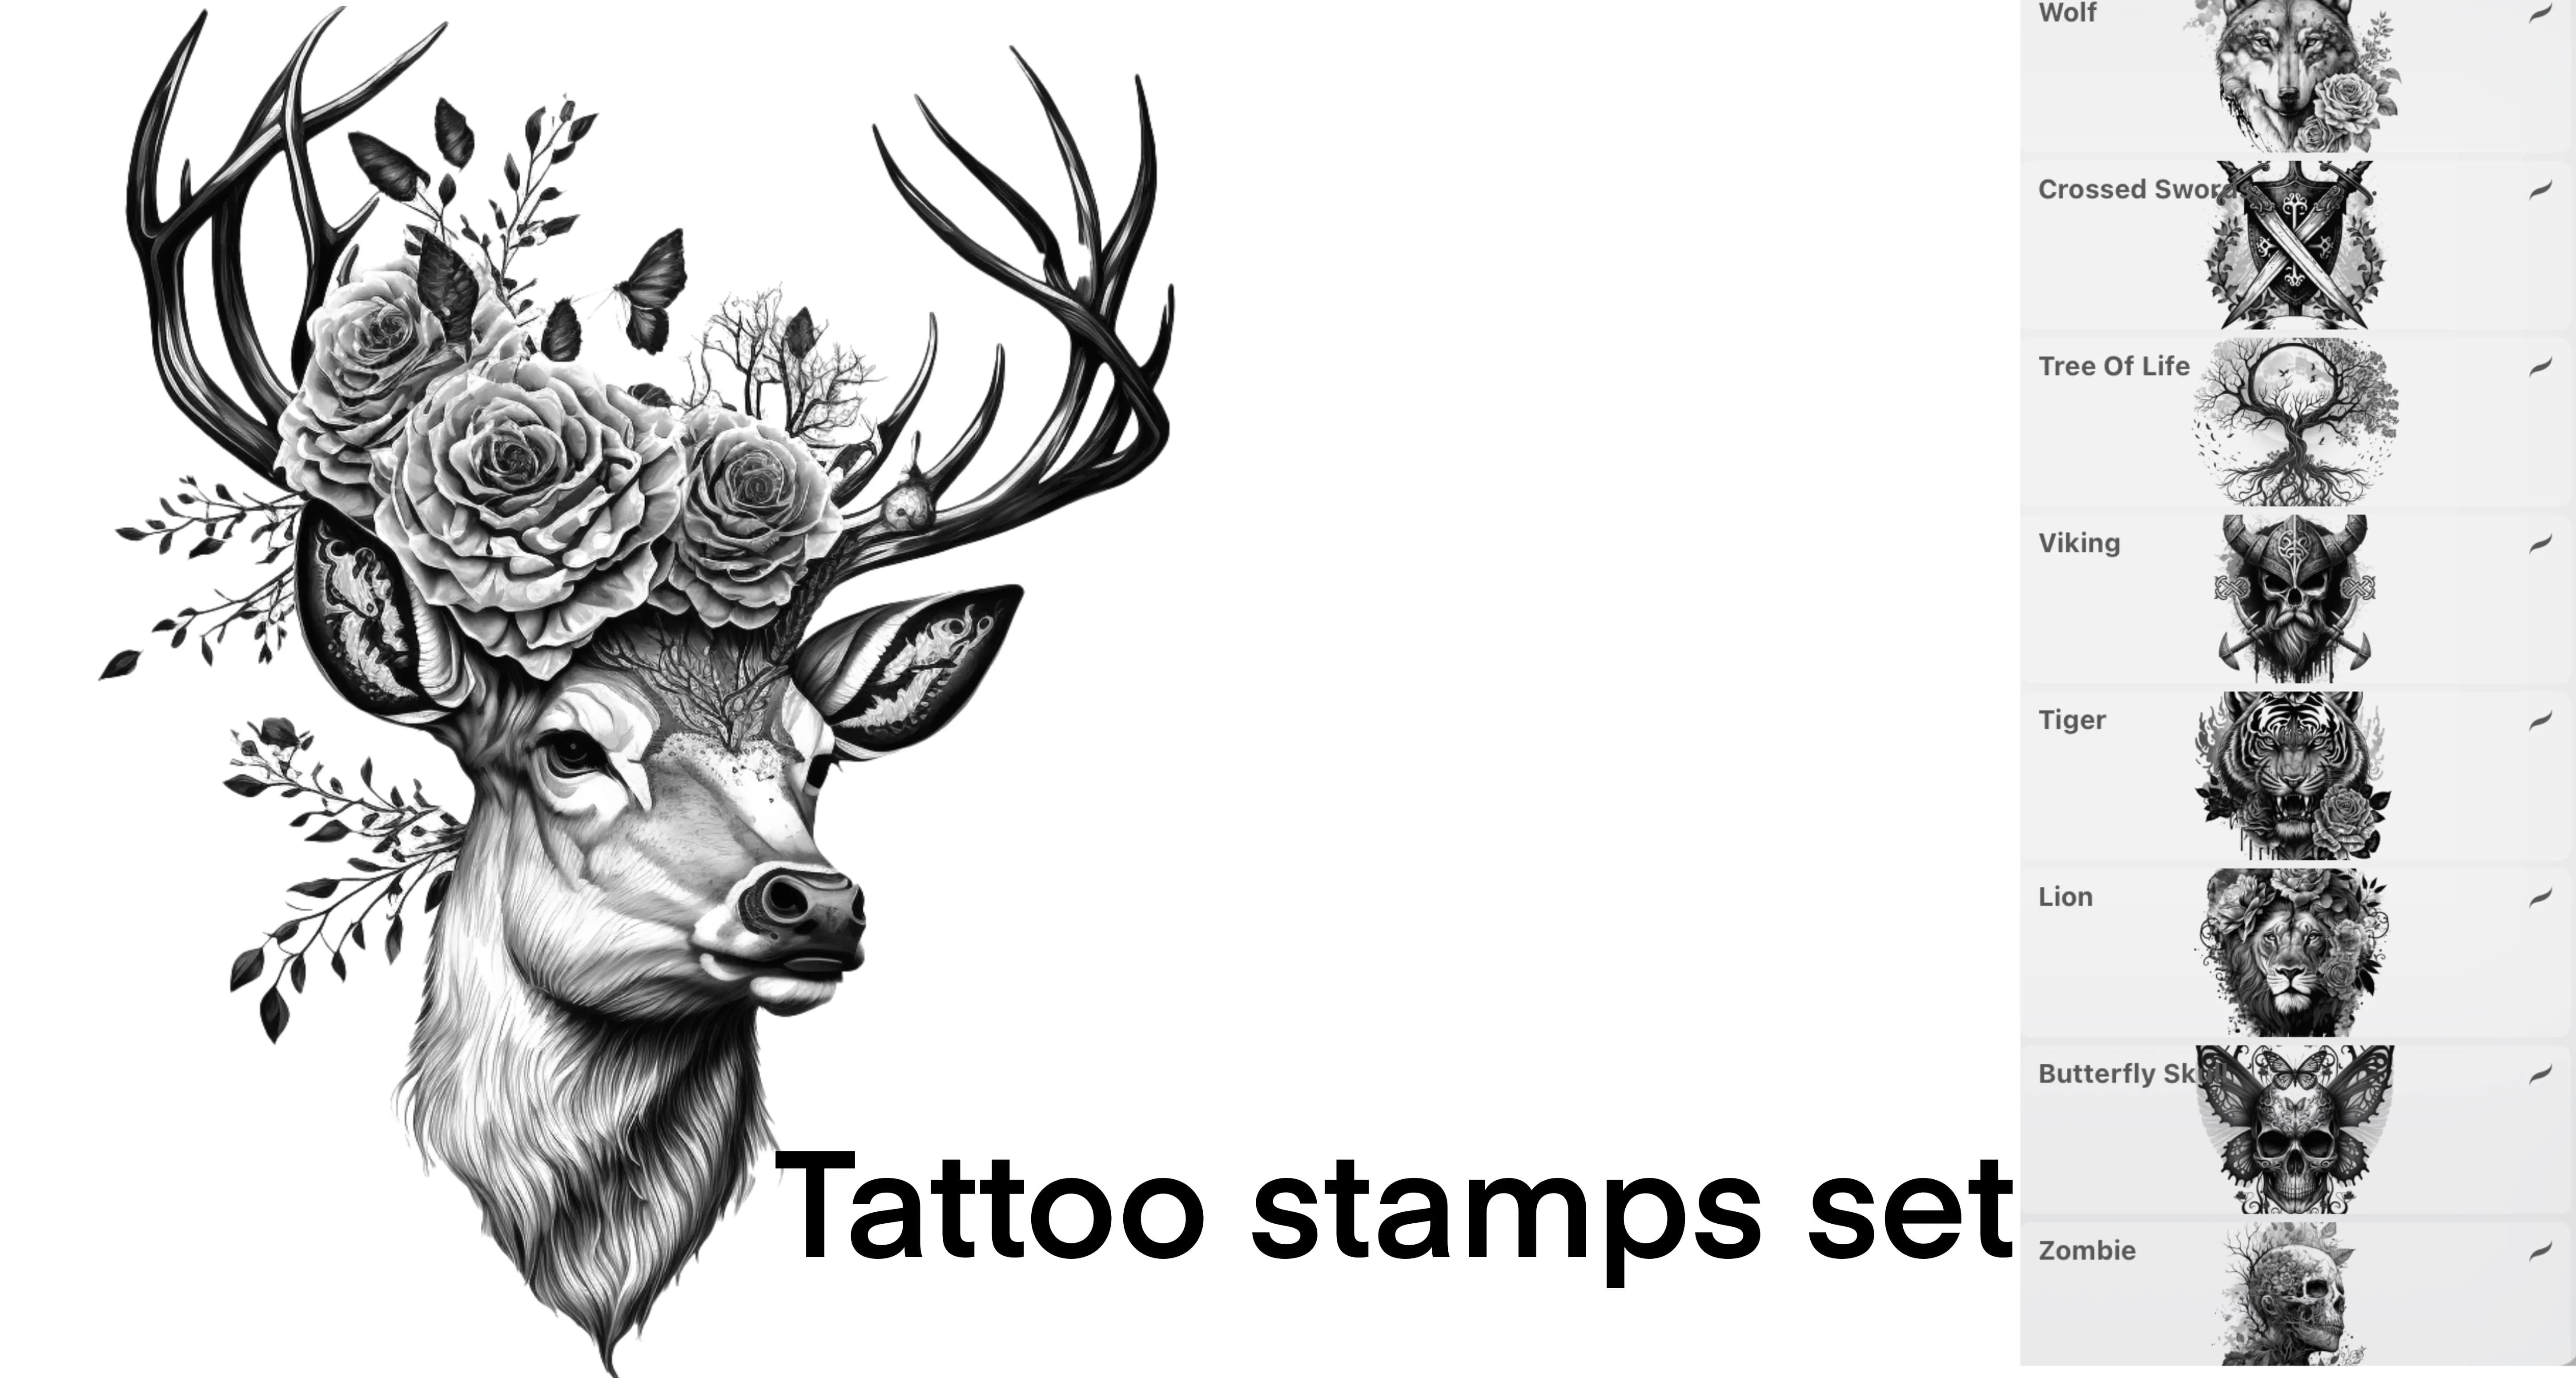
Tattoo Stamp
tribal armbands, swirls, flames and samurai masks
 Procreate Video
Tattooset
wolves, tigers, lions, bears and elephants
 Procreate Video
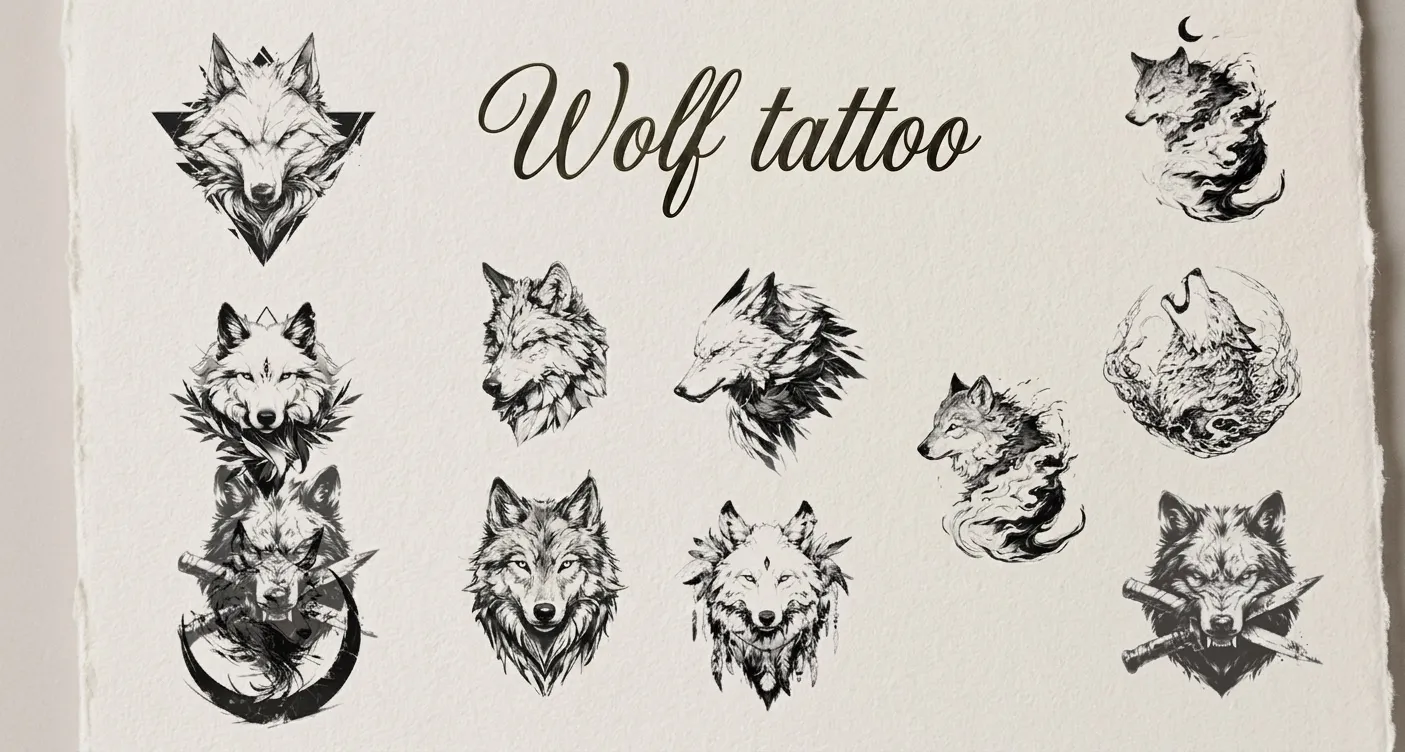
Wolf Tattoo
quick wolf-head sketches, detailed wolf heads and portraits, flowing smoky and ink-style wolves, full wolf designs and ornamental geometric wolf crests
 Scan → get the app
More brush packs in the app
The site is still filling up — the Brusher app already has the complete 200+ set library, with more tattoo packs, all one-tap installs into Procreate.
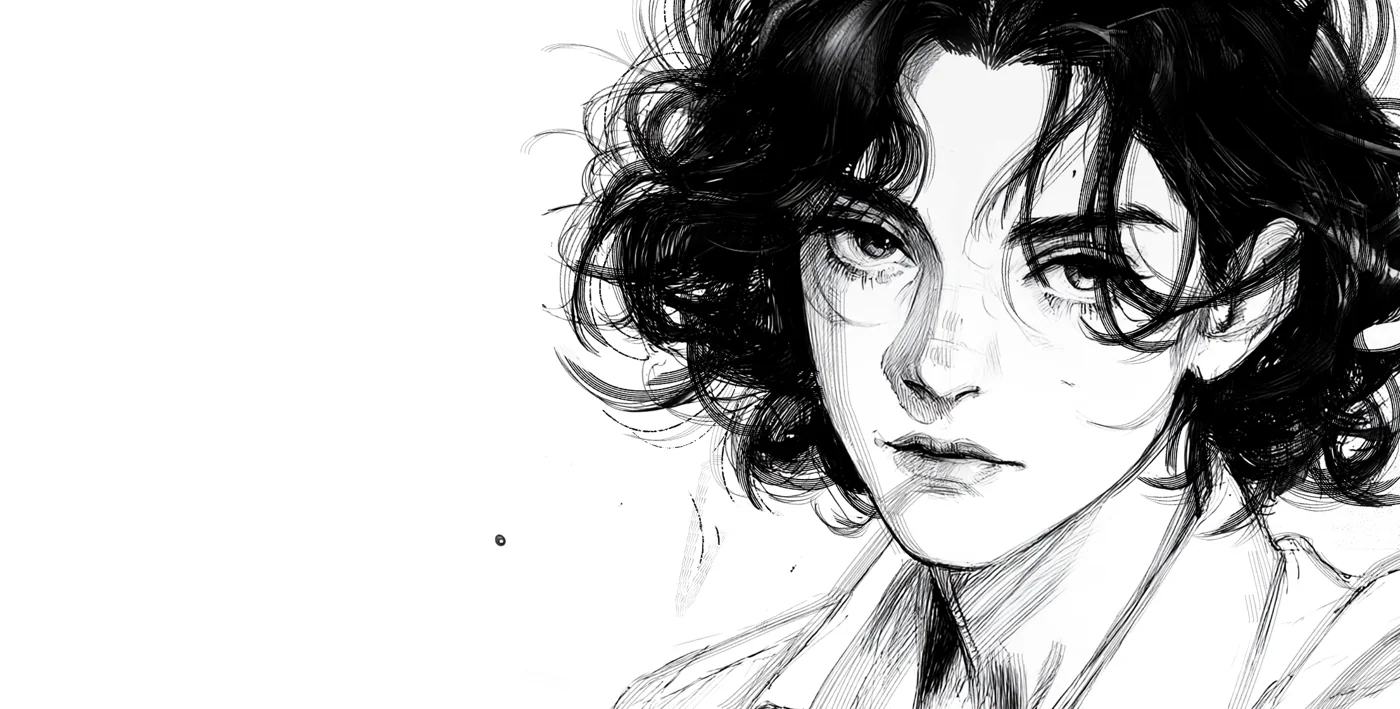
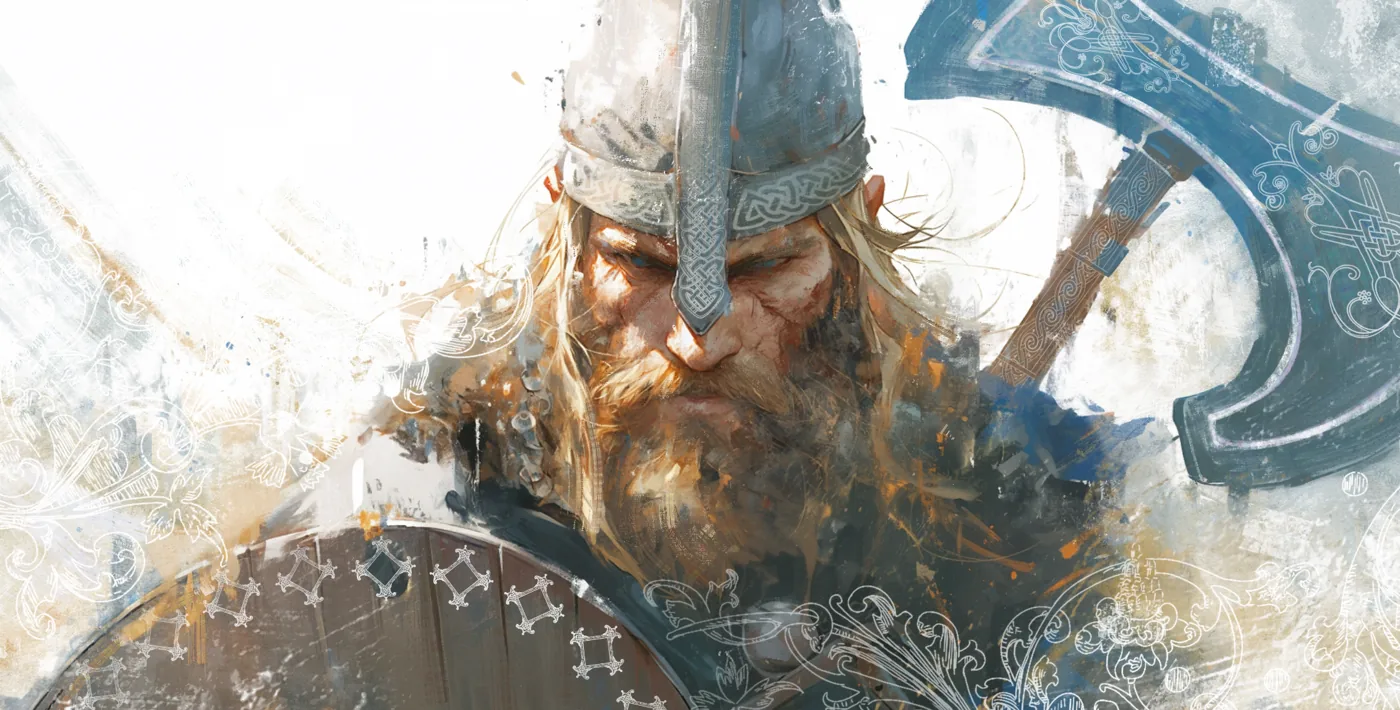
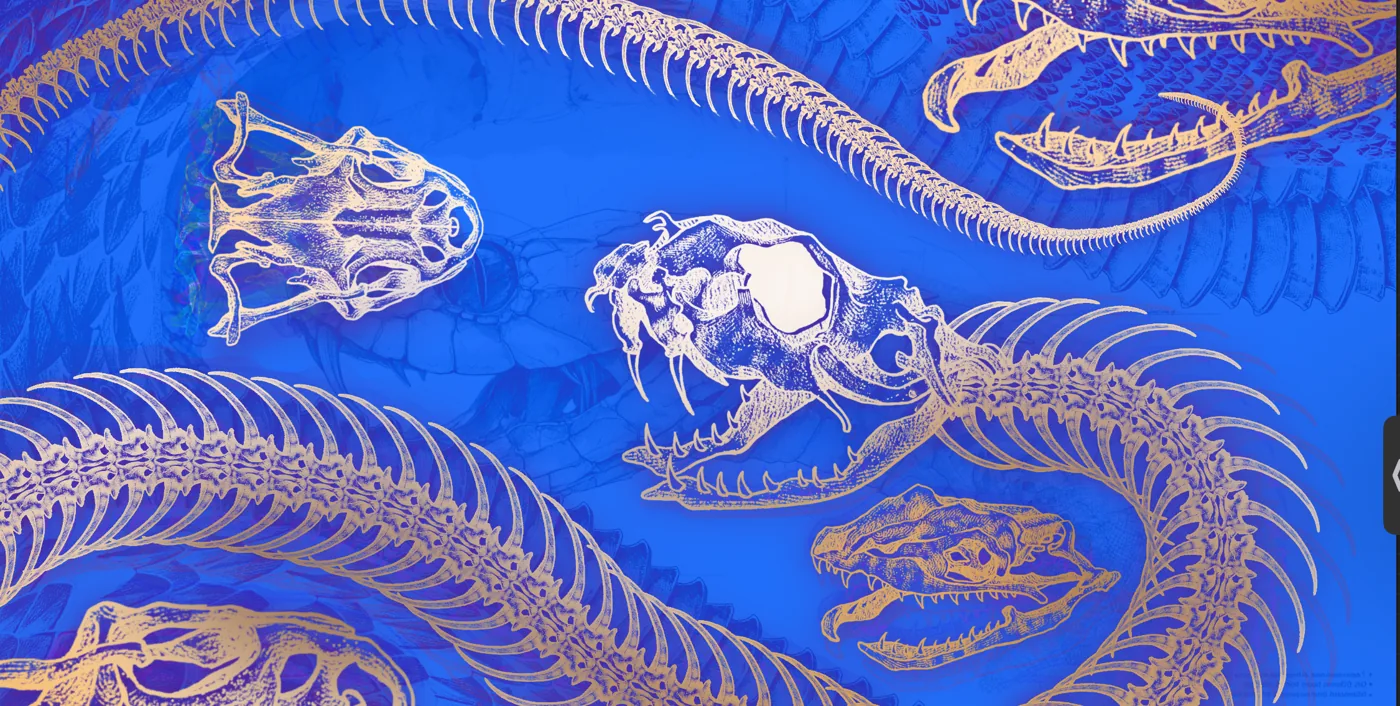
Art made with tattoo brushes
Real pieces drawn in Procreate with brushes from this style.
Tattoo styles
Liners, shaders and stencils — the tattoo toolkit
Three brush types cover almost all tattoo design. Liners lay the crisp, consistent outlines a machine would — you want strong taper and clean edges for everything from bold traditional to delicate fine-line work. Shaders handle grey-wash, blackwork and smooth gradients; a good one fades evenly without banding so your shading translates to skin. Stencil brushes keep lines clean and high-contrast so the design prints sharply on thermal paper.
Add dotwork and stipple brushes for stippled shading and mandala-style pieces, plus lettering brushes for script tattoos, and you can design virtually any style start to finish on the iPad — no light box, no redraws.
Designing tattoos for real skin
Designing for skin has its own rules. Keep line weight bold enough to age well — fine lines that look crisp on screen can blur over years on skin, so err toward confident weight. Build contrast with genuine black, since strong blacks are what make a tattoo read from a distance. And design on a canvas sized to the real placement so proportions hold when the stencil is printed.
For clients, the iPad is also a selling tool: mock the design onto a photo of the placement to show scale and flow before committing. When the design is final, flatten the linework to a clean, high-contrast layer and it's ready to export as a stencil.
How to design a tattoo in Procreate
From reference to a clean, stencil-ready design — the workflow tattoo artists use to draft on iPad.
- 1
Set up a true-size canvas
Create a canvas at the real placement size (e.g. a 4-inch forearm piece) so line weight and proportion match what actually goes on skin.
- 2
Rough the composition
On a low-opacity layer, sketch the design loosely — nail the flow, silhouette and how it wraps the body part before committing to any detail.
- 3
Line it with a tattoo liner
On a new layer, ink clean outlines with a liner brush. Keep line weight bold and confident so the design ages well once tattooed.
- 4
Add shading and blackwork
On separate layers, build grey-wash or solid black with a shader brush, fading smoothly and keeping strong contrast so the piece reads from a distance.
- 5
Make the stencil
Duplicate the linework, drop the fills, and boost it to high-contrast black on white — this clean line layer is what prints to thermal stencil paper.
- 6
Mock it up for the client
Drop the design onto a photo of the placement to preview scale and flow, then export the stencil layer as a PNG ready to print.
Frequently asked questions
What are the best tattoo brushes for beginners?+
Start with three essentials — a bold liner, a smooth shader and a stencil brush. That trio covers outlining, shading and printing, which is everything you need to draft an inkable design. Add dotwork and lettering brushes as your style develops.
What's the difference between a stencil and a liner brush?+
A liner brush draws the design's outlines with natural taper and weight, the way a machine lines skin. A stencil brush is tuned for clean, high-contrast lines that print sharply on thermal paper, so the design transfers crisply for tattooing. Many artists line with one, then prepare the stencil from a high-contrast copy.
How do I make a tattoo stencil in Procreate?+
Duplicate your finished linework, remove any fills or shading, and increase the contrast so it's solid black on white. Flatten that clean line layer and export it as a PNG — it's now ready to print to thermal stencil paper for transfer.
What brush settings work best for tattoo designs?+
Use liners with strong pressure-to-size taper and moderate StreamLine for clean, confident outlines, and shaders with smooth, band-free falloff for grey-wash. Above all, keep line weight bold — fine on-screen lines can blur once tattooed, so design with weight that will age well on skin.