Blending Procreate Brushes
Updated September 2026
Blending and shading Procreate brushes for iPad: smooth smudge, soft shader, gradient transitions. Free & premium packs.
Brusher has 10 blending Procreate brush packs — smudge, soft blender, shader — each a native .brushset that installs into Procreate in one tap on iPad.
Blending Procreate brushes are what separate flat, banded colour from smooth, painterly gradients. Load one into the Smudge tool and it pushes and merges pigment with real texture instead of the plasticky smear you get from a soft airbrush. For skin, skies, metal and soft shadows, the right blender is the most-used brush in your library.
This collection covers the two jobs artists blend for: soft optical mixing (skin, gradients, atmosphere) and textured, brushy blending that keeps the marks of the medium visible.
Blending Procreate Brushes
Procreate Video
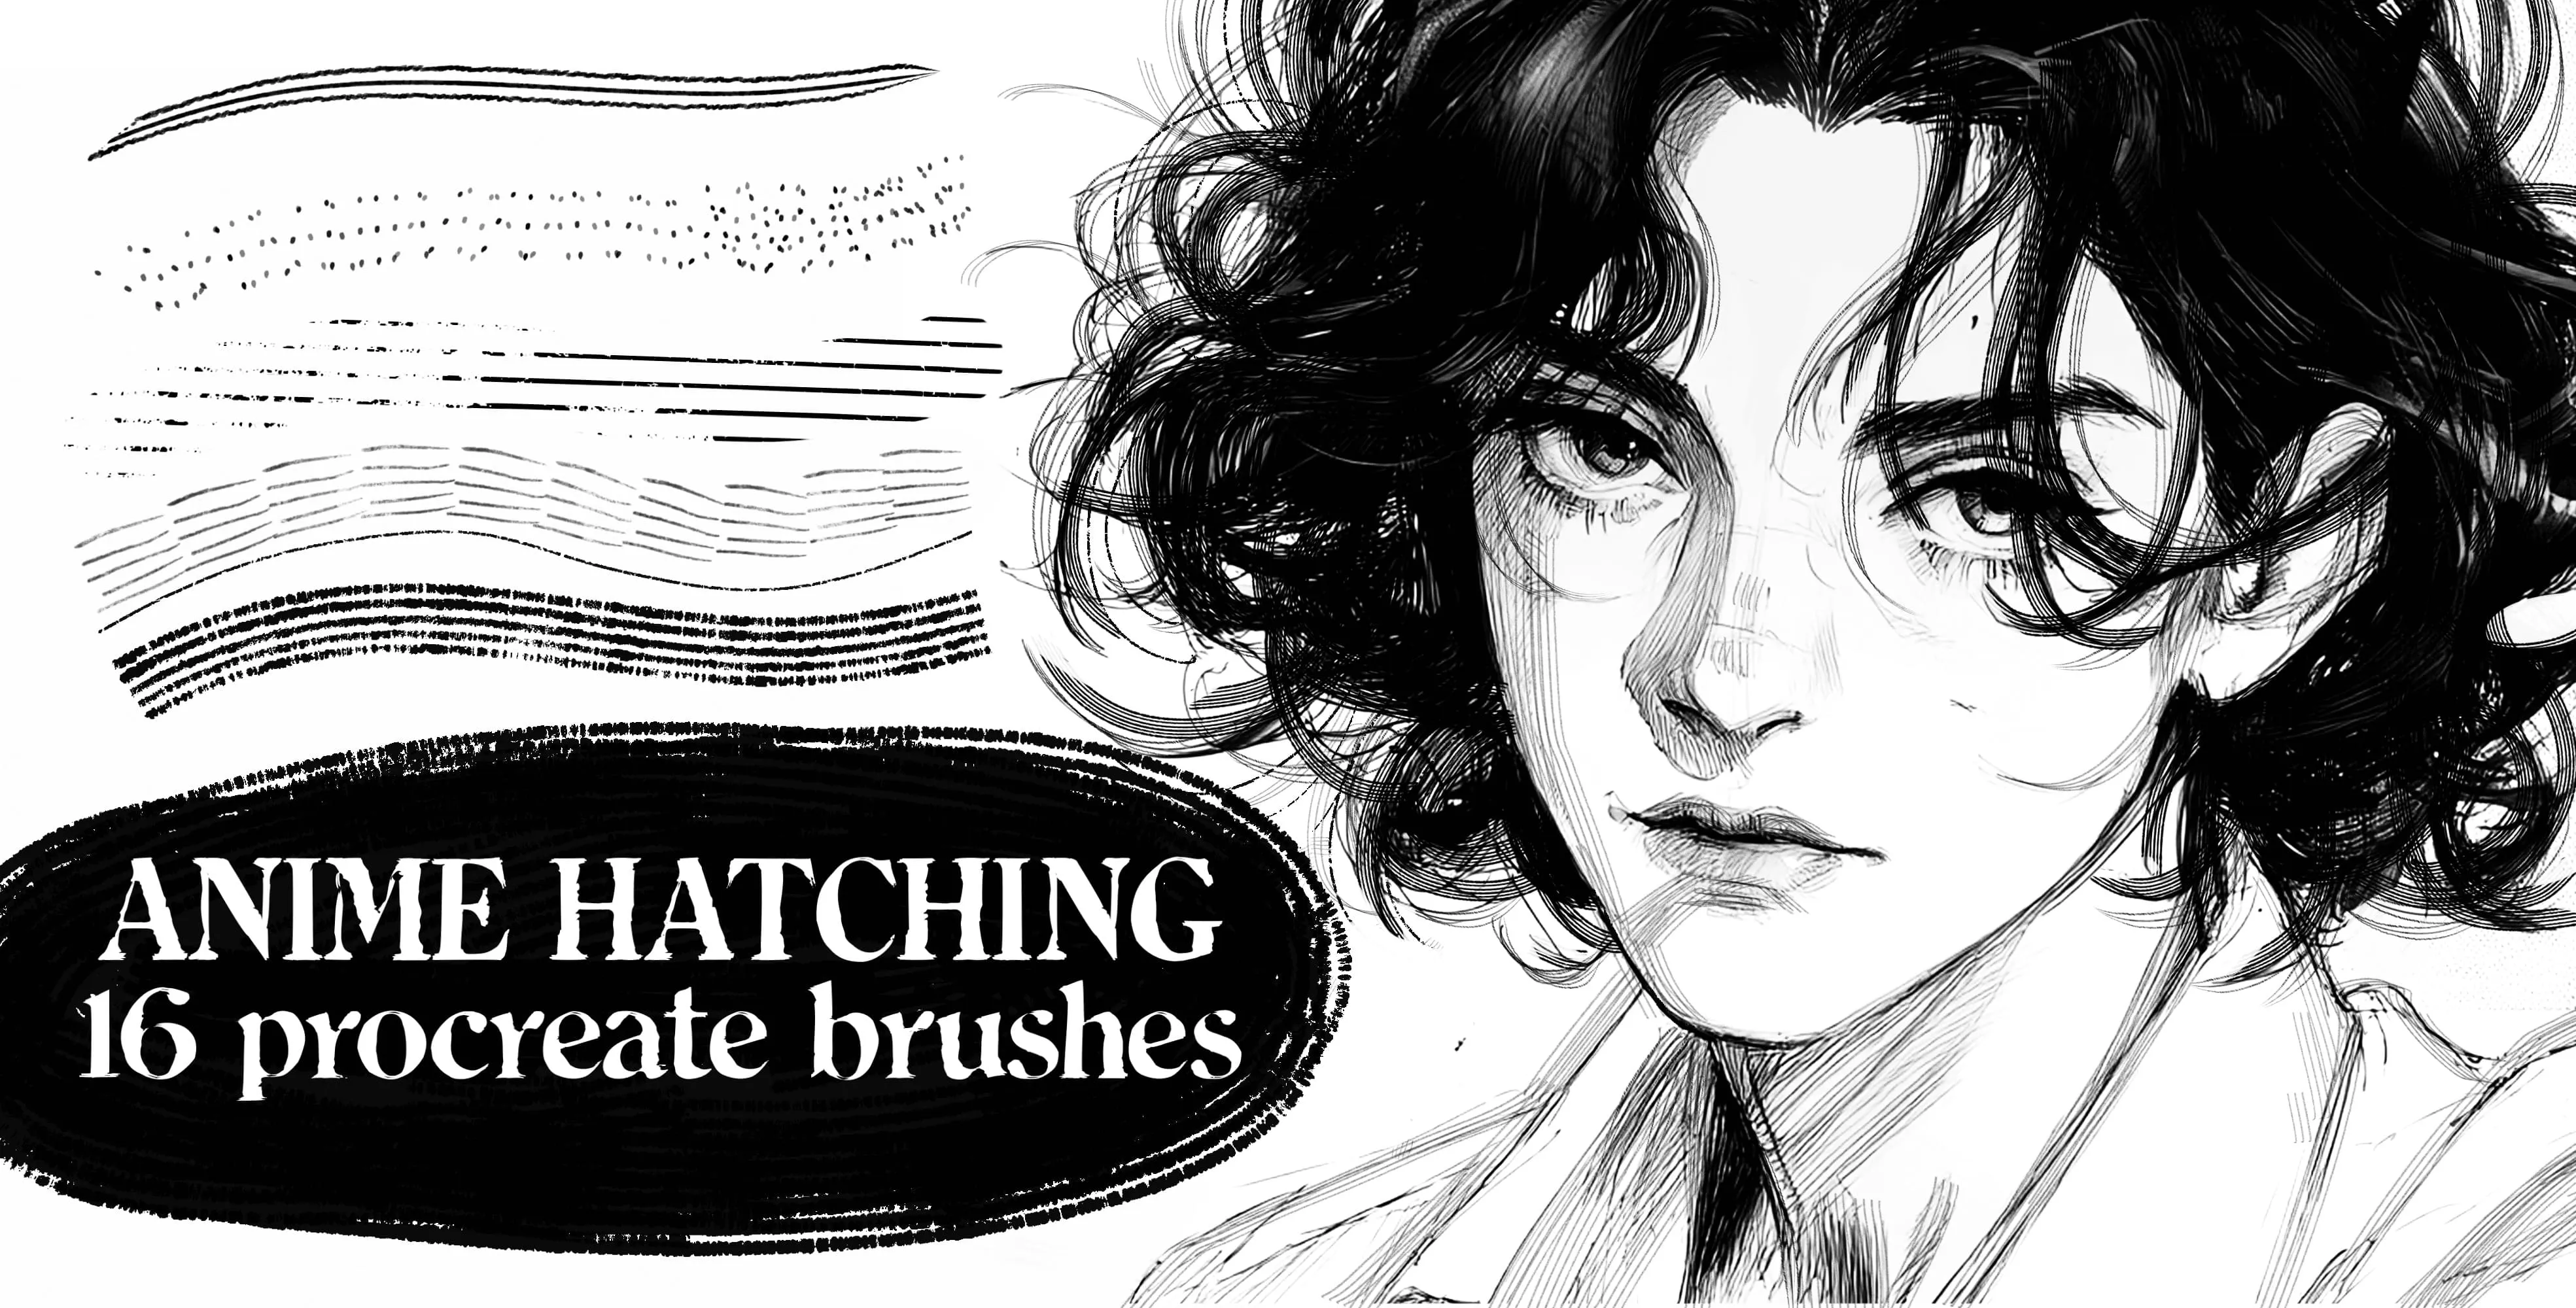
Anime Hatching
smooth organic tapered and textured hatch
Procreate Video
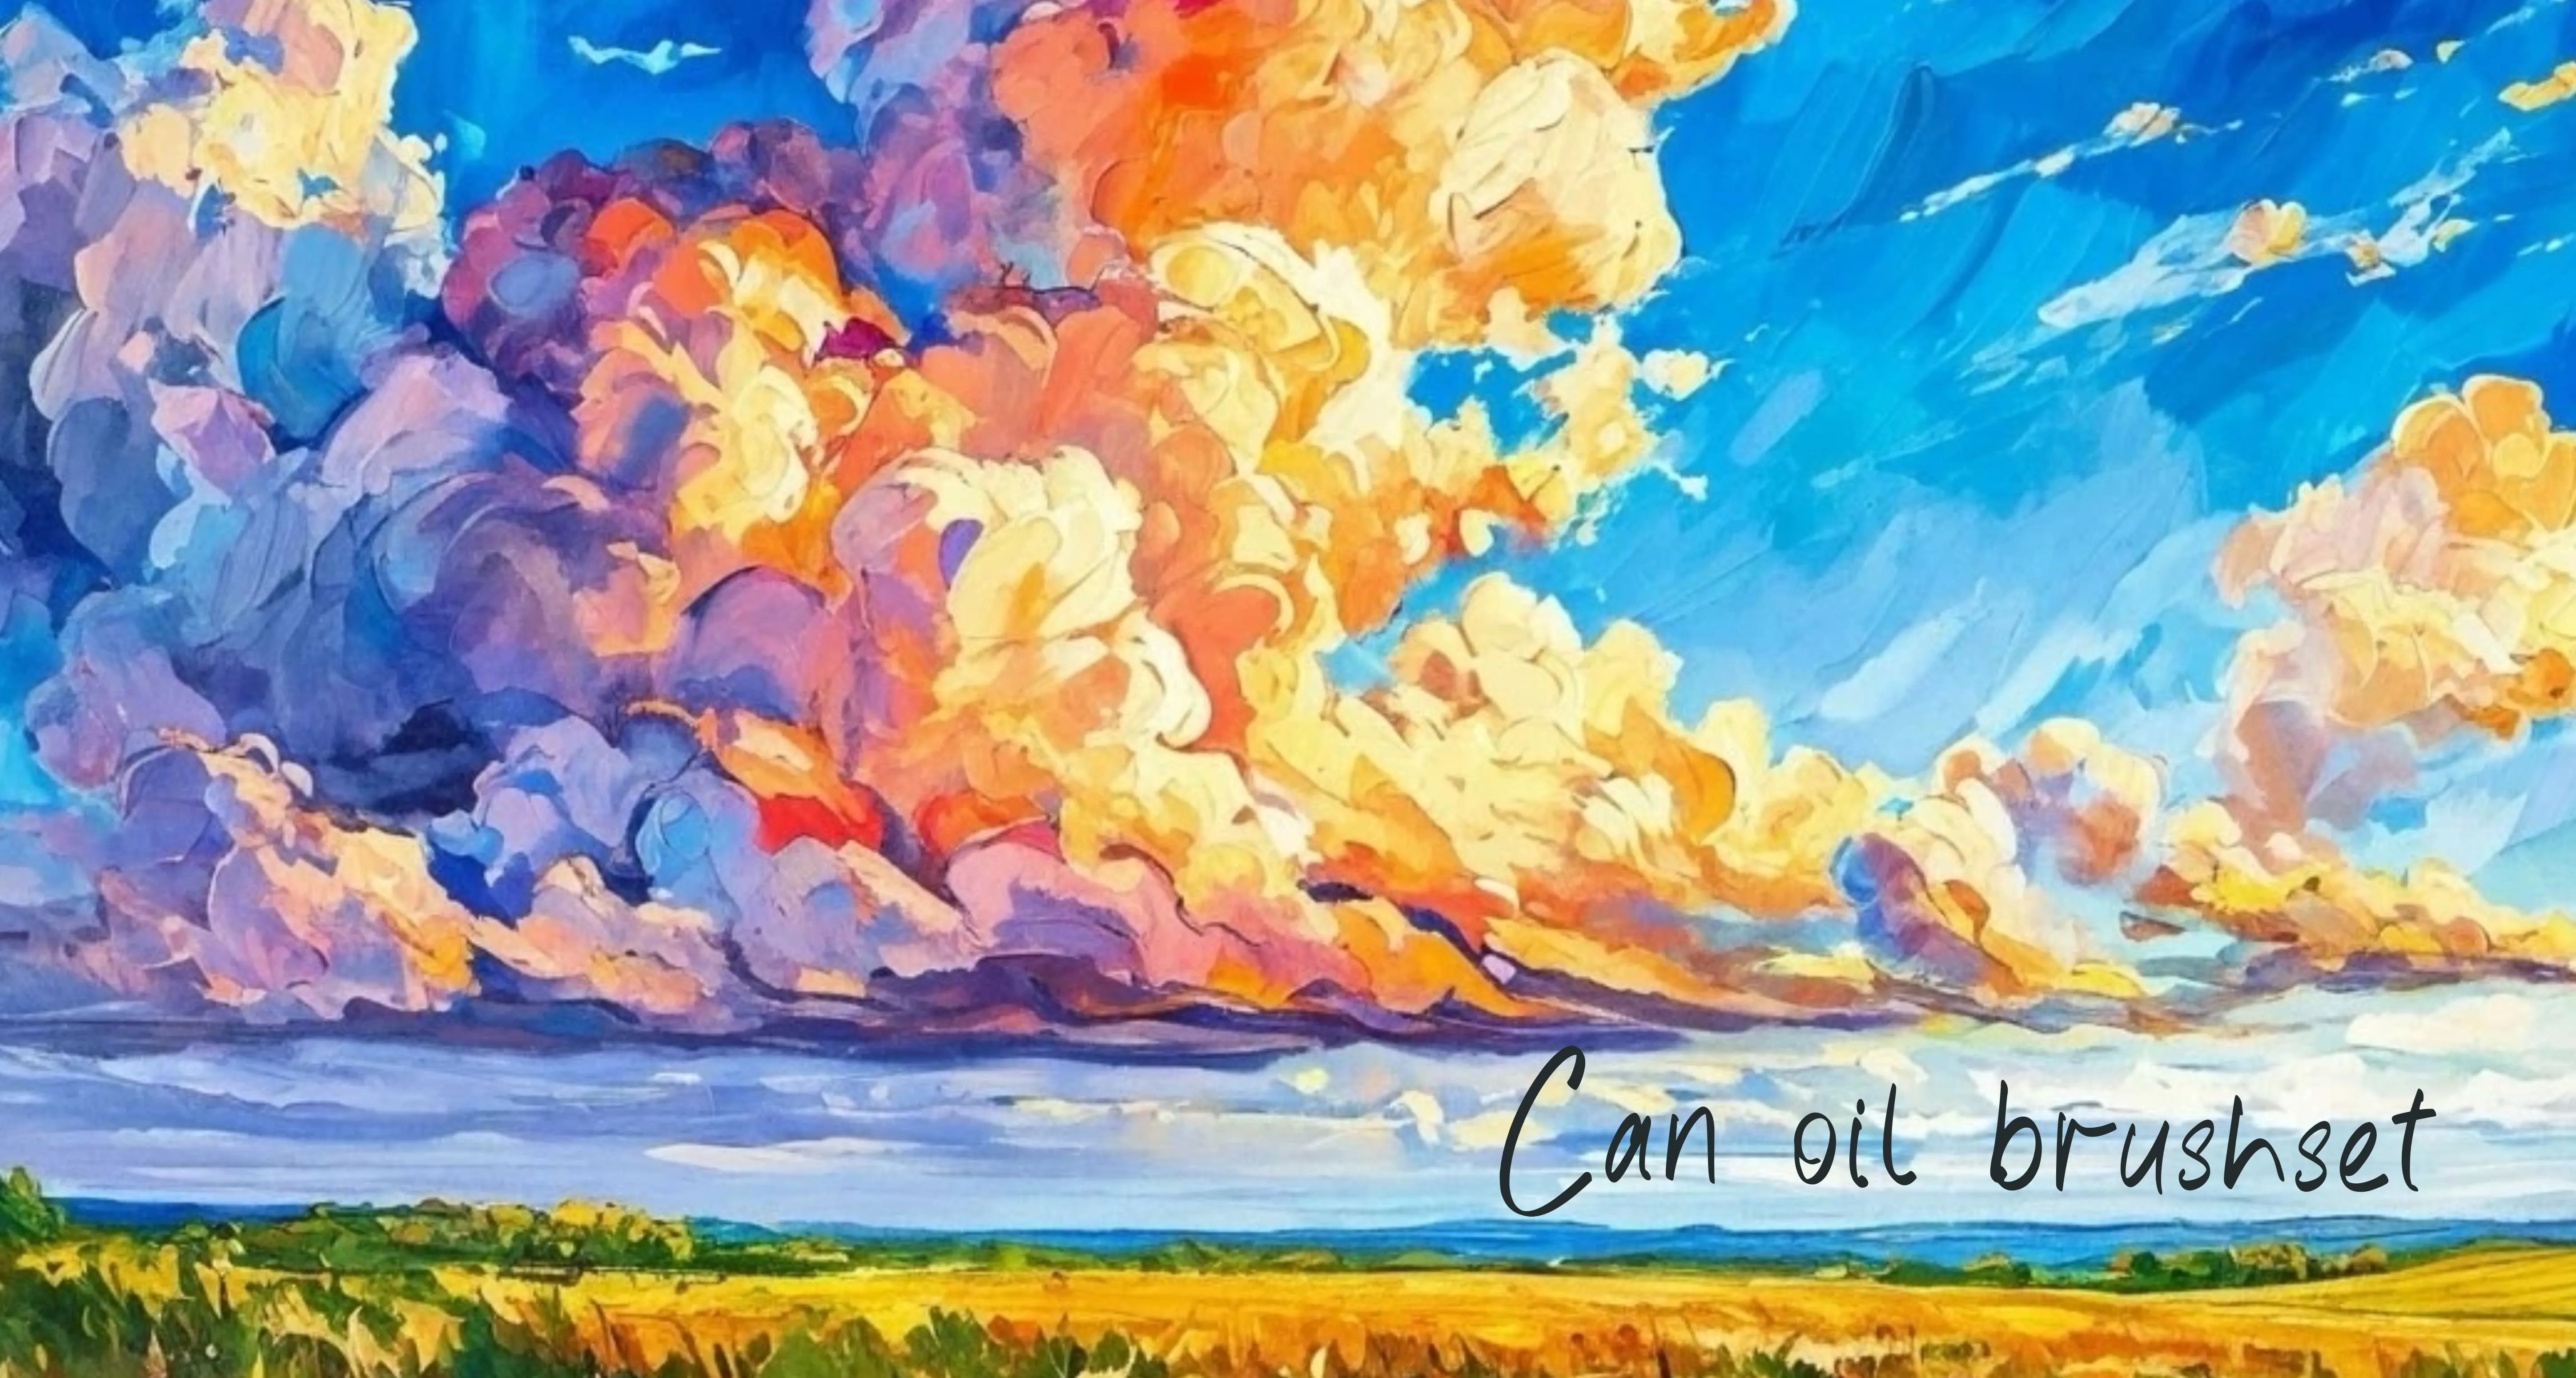
Can Oil
canvas weave, burlap, coarse linen and primed
Procreate Video
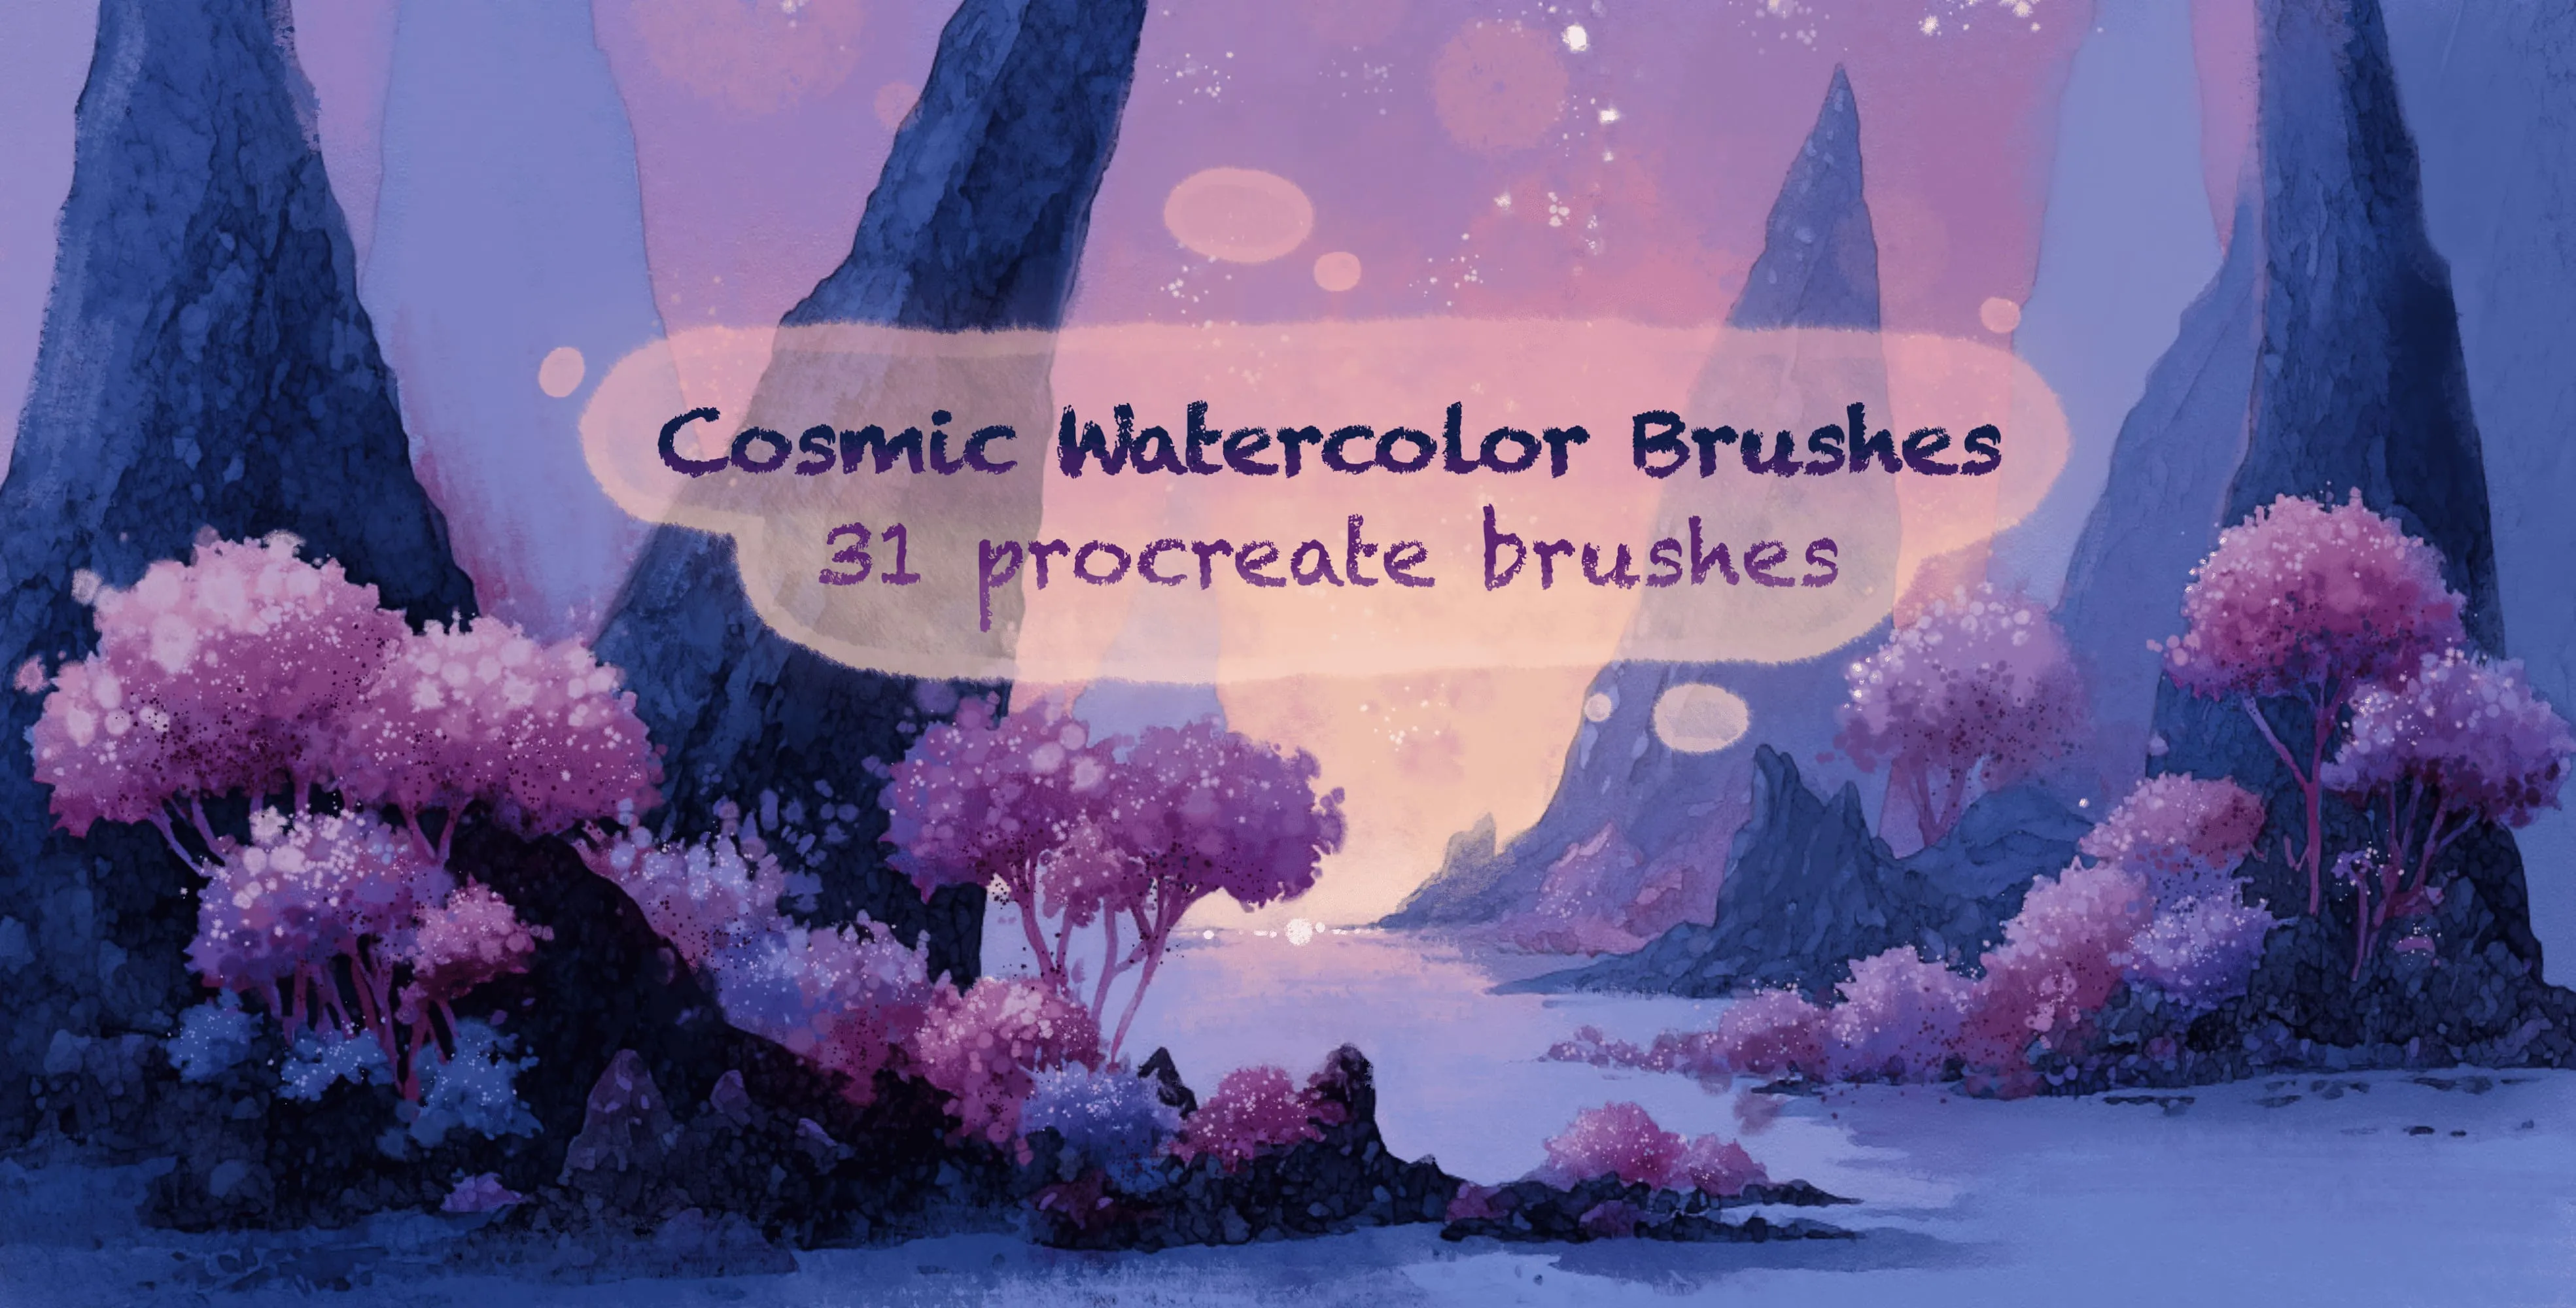
Cosmic Watercolor Brushes
nebula clouds, star dust and starfields
Procreate Video
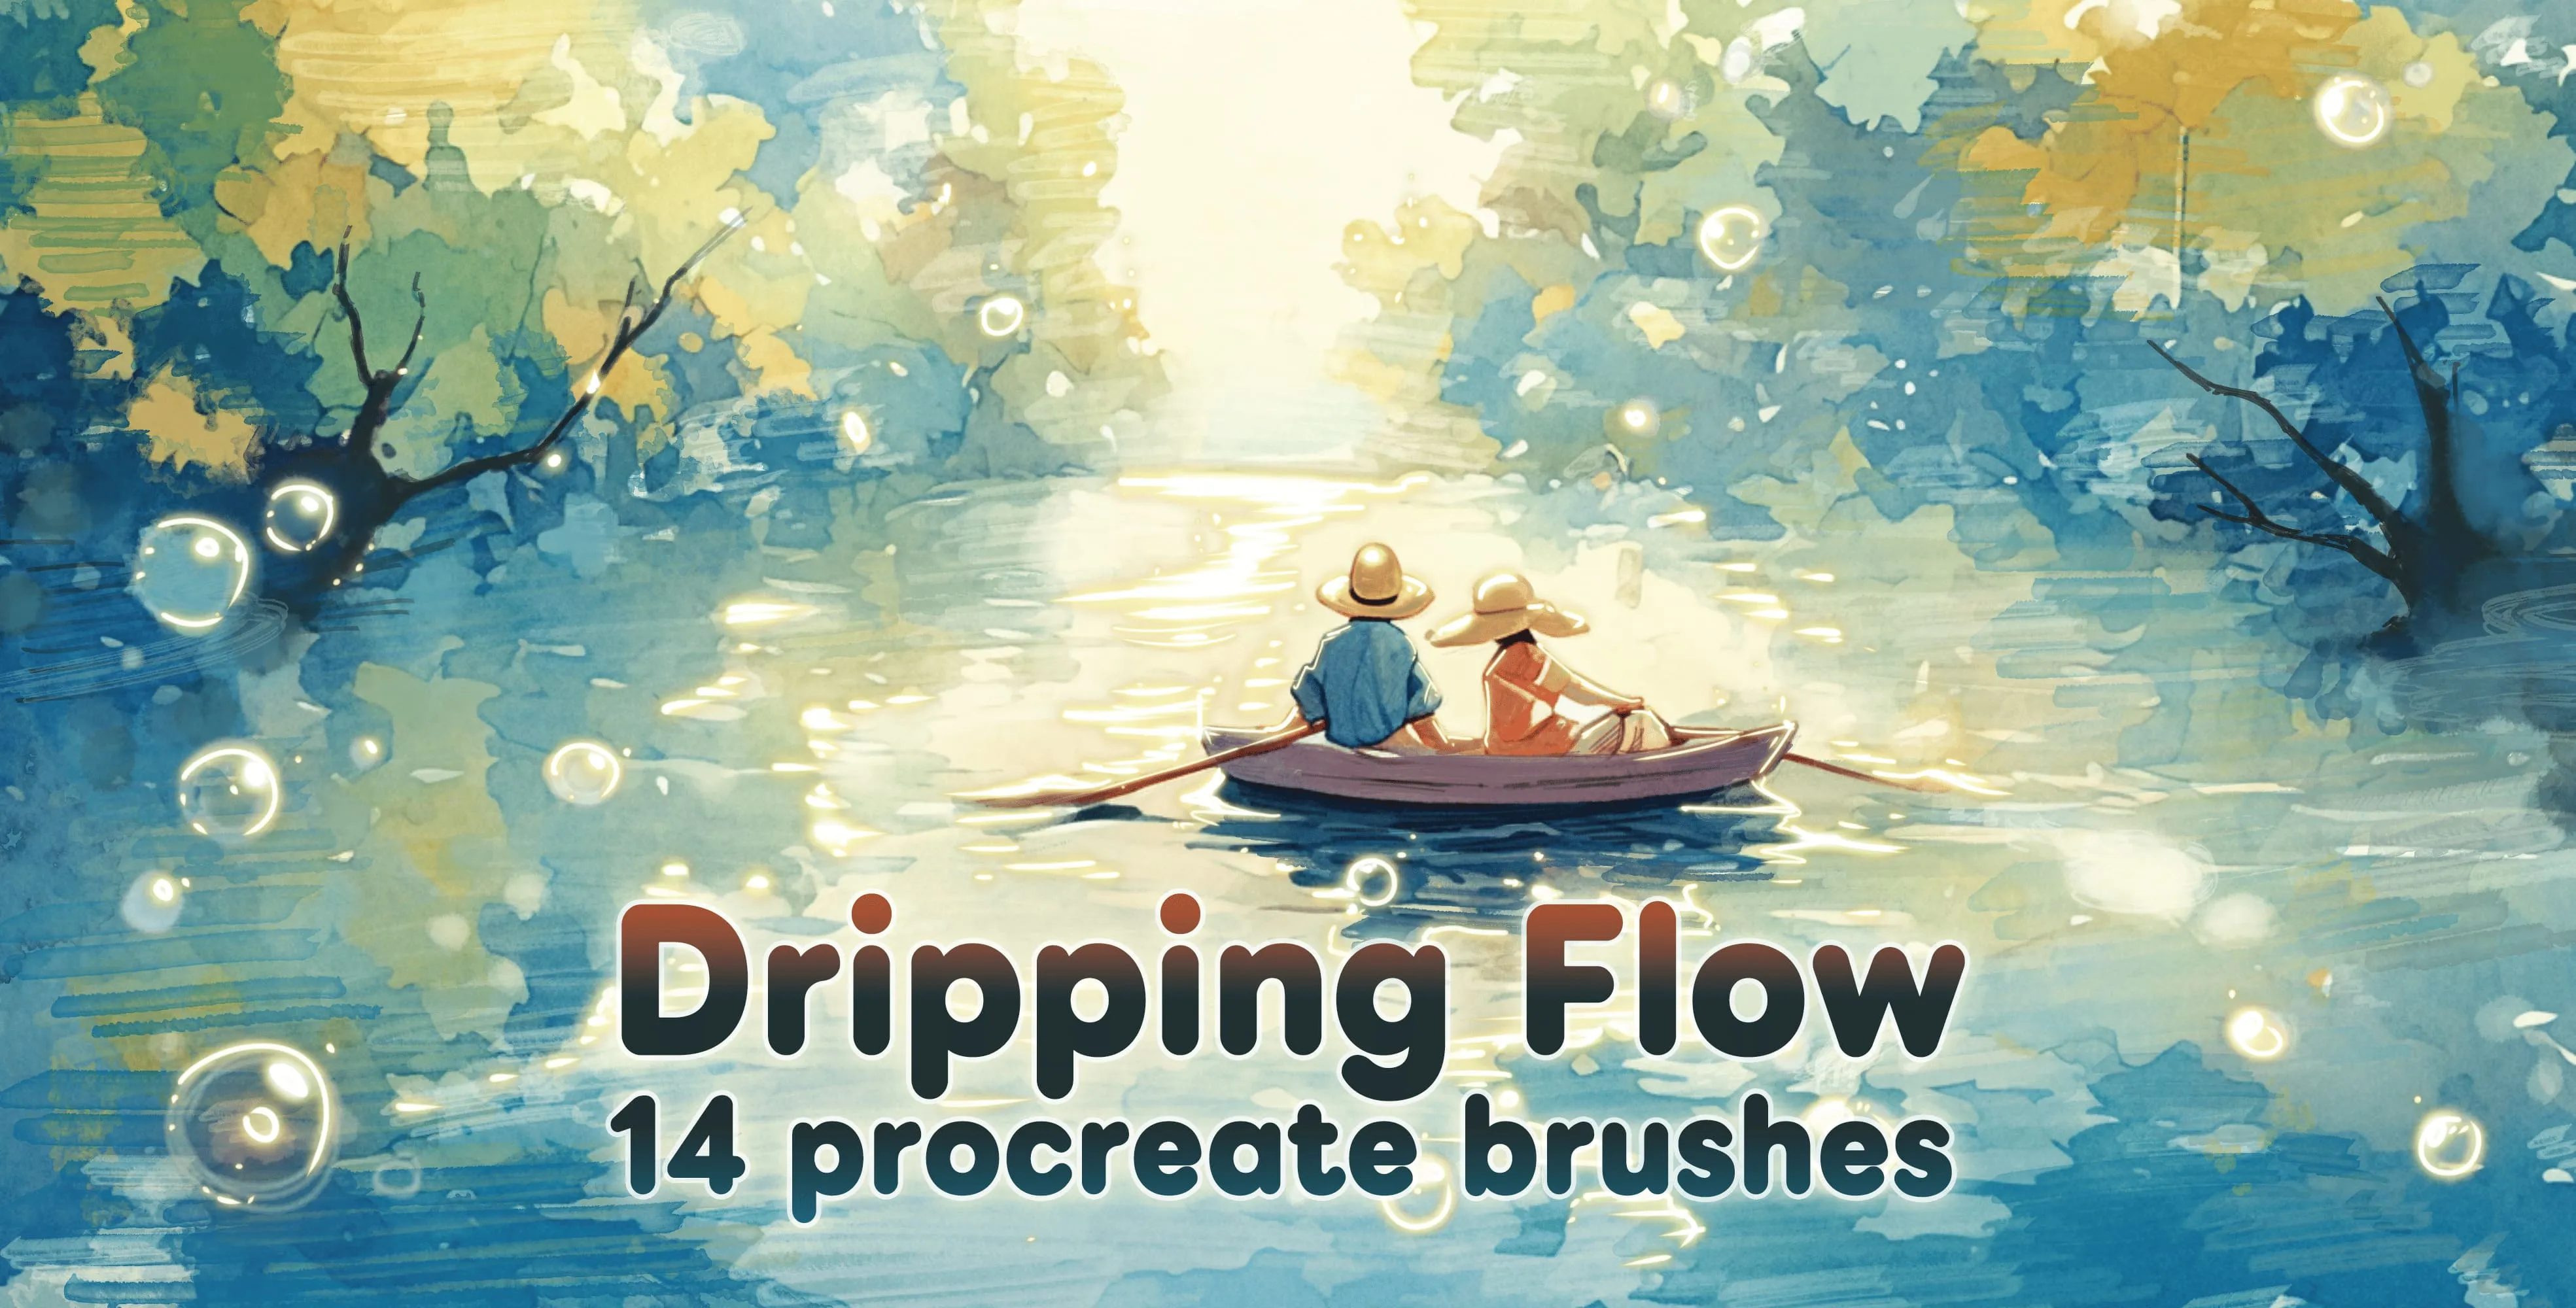
Dripping Flow
bold, detonation outlines and heavyweight
 Procreate Video
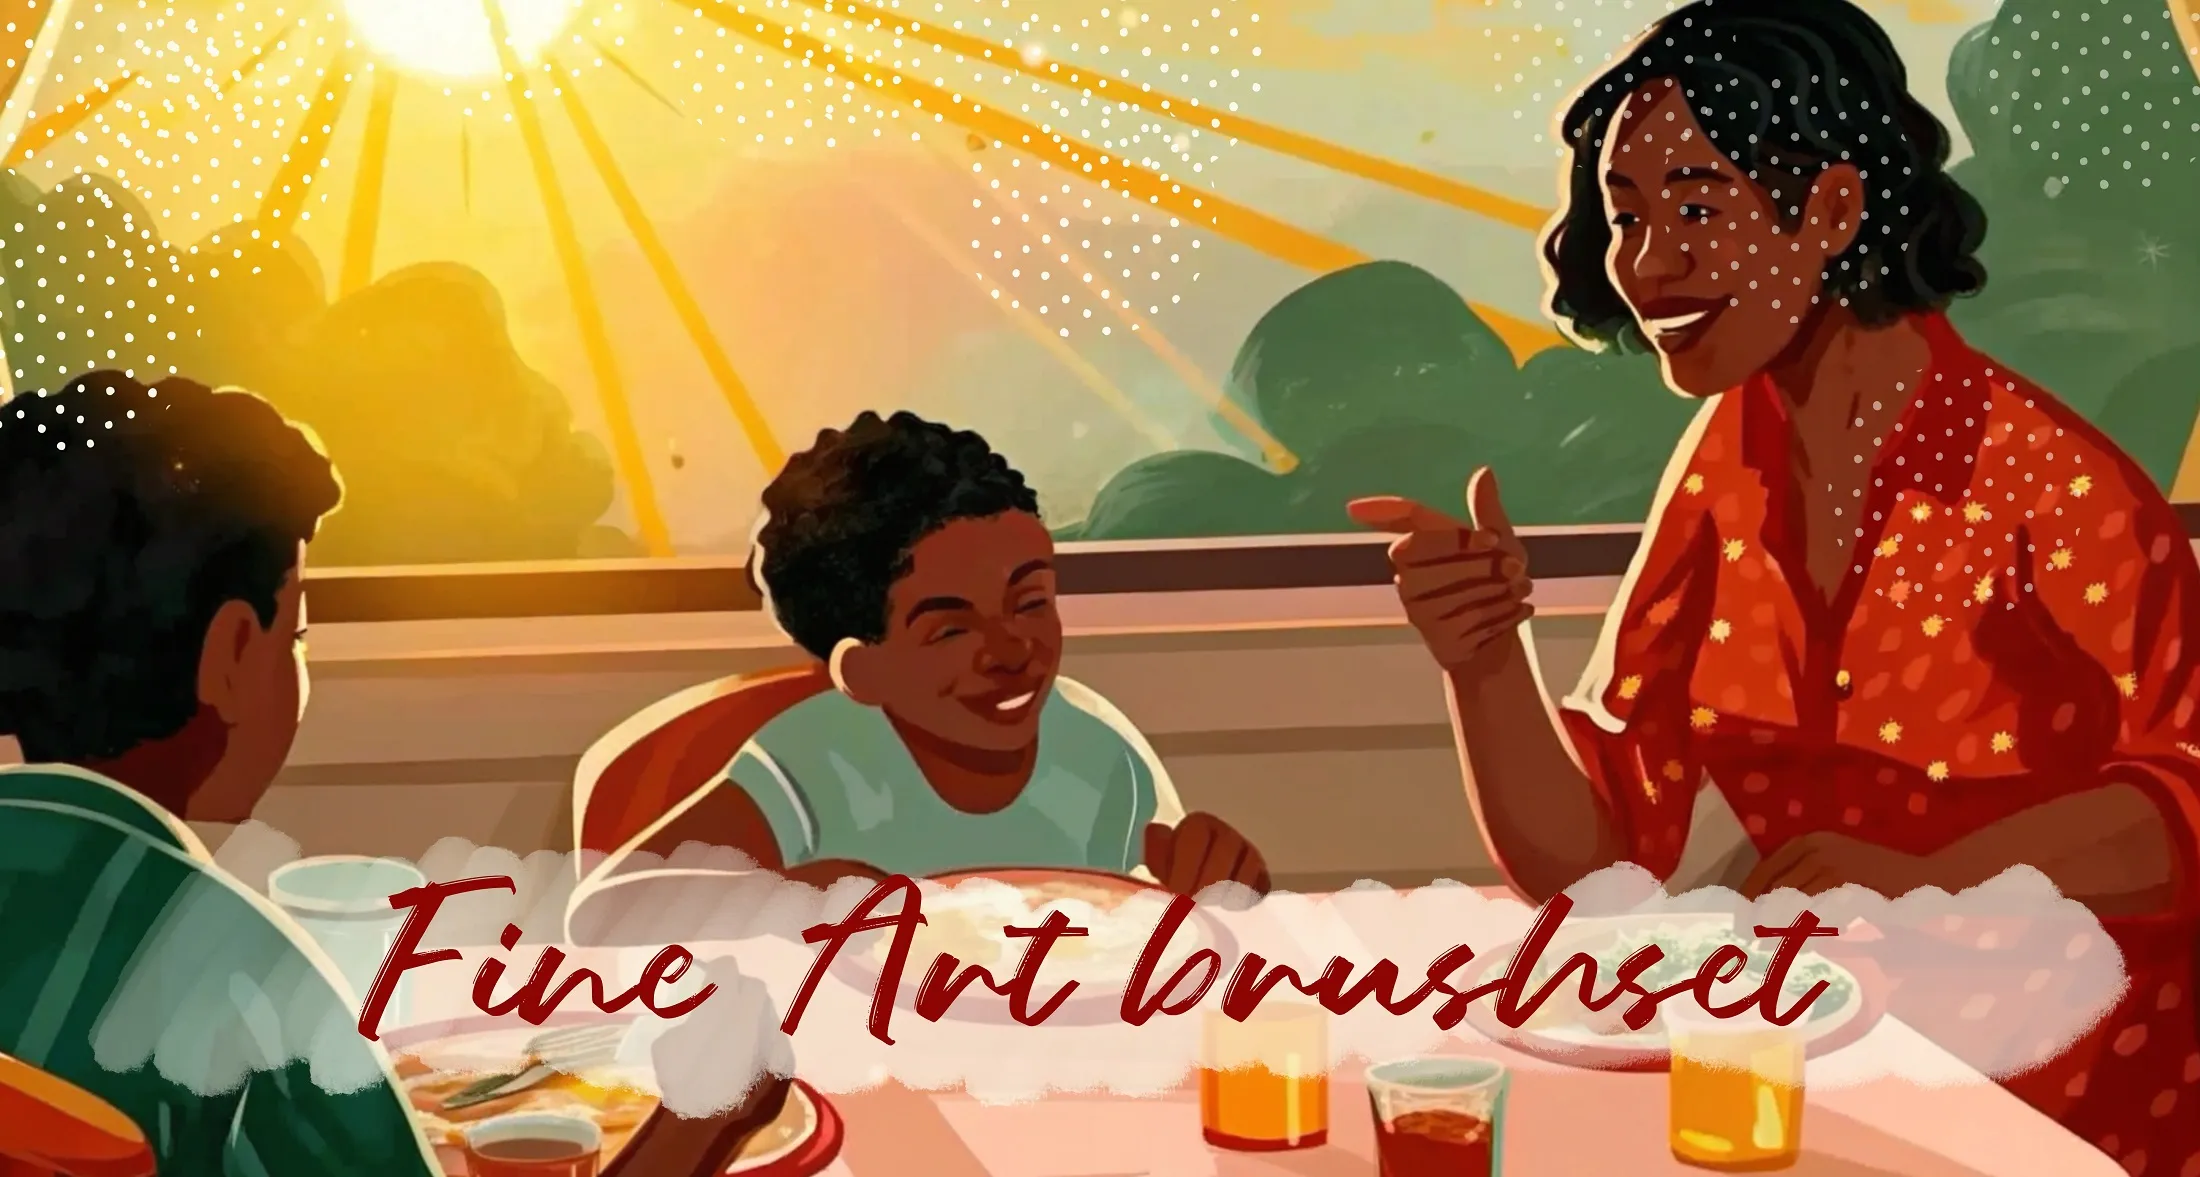
FineArt
pencil, pen, ink and soft round; soft airbrush; oil brushes
 Procreate Video
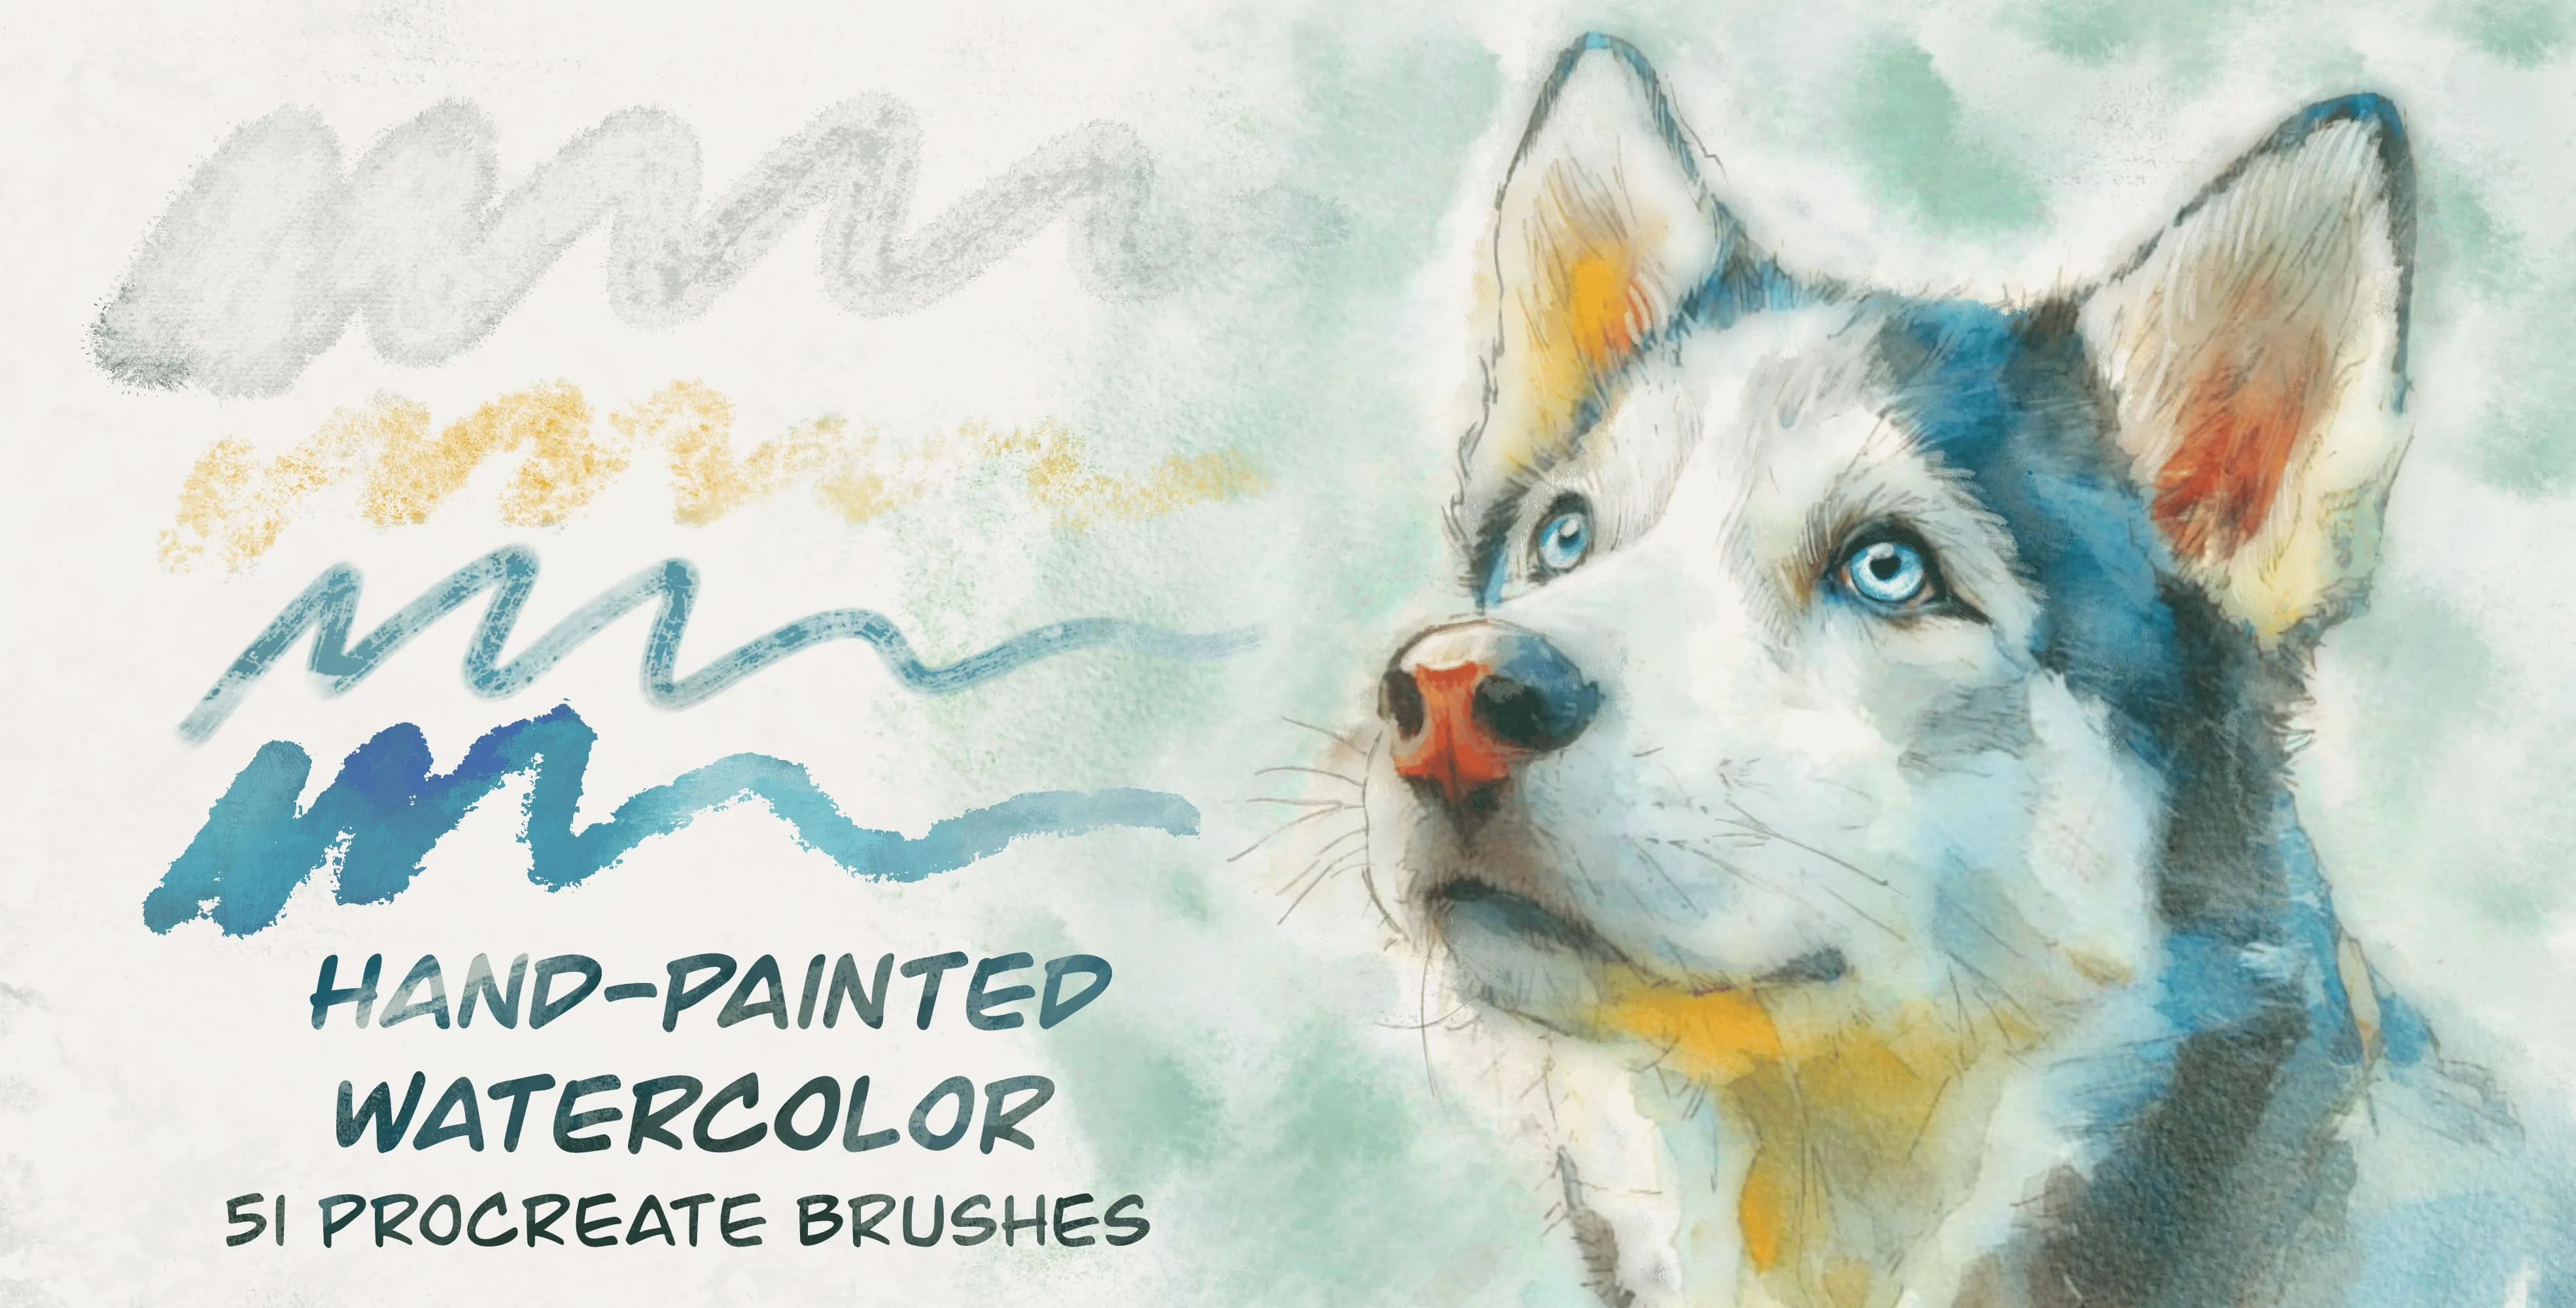
Hand Painted Watercolor
washes and wet watercolor, sumi ink bases, heavy granulation and sedimentation
 Procreate Video
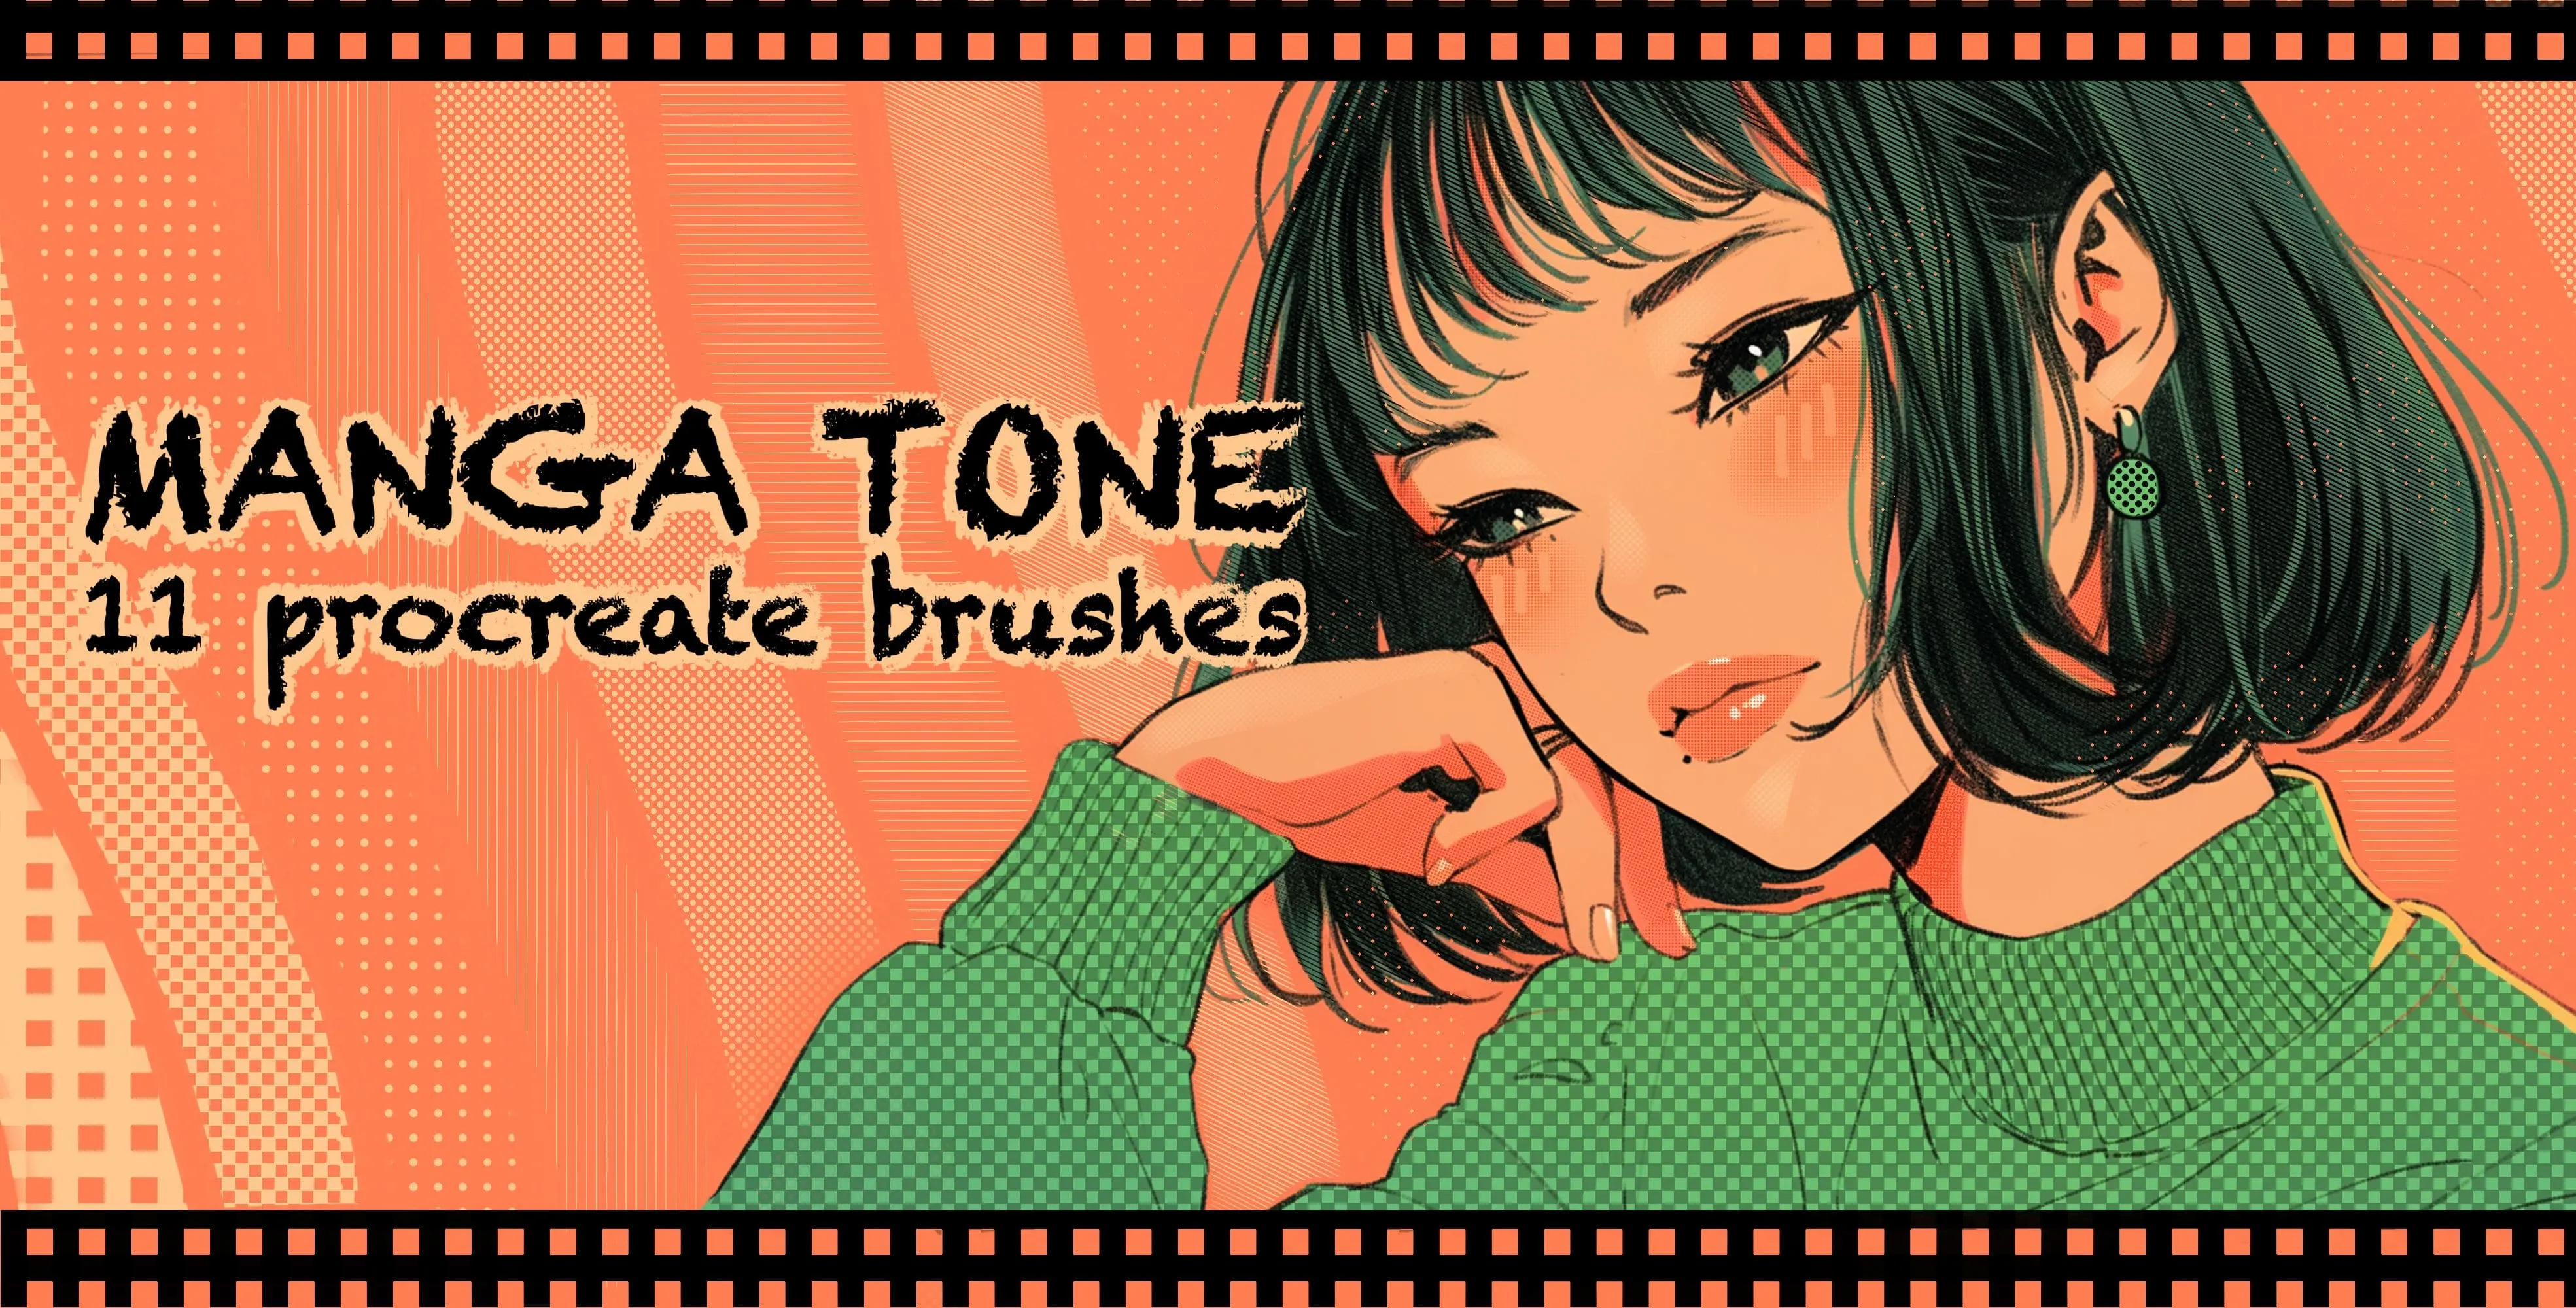
Manga Tone
diagonal, vertical and horizontal line tones
 Procreate Video
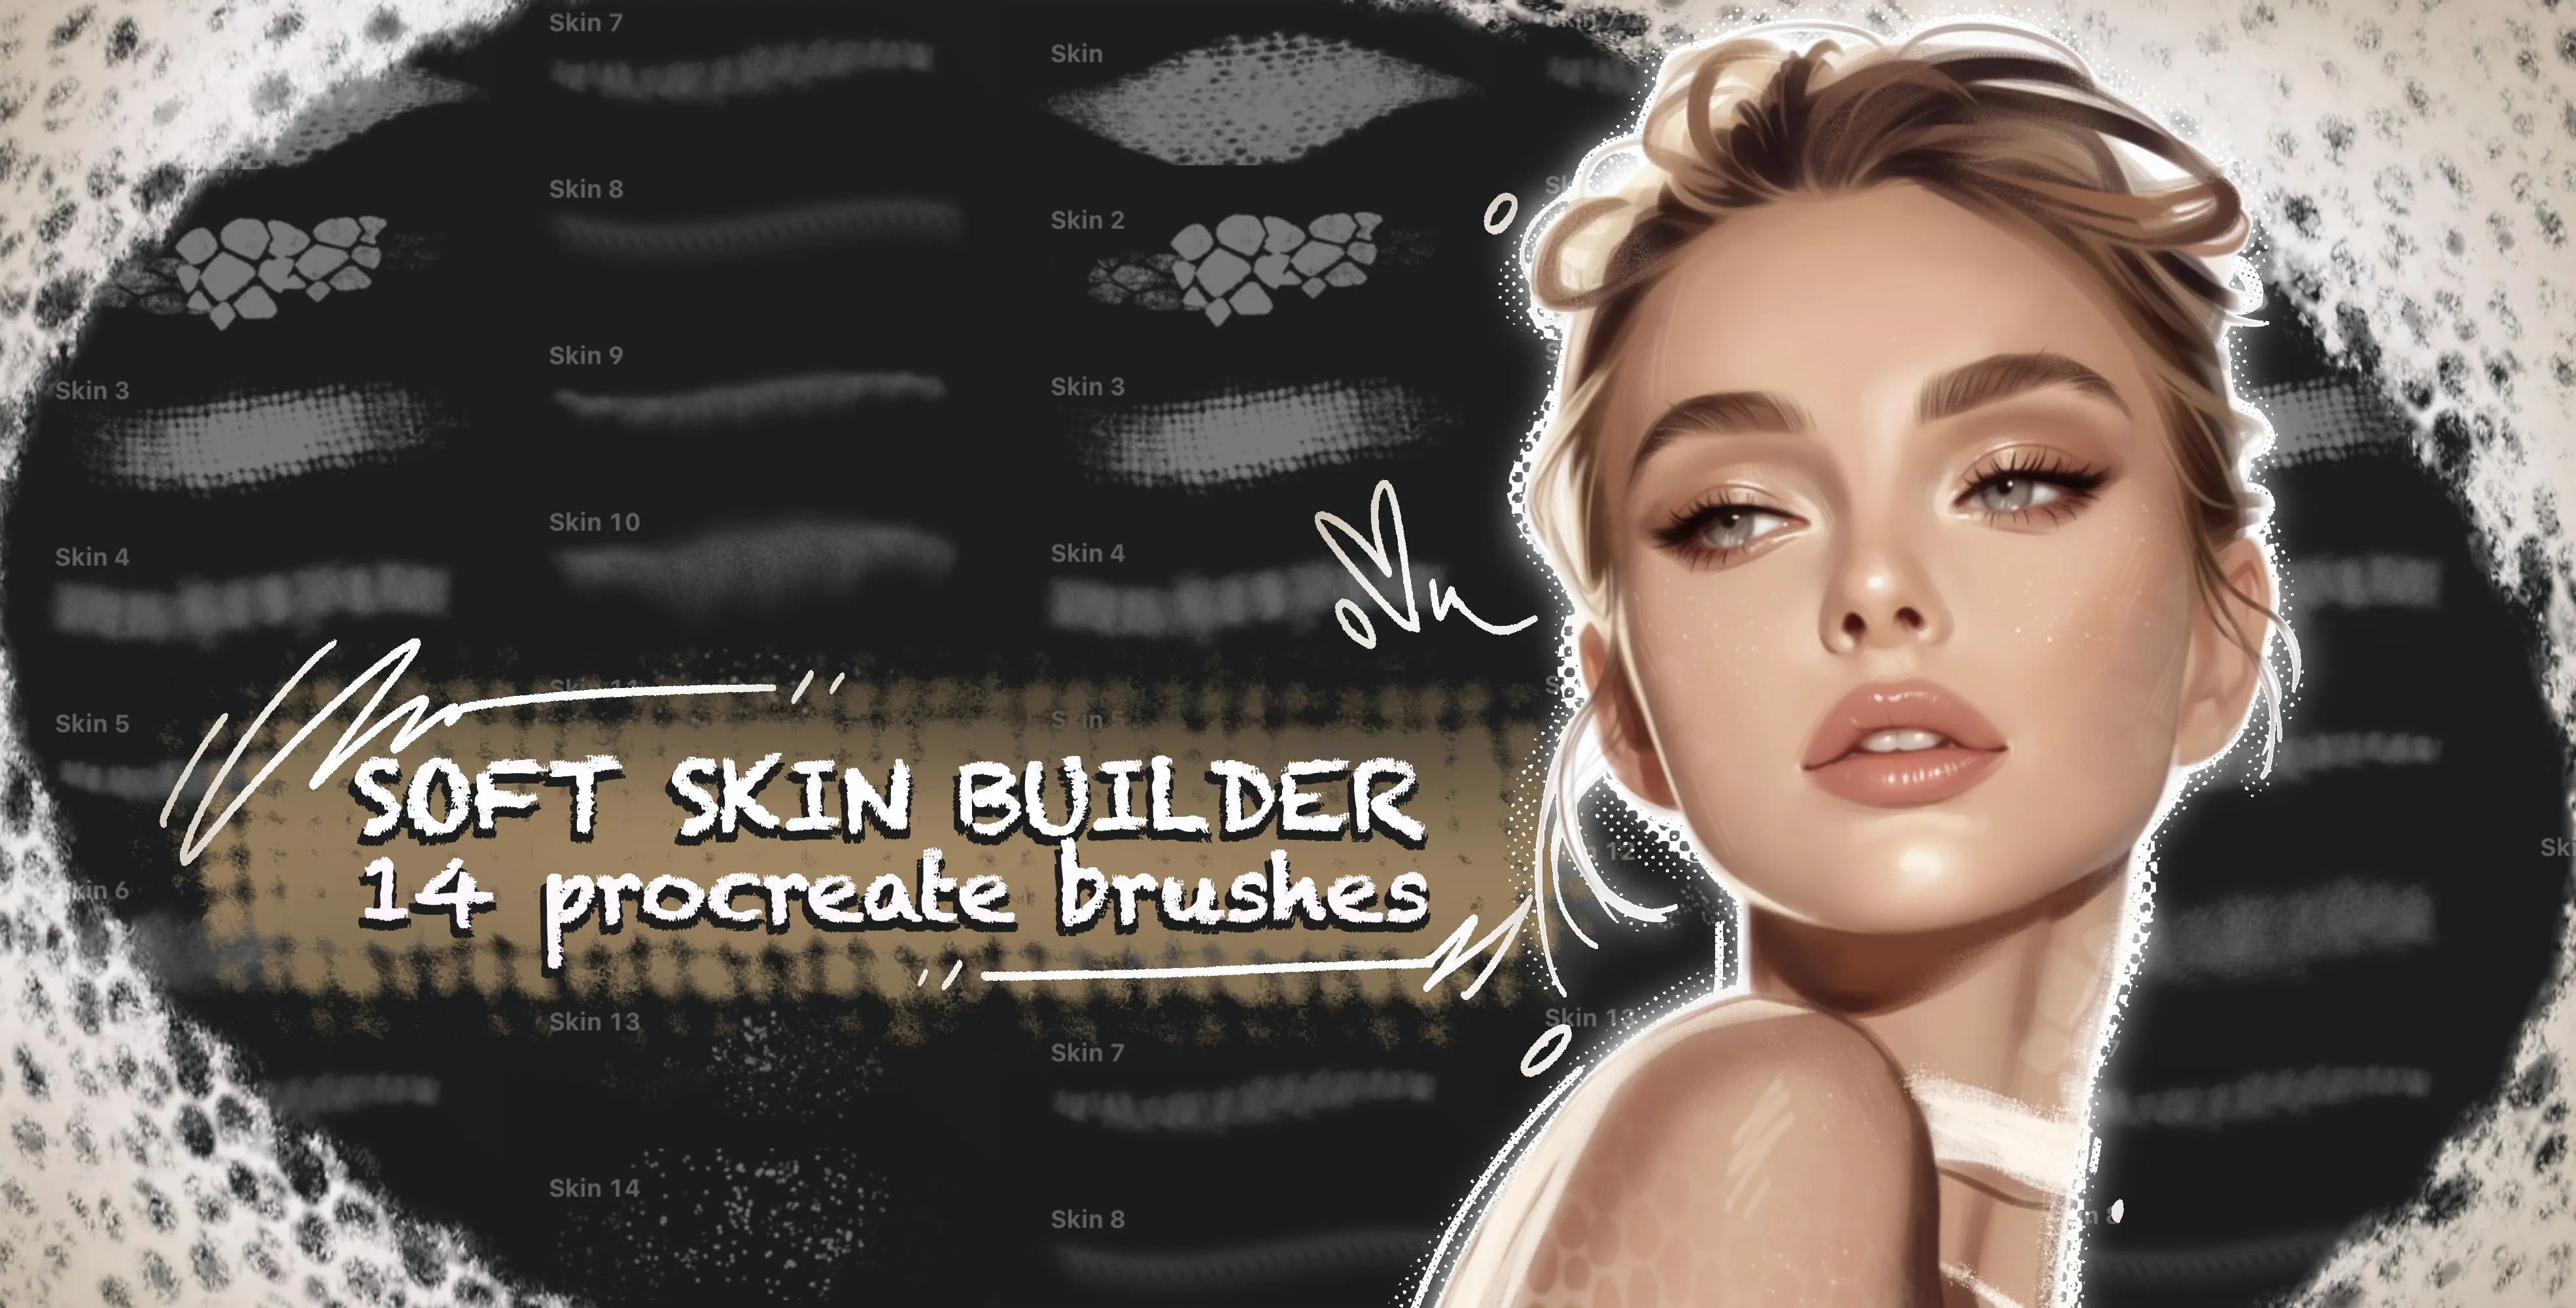
Soft Skin Builder
skin pores, cracked, cellular skin and rough
 Procreate Video
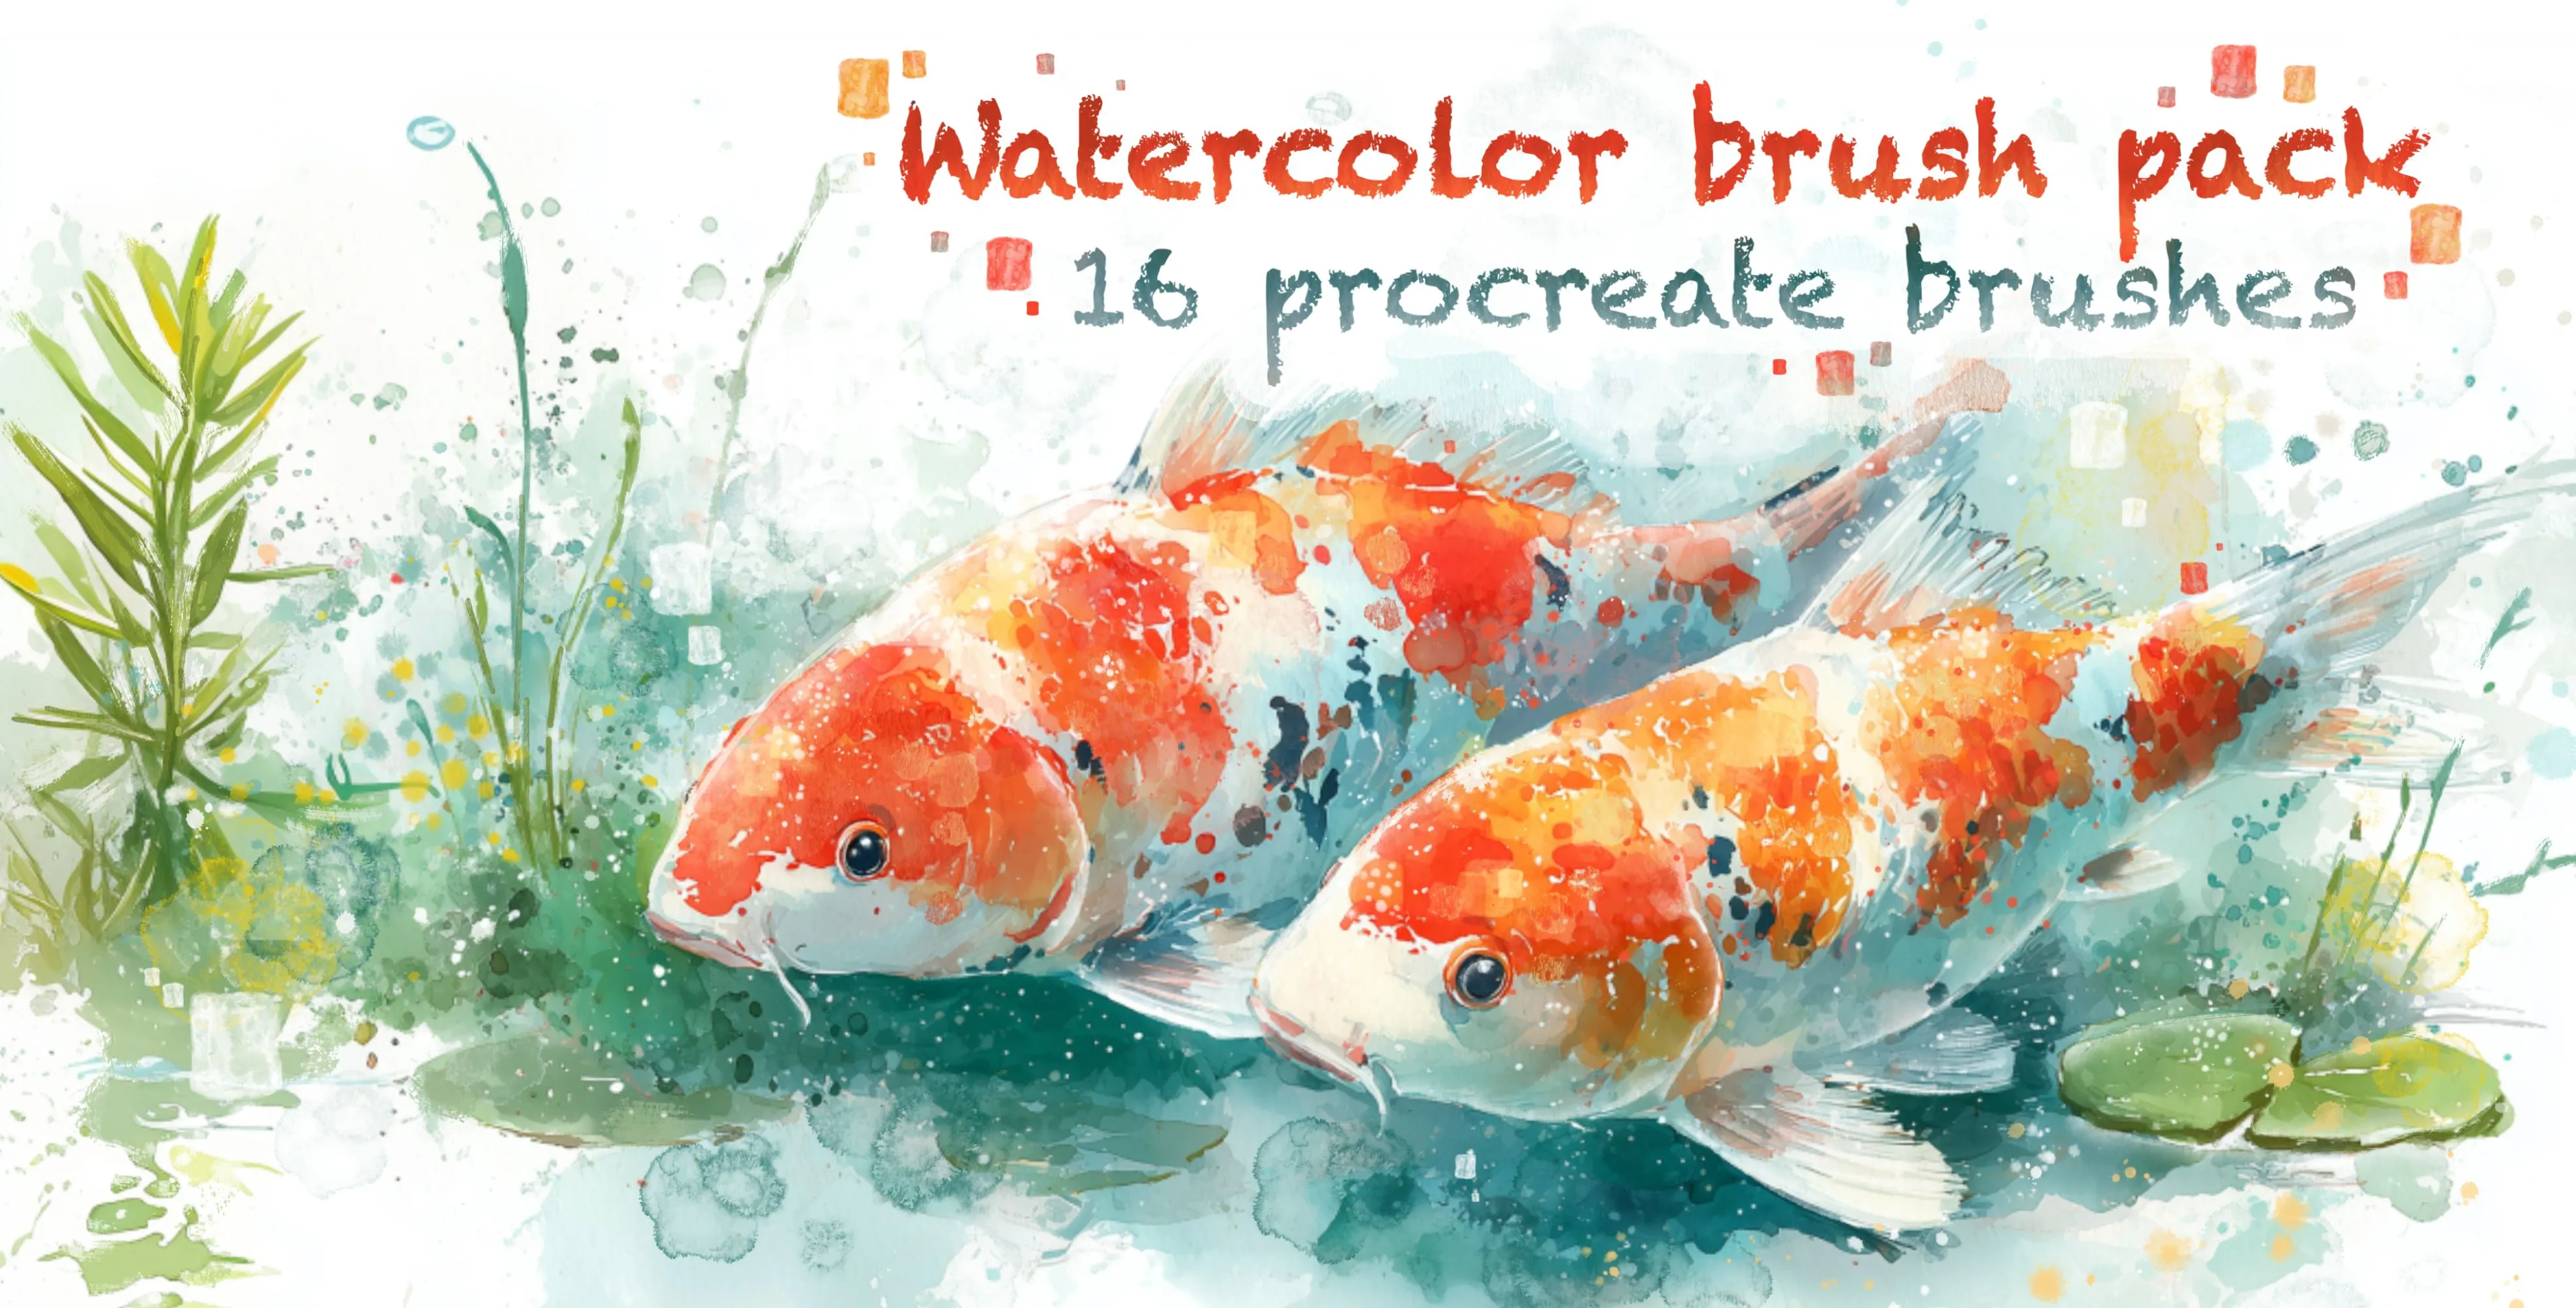
Watercolor Brush Pack
watercolor line-art liners, frayed-edge bleed and wet-edge brushes, one-way
 Procreate Video
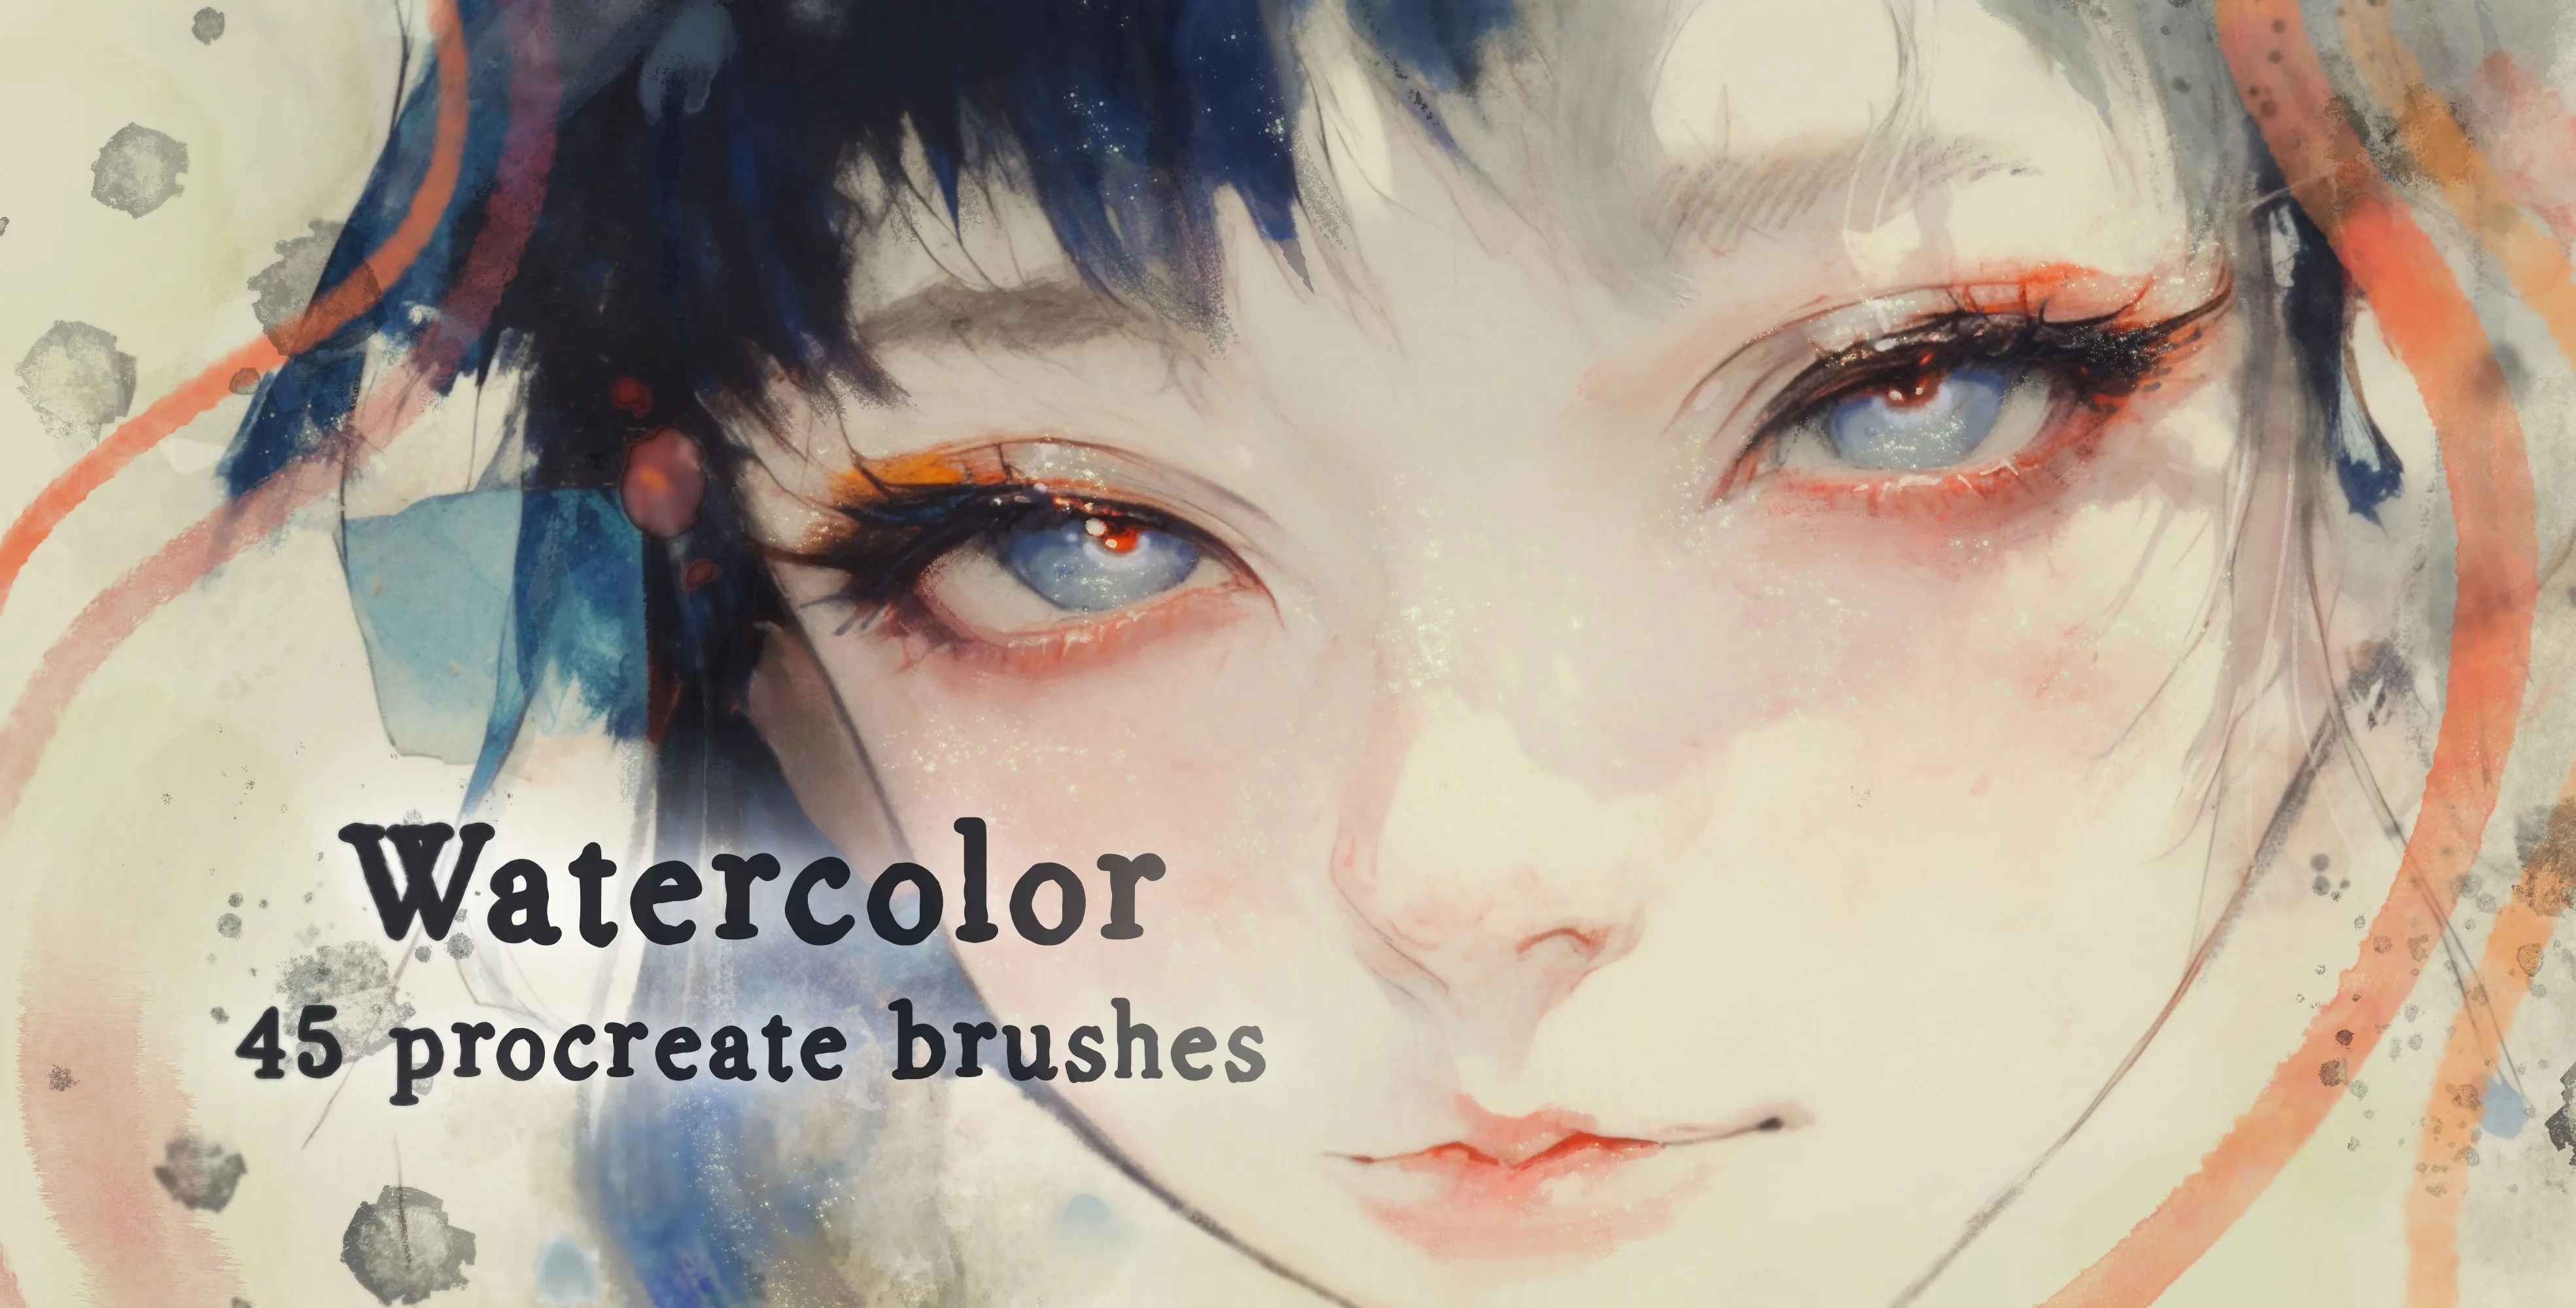
Watercolor
washes, base layers and water blooms
 Scan → get the app
More brush packs in the app
The site is still filling up — the Brusher app already has the complete 200+ set library, with more blending packs, all one-tap installs into Procreate.
Blending styles
Smudge tool vs a blending brush
In Procreate, blending happens through the Smudge tool — and crucially, Smudge uses whatever brush you have selected. So a "blending brush" is really a brush tuned to push colour cleanly when loaded into Smudge. Pick a textured brush and your blend keeps grain; pick a soft one and you get a seamless gradient.
The classic mistake is smudging with a soft airbrush for everything. It nukes detail and leaves that tell-tale digital haze. A textured blender preserves edges and gives skin and fabric a believable, hand-painted transition.
Blending without losing detail
Blend at low pressure and build up — one heavy pass destroys the underlying shapes you worked to place. Keep your blender's opacity moderate, work in short strokes that follow the form, and lift often to check you are softening edges rather than erasing them.
For skin specifically, blend in the direction the surface curves, leave a few crisp edges as anchors, and never blend your highlights and core shadow into a single mush — the contrast is what makes a face read as three-dimensional.
How to blend colours smoothly in Procreate
A reliable way to turn hard-edged colour blocks into a soft, controlled gradient without the airbrush haze.
- 1
Block in your colours
Lay down your base and shadow as separate flat shapes on the same layer. Clean blocks blend far better than muddy, overlapping ones.
- 2
Select the Smudge tool
Tap the Smudge (finger) icon and load a textured blending brush — Smudge uses whichever brush you pick, so this choice sets the blend's character.
- 3
Lower the pressure
Drop the Smudge strength to a moderate level. Gentle, repeated passes give you control; one hard pass smears everything into mud.
- 4
Blend along the form
Push colour in short strokes that follow the surface's curve, working the border between two shades rather than scrubbing the whole area.
- 5
Protect your anchors
Leave the sharpest highlight and the deepest shadow crisp. Blending everything equally flattens the volume you're trying to build.
- 6
Add texture back
Finish with a light grain or a few textured strokes so the blend doesn't look plasticky — a touch of tooth keeps it painterly.
Frequently asked questions
What's the difference between the Smudge tool and a blending brush?+
The Smudge tool is how Procreate blends, and it borrows whichever brush you have selected. A 'blending brush' is simply a brush tuned to push colour cleanly inside Smudge — a textured one keeps grain, a soft one gives seamless gradients.
What's the best blender for skin?+
A lightly textured blender used at low pressure. Blend along the direction the face curves, keep highlights and core shadows crisp as anchors, and build the transition up gradually so skin looks soft but still holds its form.
How do I blend without losing detail?+
Work at low Smudge strength in short strokes along the form, and lift often to check your progress. Heavy, scrubbing passes erase the shapes underneath — gentle repeated passes soften edges while keeping the drawing intact.
Where is the smudge tool in Procreate?+
It's the finger icon in the top toolbar, between the brush and eraser. Tap it, then choose a brush from the library to control how it blends — the same brush you paint with can double as your blender.
Related styles
Portrait Procreate Brushes
Portrait and skin Procreate brushes for iPad. Realistic skin tones, eyes, lips for character art.
Watercolor Procreate Brushes
Download watercolour Procreate brushes for iPad: realistic wet edges, bleeding effects and wash textures. Watercolor sets for 2026 — free & premium.