Portrait Procreate Brushes
Updated September 2026
Portrait and skin Procreate brushes for iPad. Realistic skin tones, eyes, lips for character art.
Brusher has 10 portrait Procreate brush packs — skin, eyes, lips — each a native .brushset that installs into Procreate in one tap on iPad.
Portrait and skin Procreate brushes are tuned for the hardest subject in art — the human face. Soft skin brushes blend tones without going plastic, texture brushes add believable pores and detail, and feature and construction stamps help you nail proportion. Whether you paint photorealistic likenesses or stylised characters, these brushes take the struggle out of skin, features and structure.
The collection covers soft skin blenders, skin-texture brushes, feature and face-construction stamps, and detailing brushes for eyes, lips and hair edges. It pairs naturally with our hair and anime builder packs for full character work.
Portrait Procreate Brushes
Procreate Video
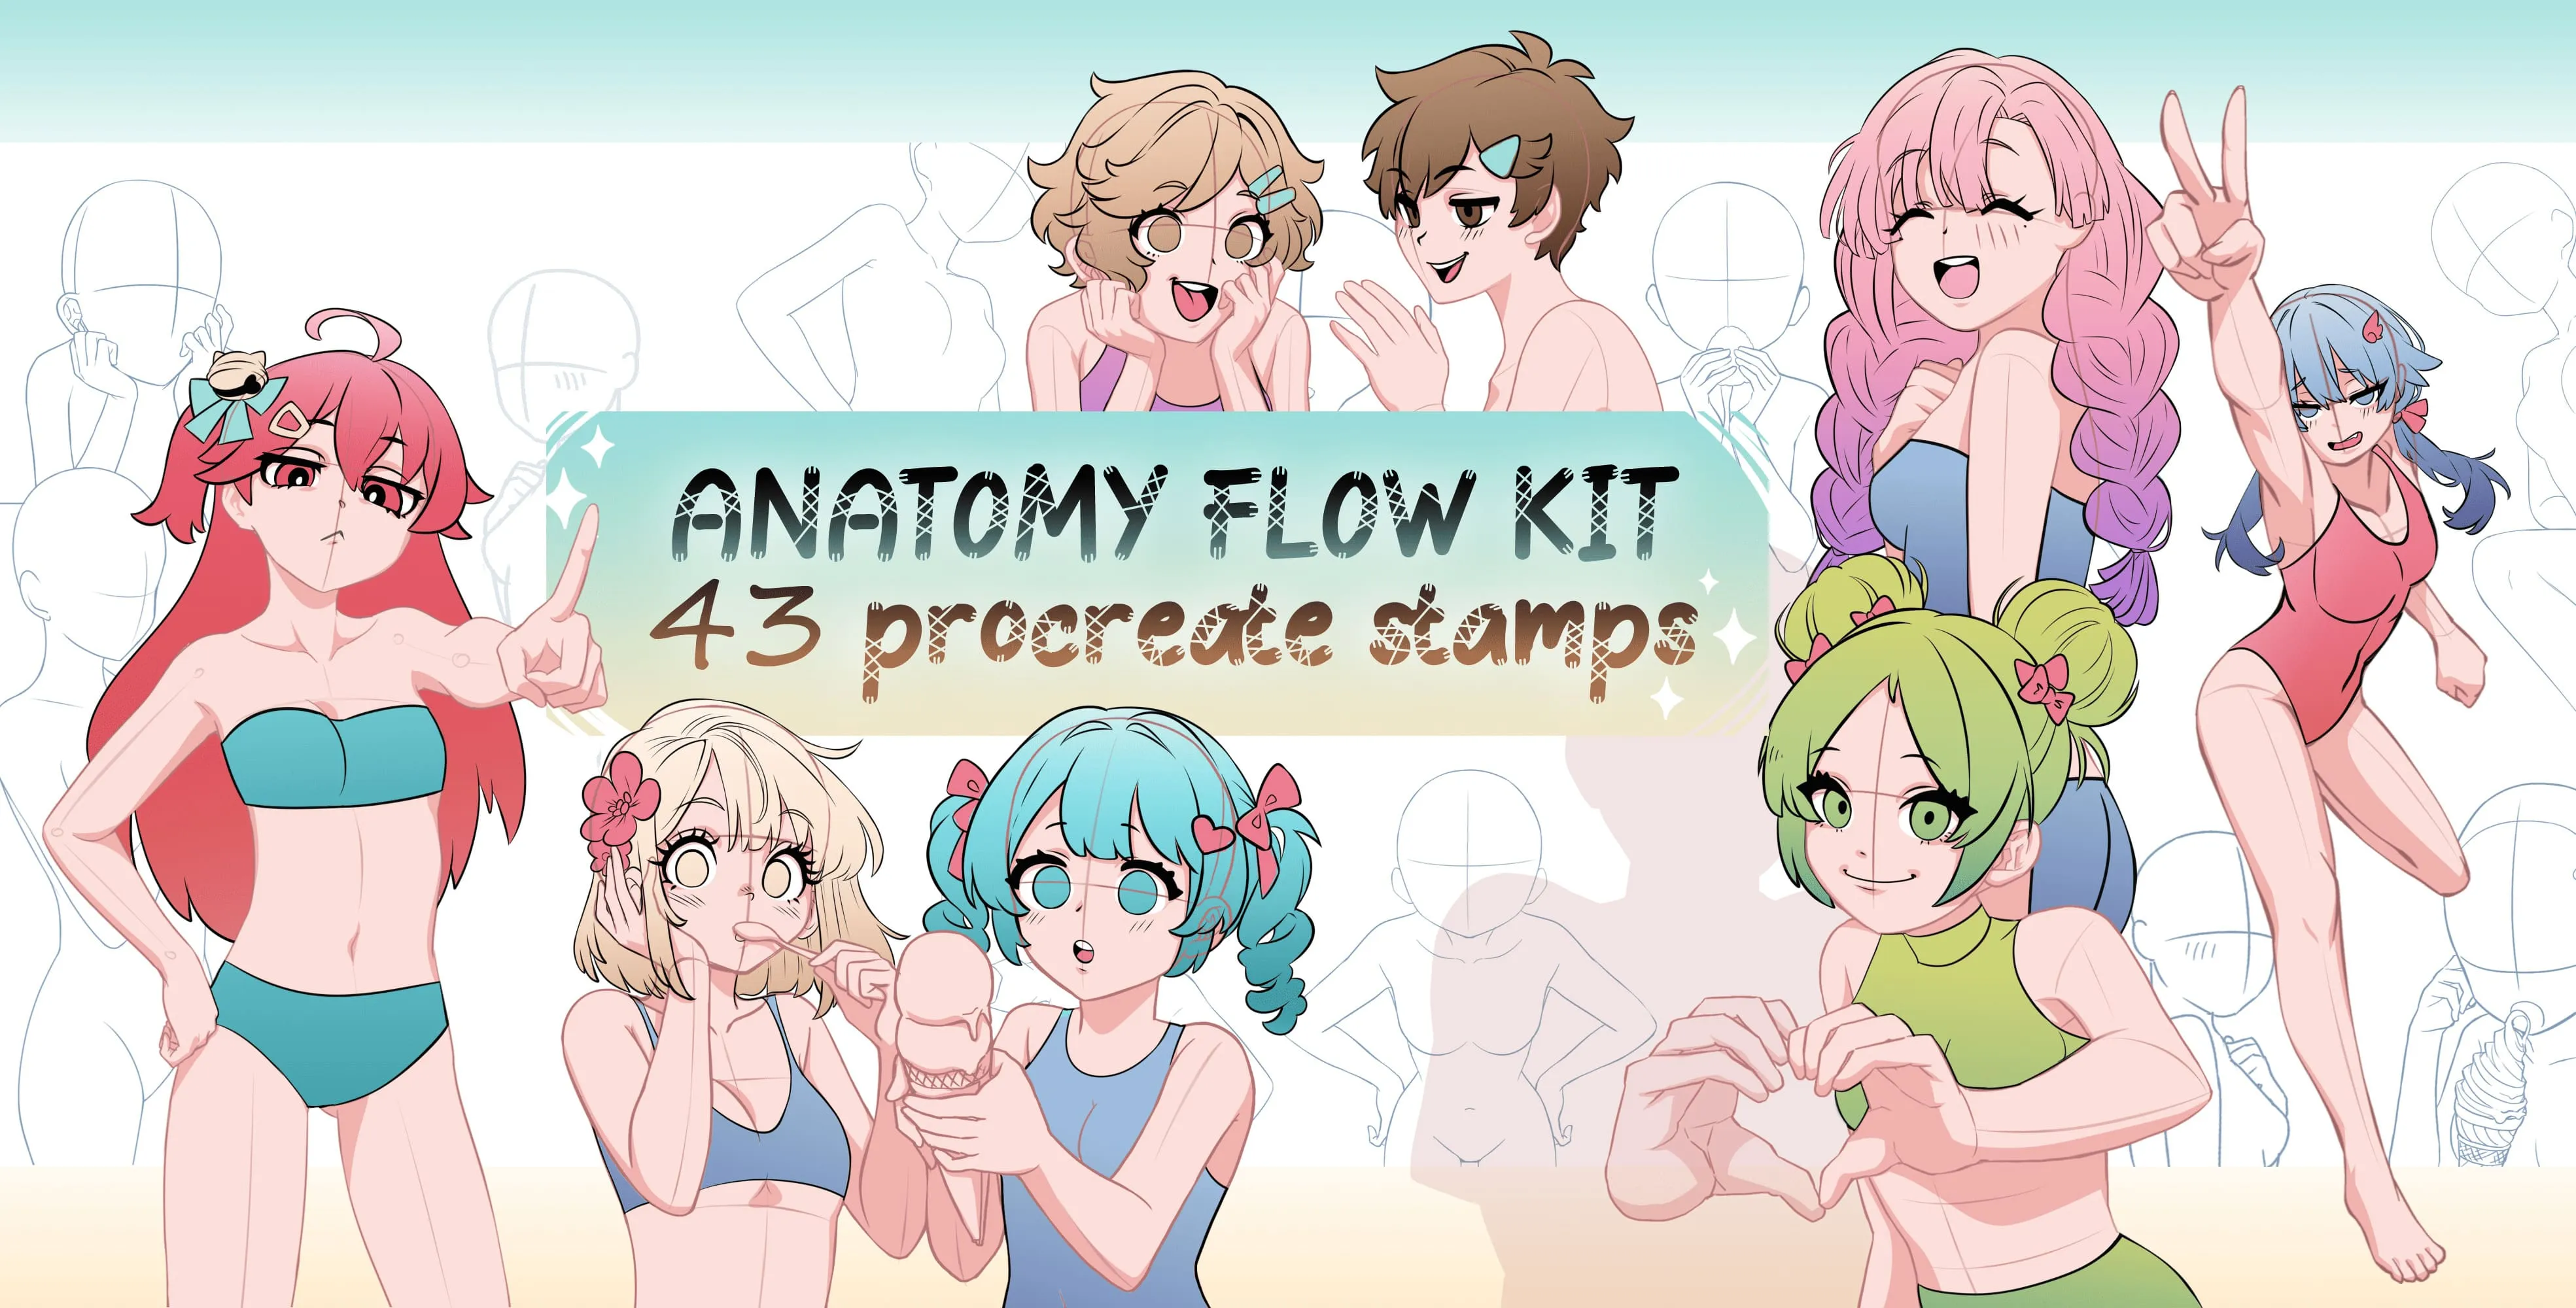
Anatomy Flow Kit
resting, sitting, leaning poses and hand
Procreate Video
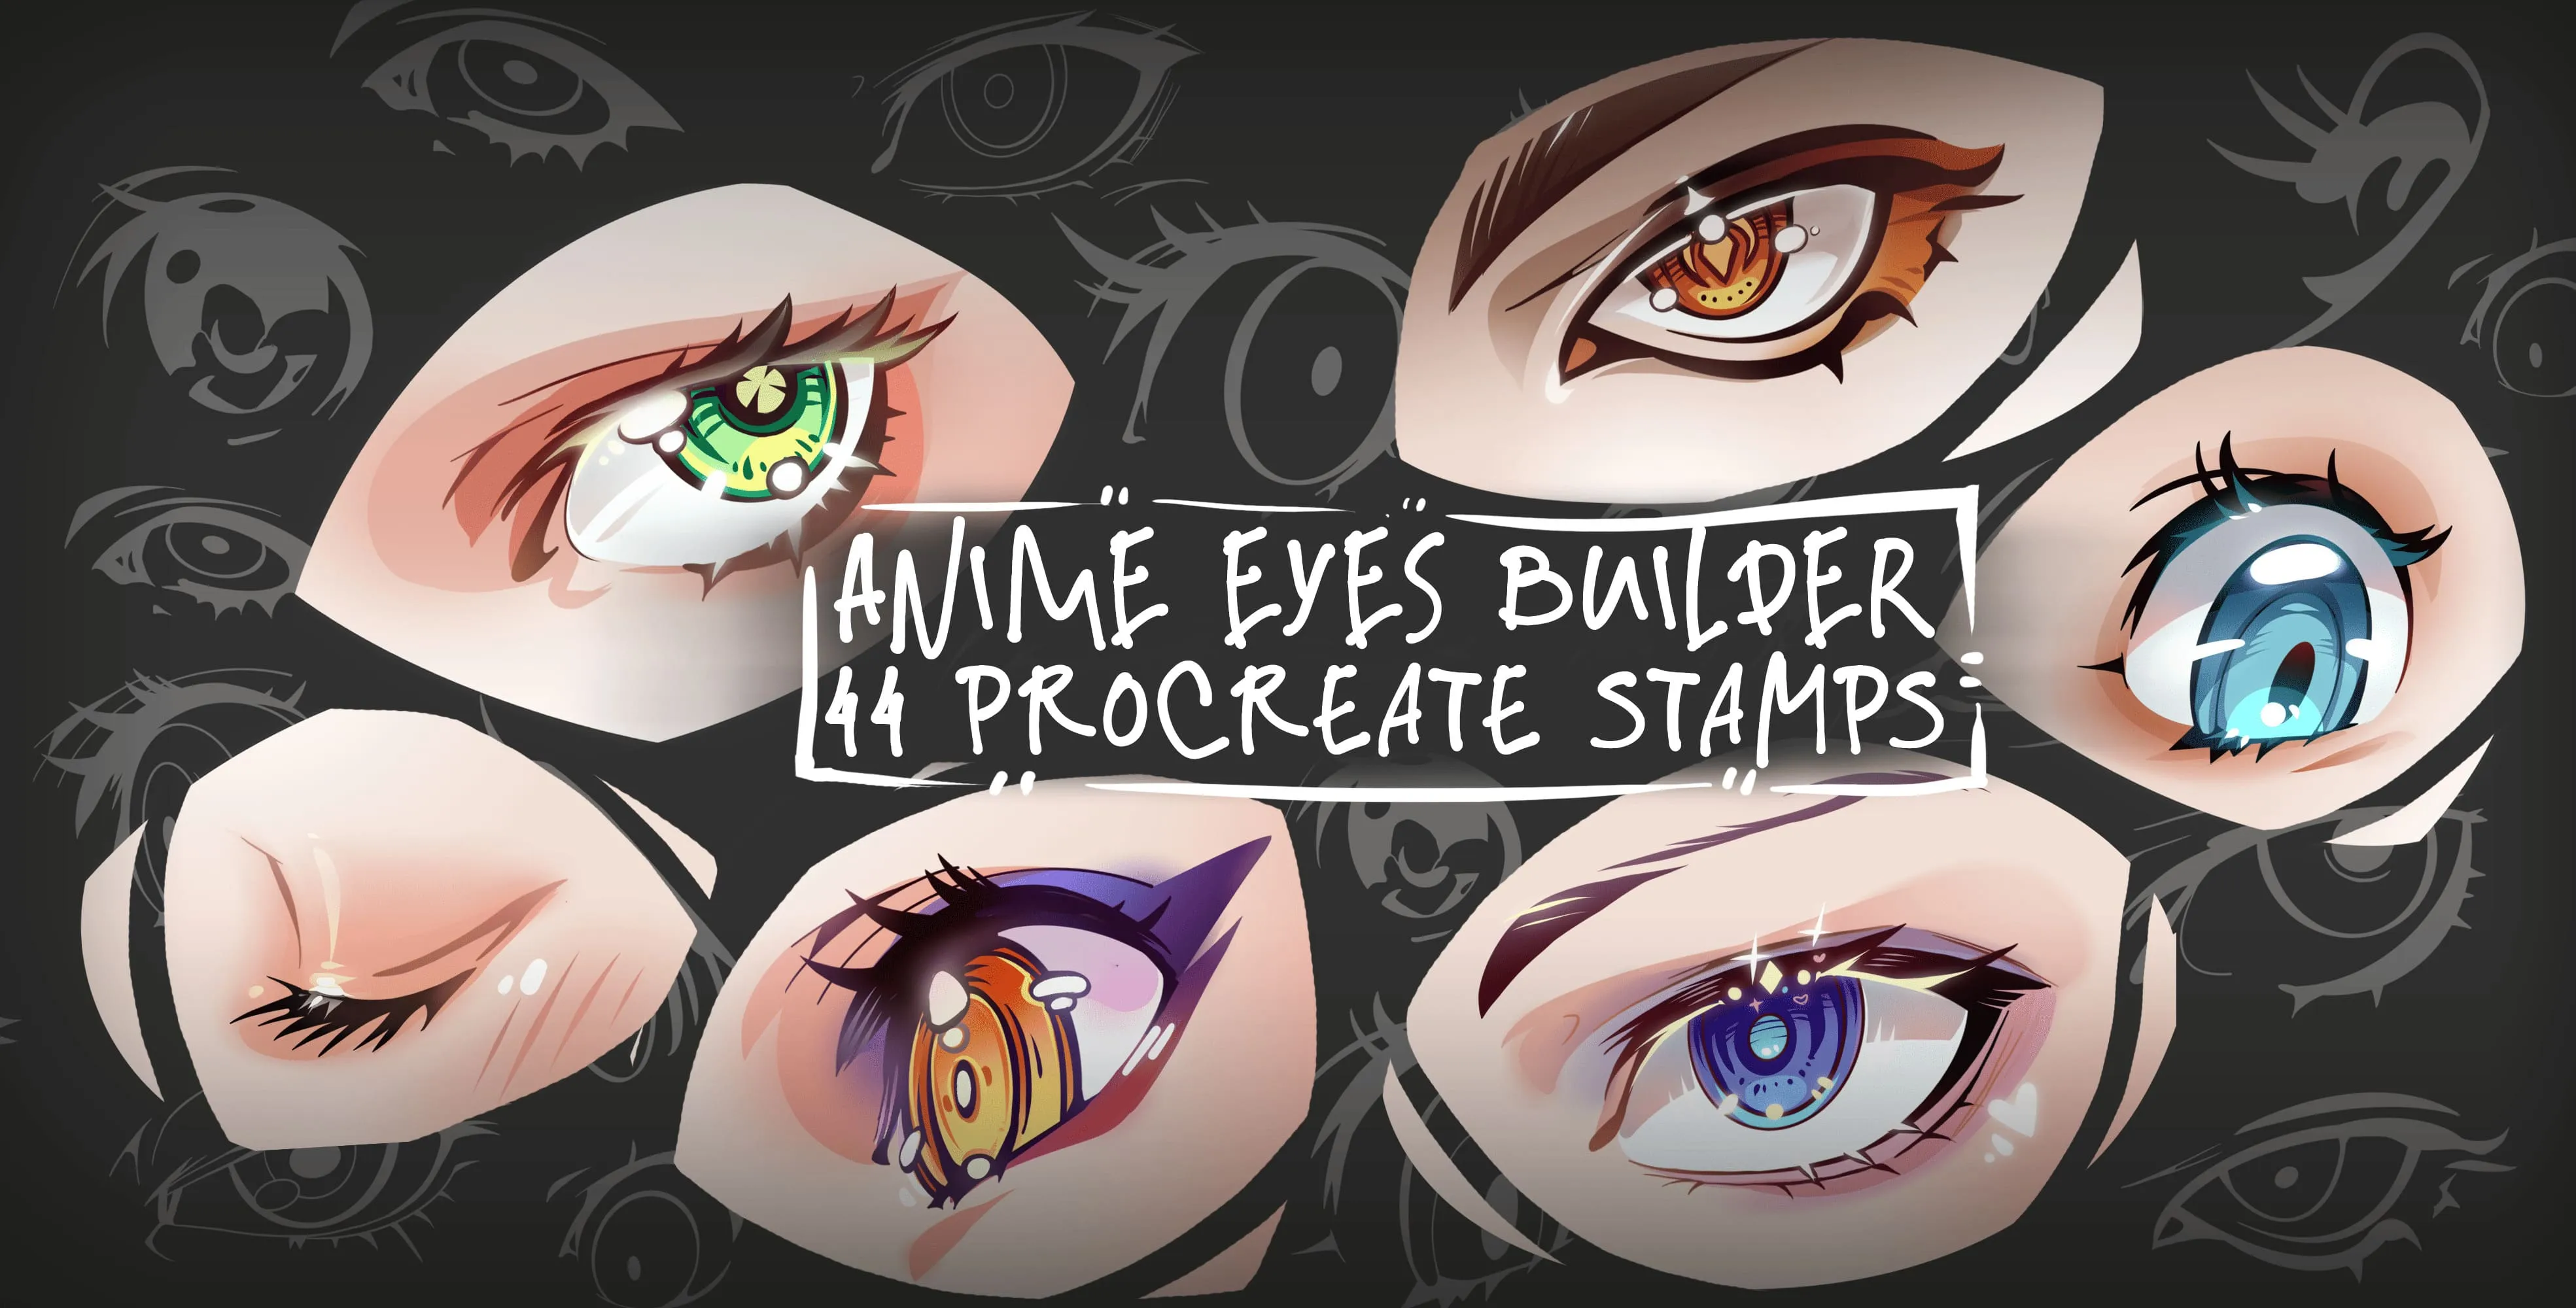
Anime Eyes Builder
sharp, angular, large round, bold and almond
Procreate Video
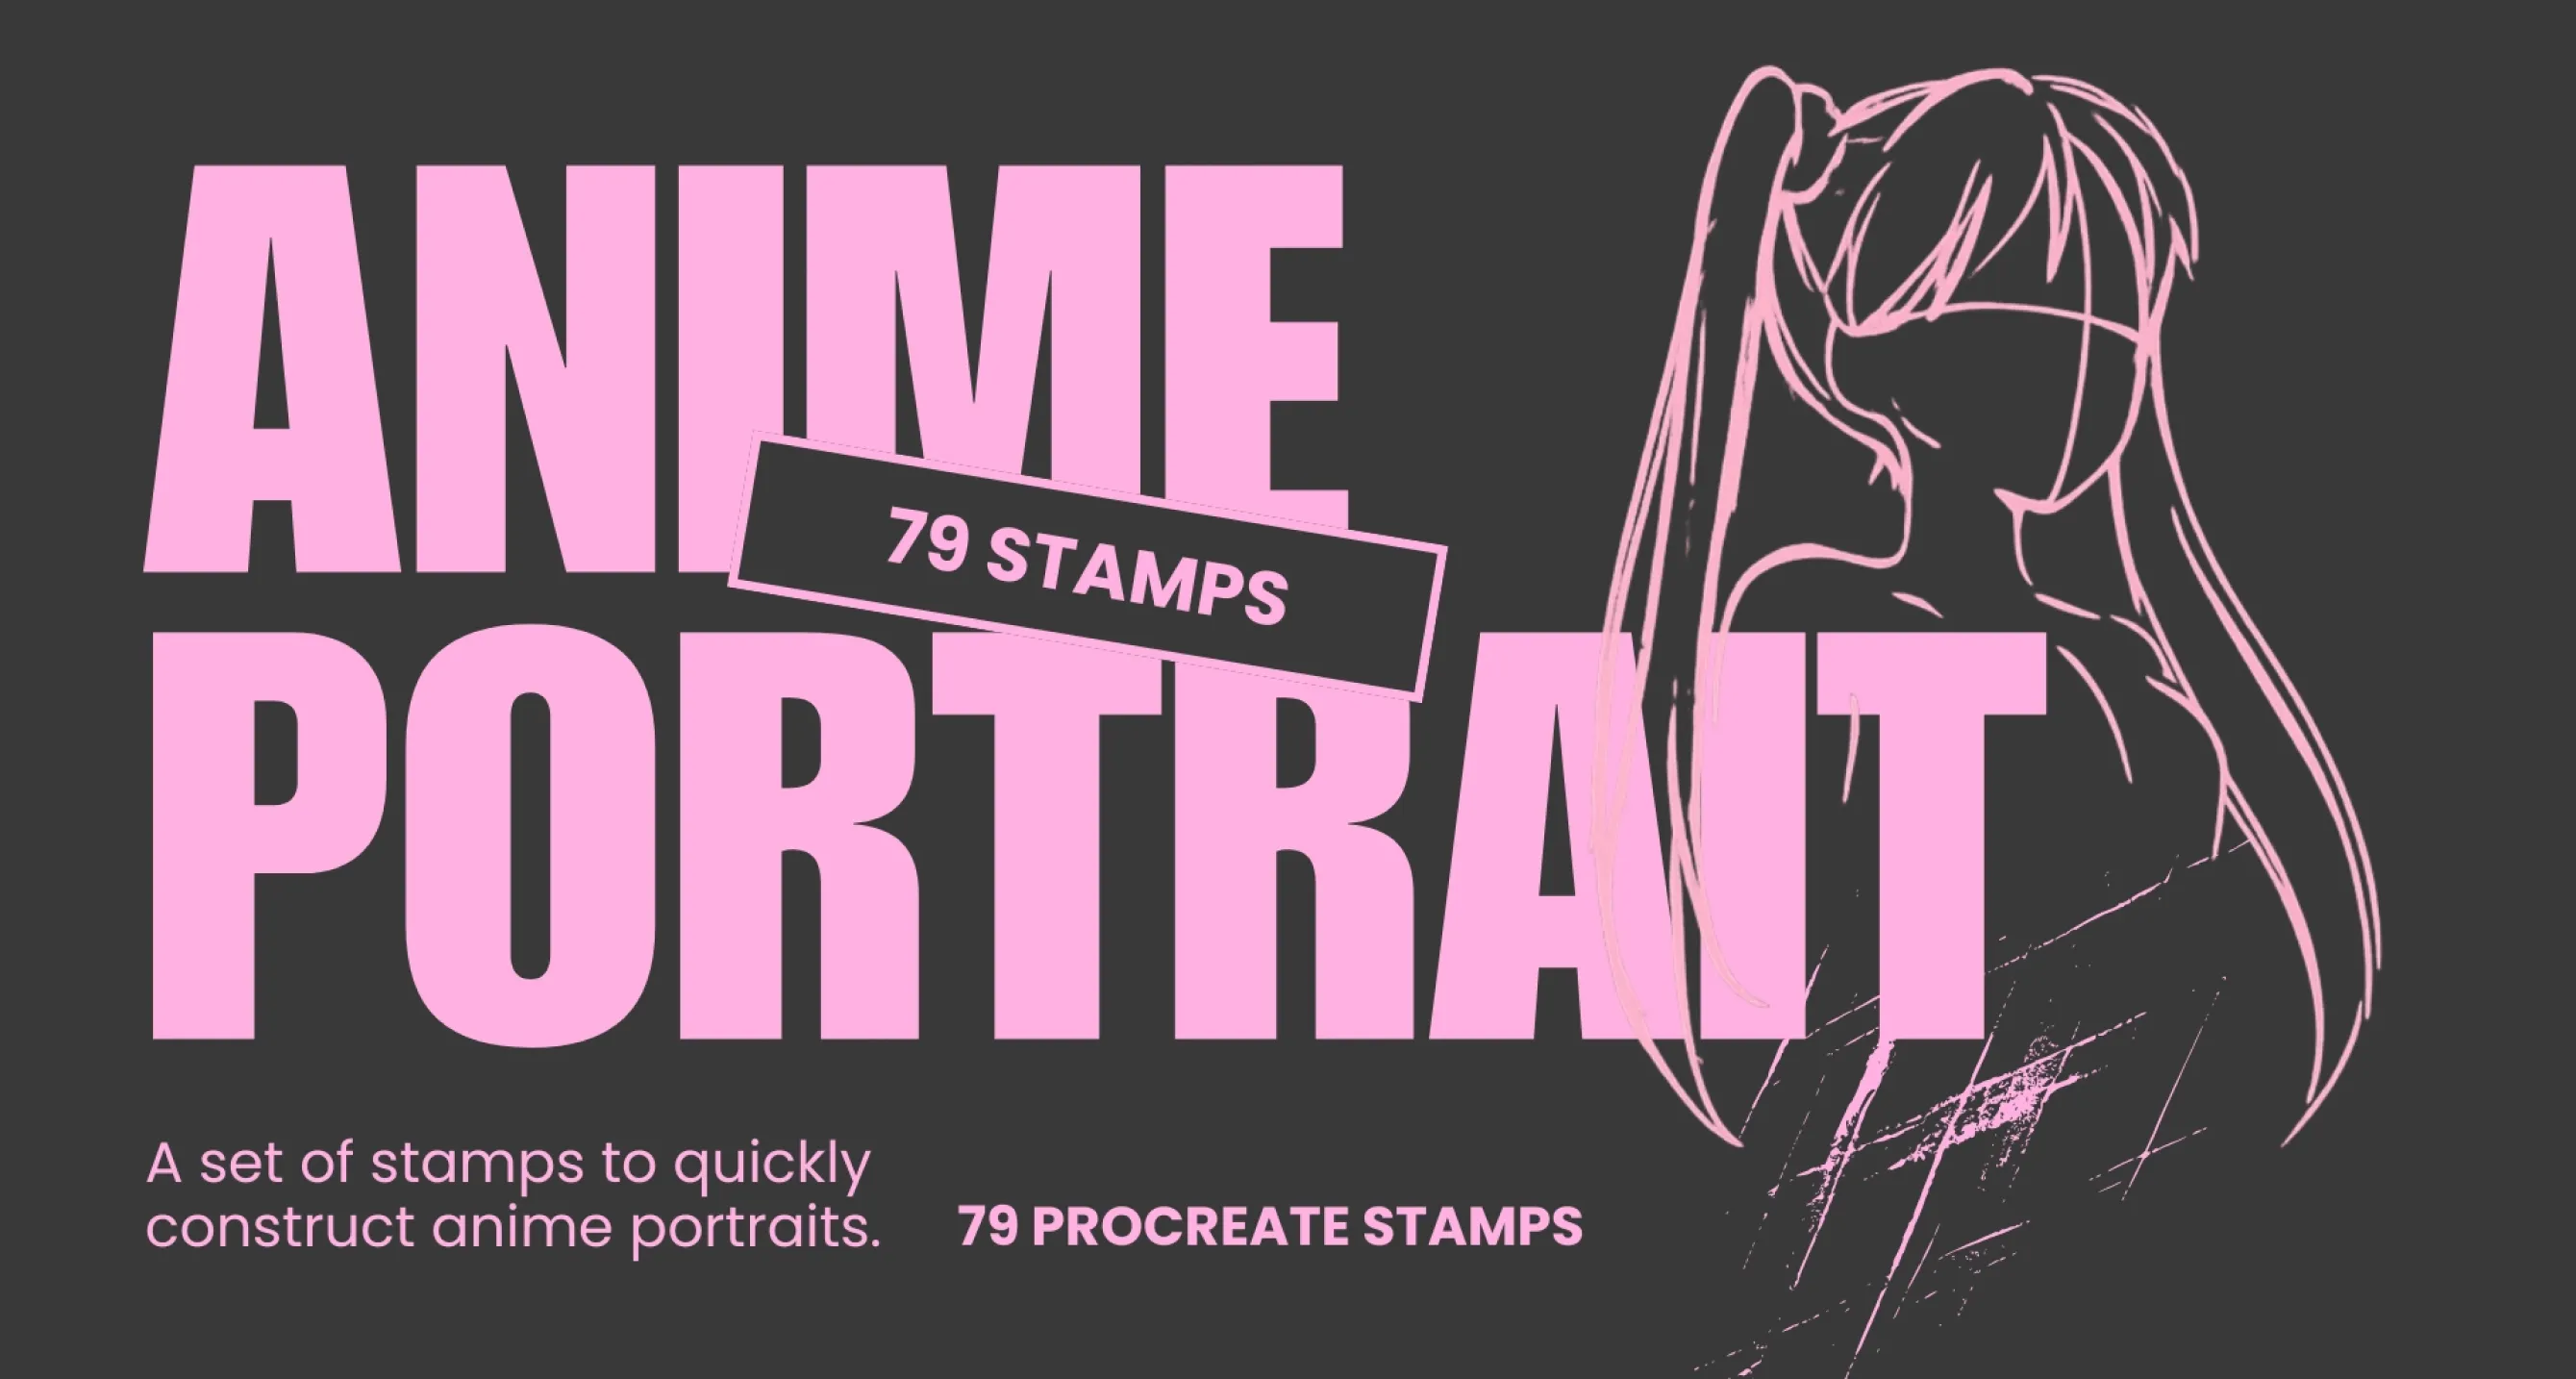
Anime Portrait Builder
men's anime hairstyles
Procreate Video
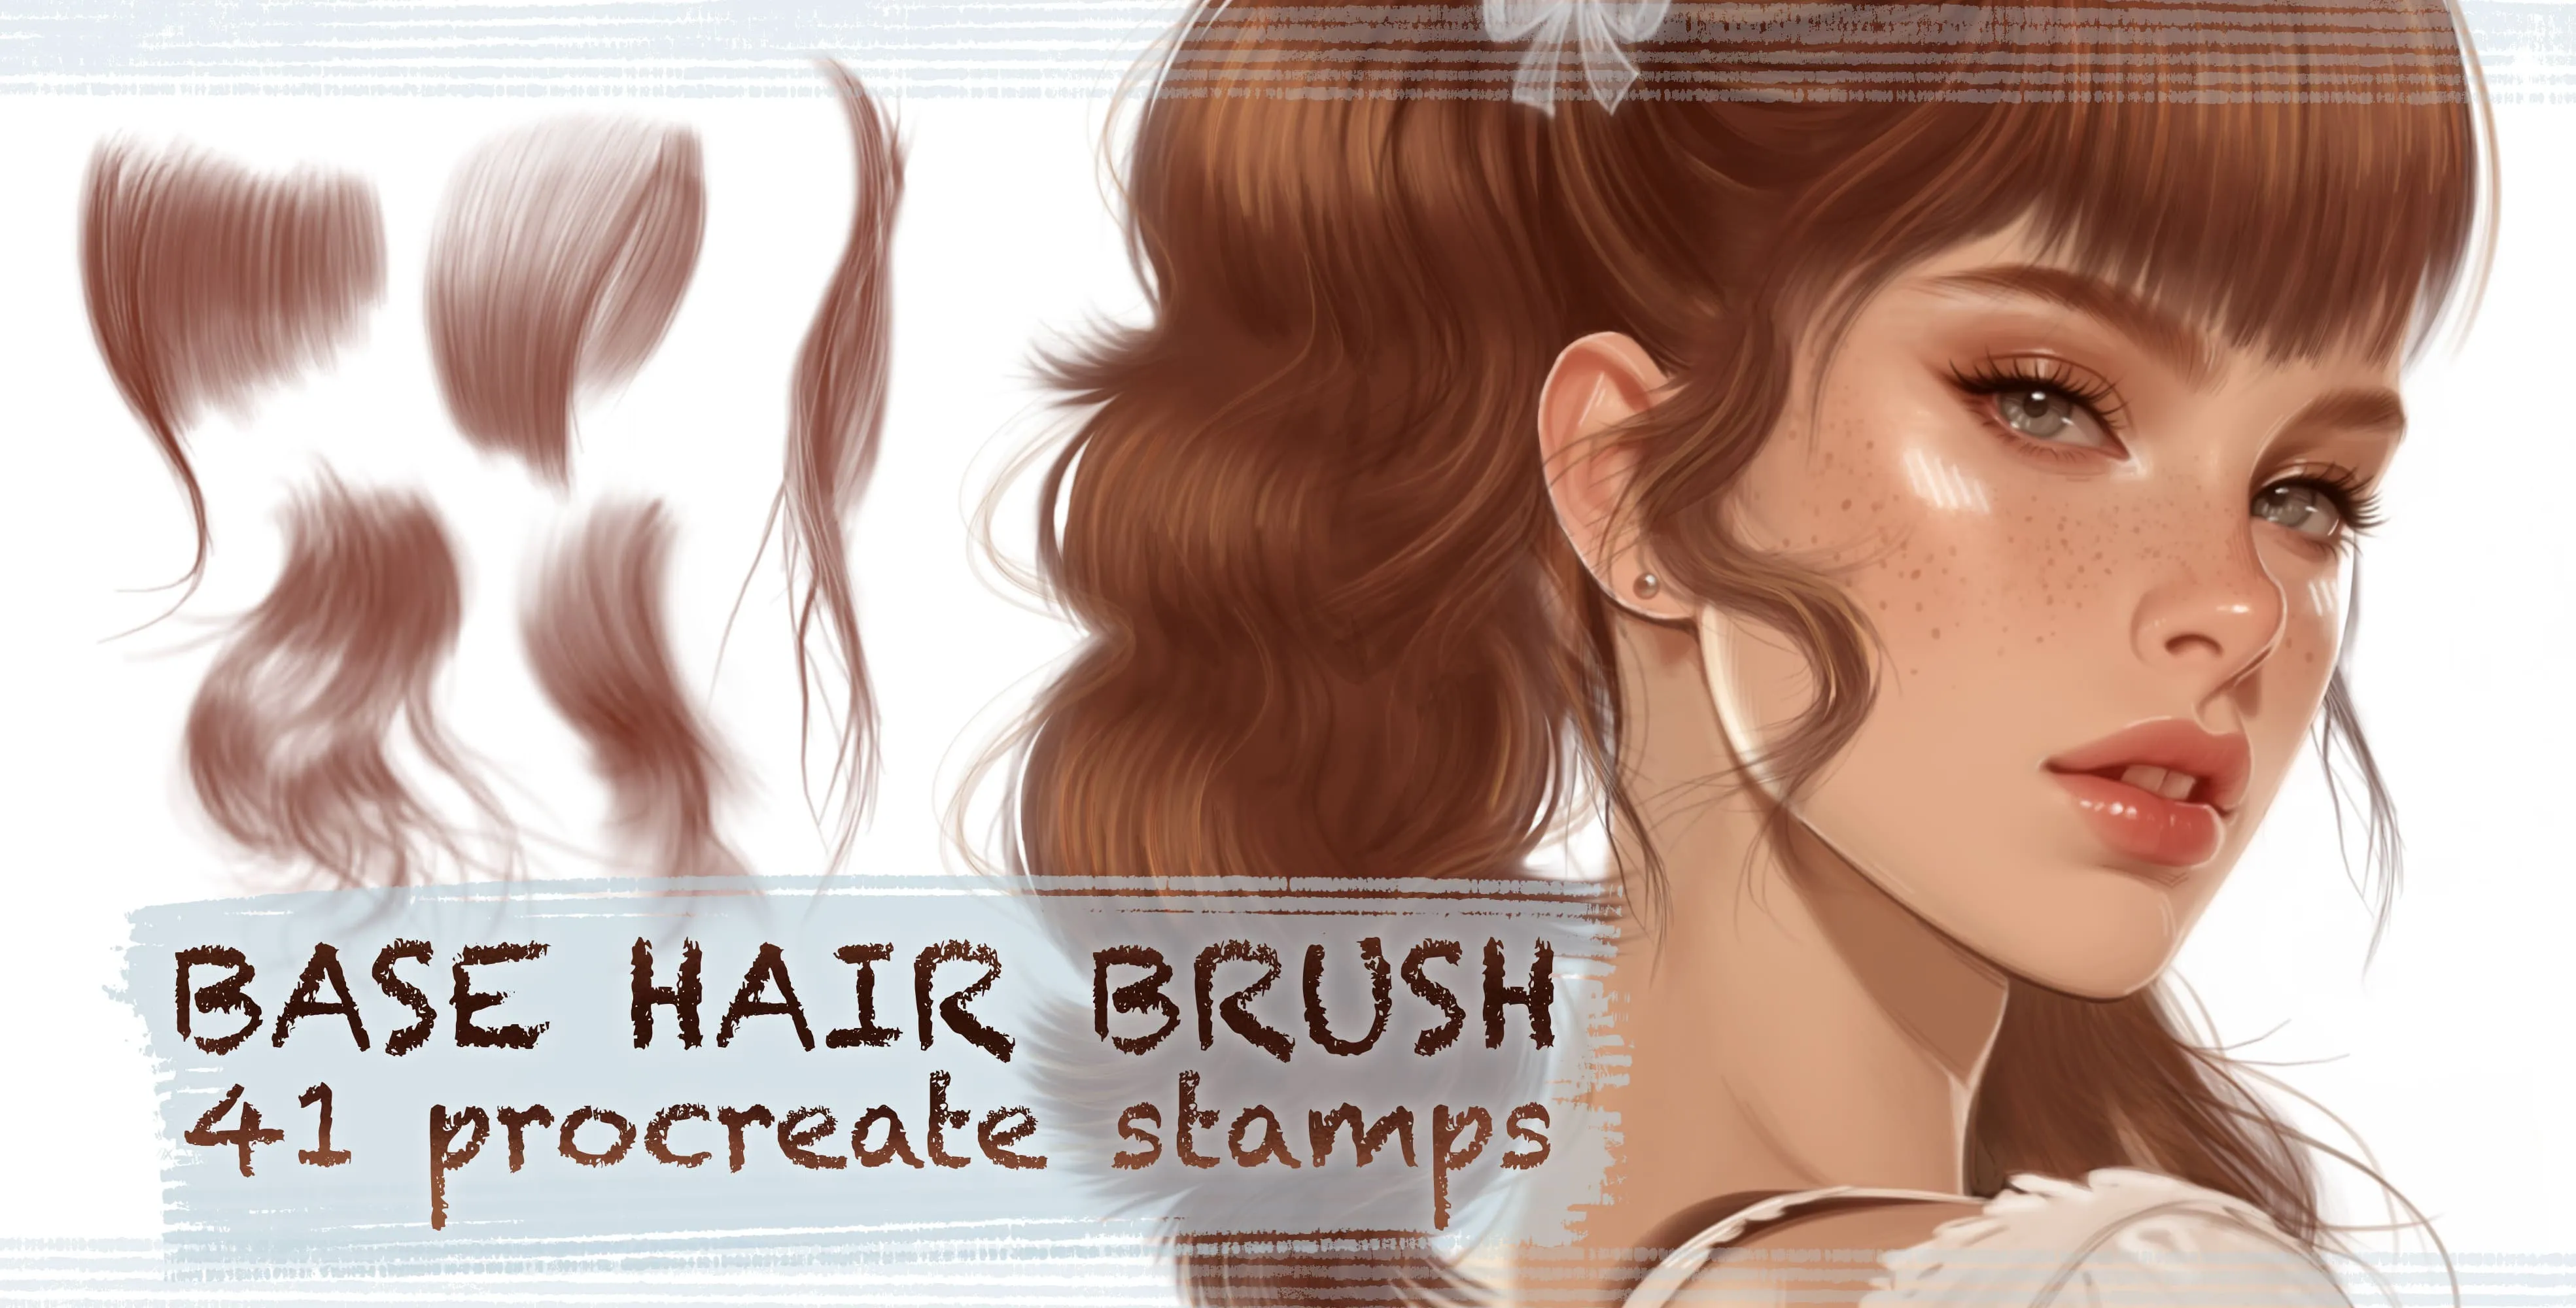
Base Hair
hair strand, clump, flowing lock and hair-mass
 Procreate Video
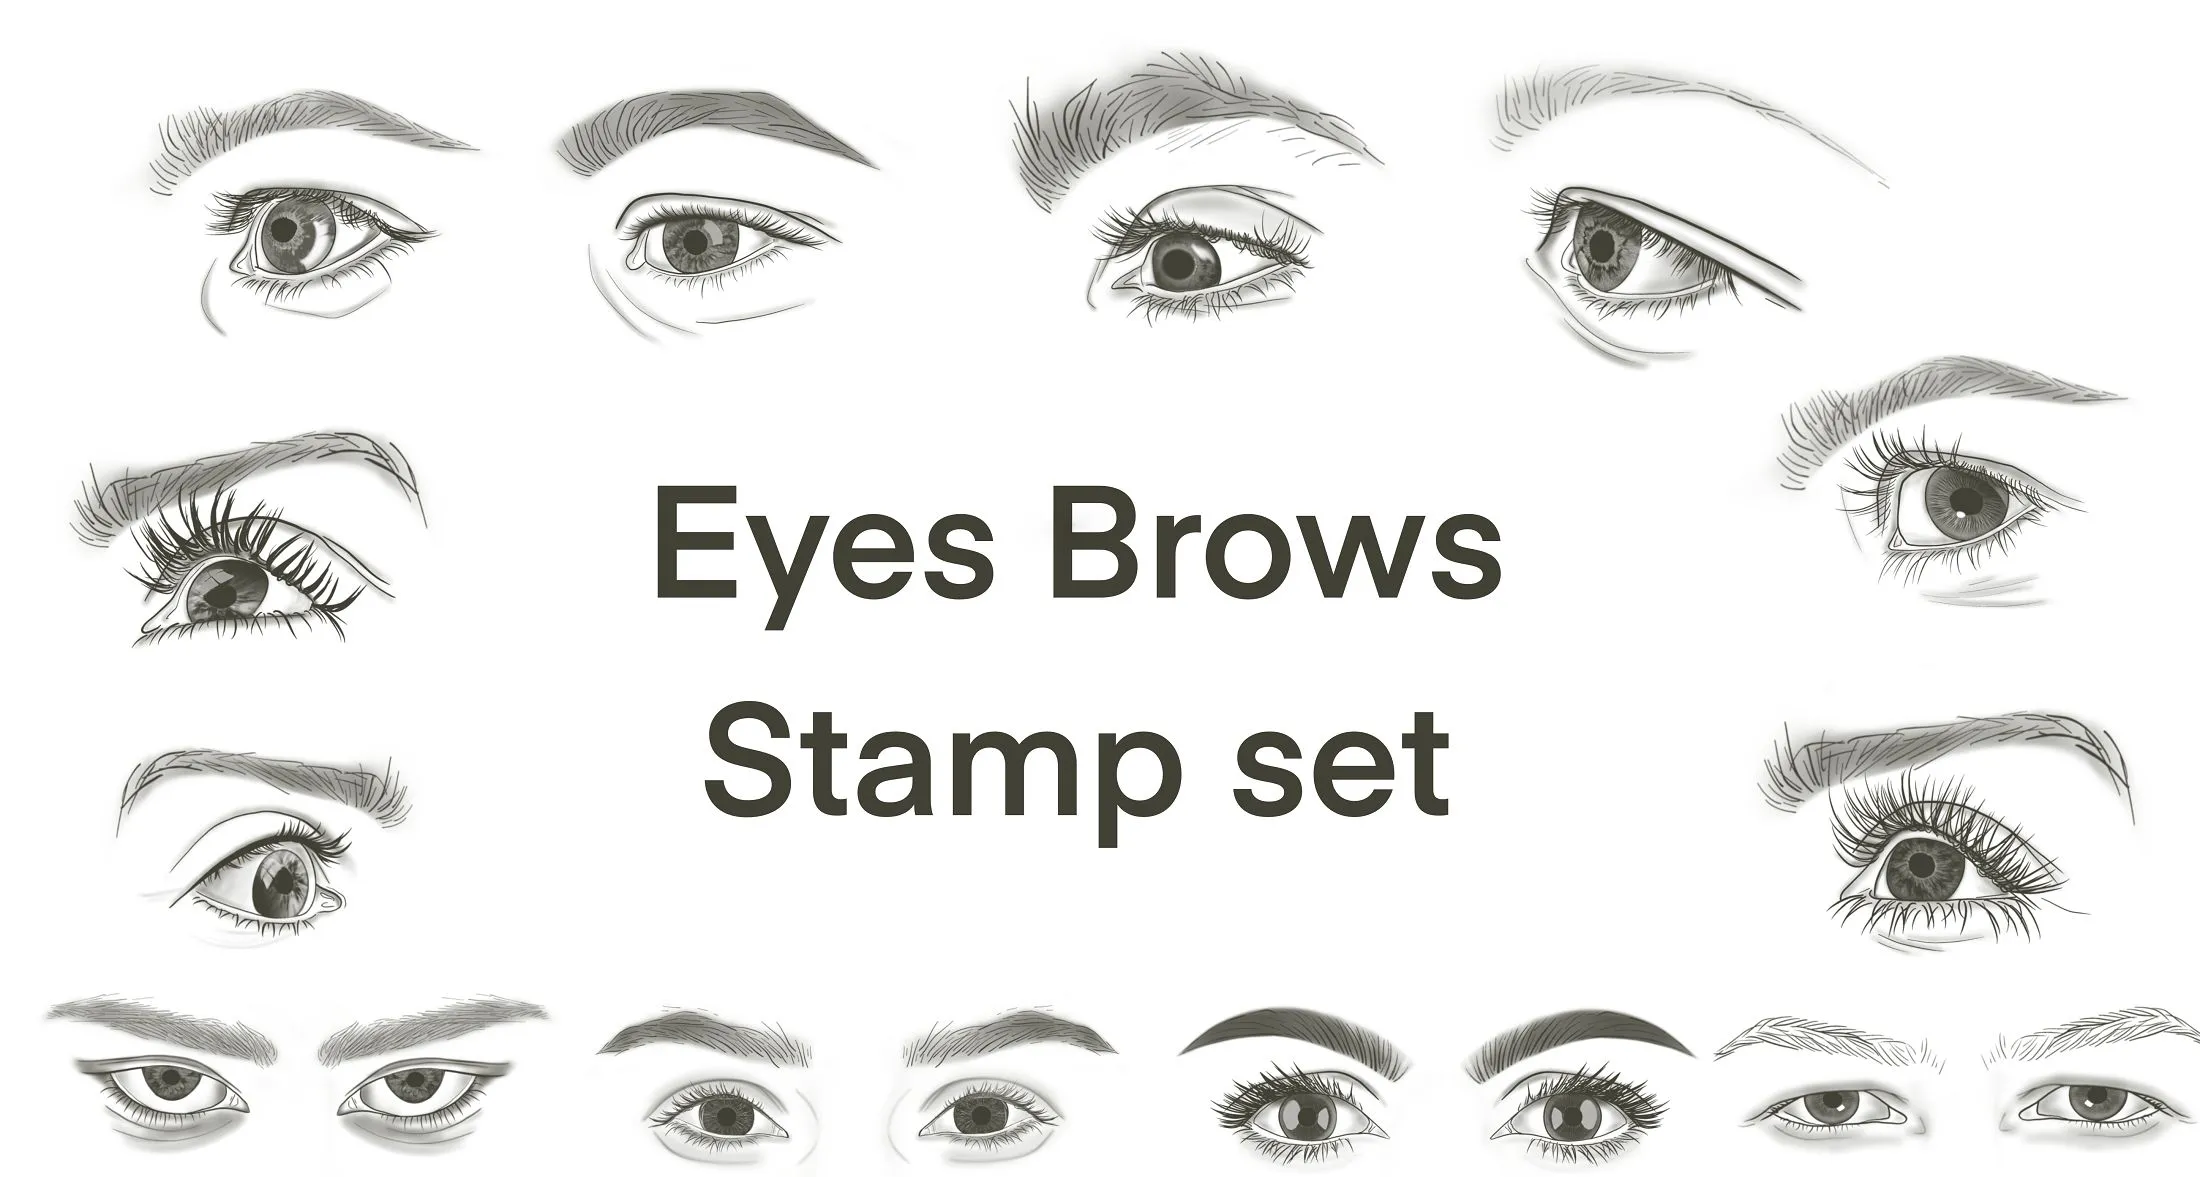
Brows
soft, smooth powdered brows, arched and straight
 Procreate Video
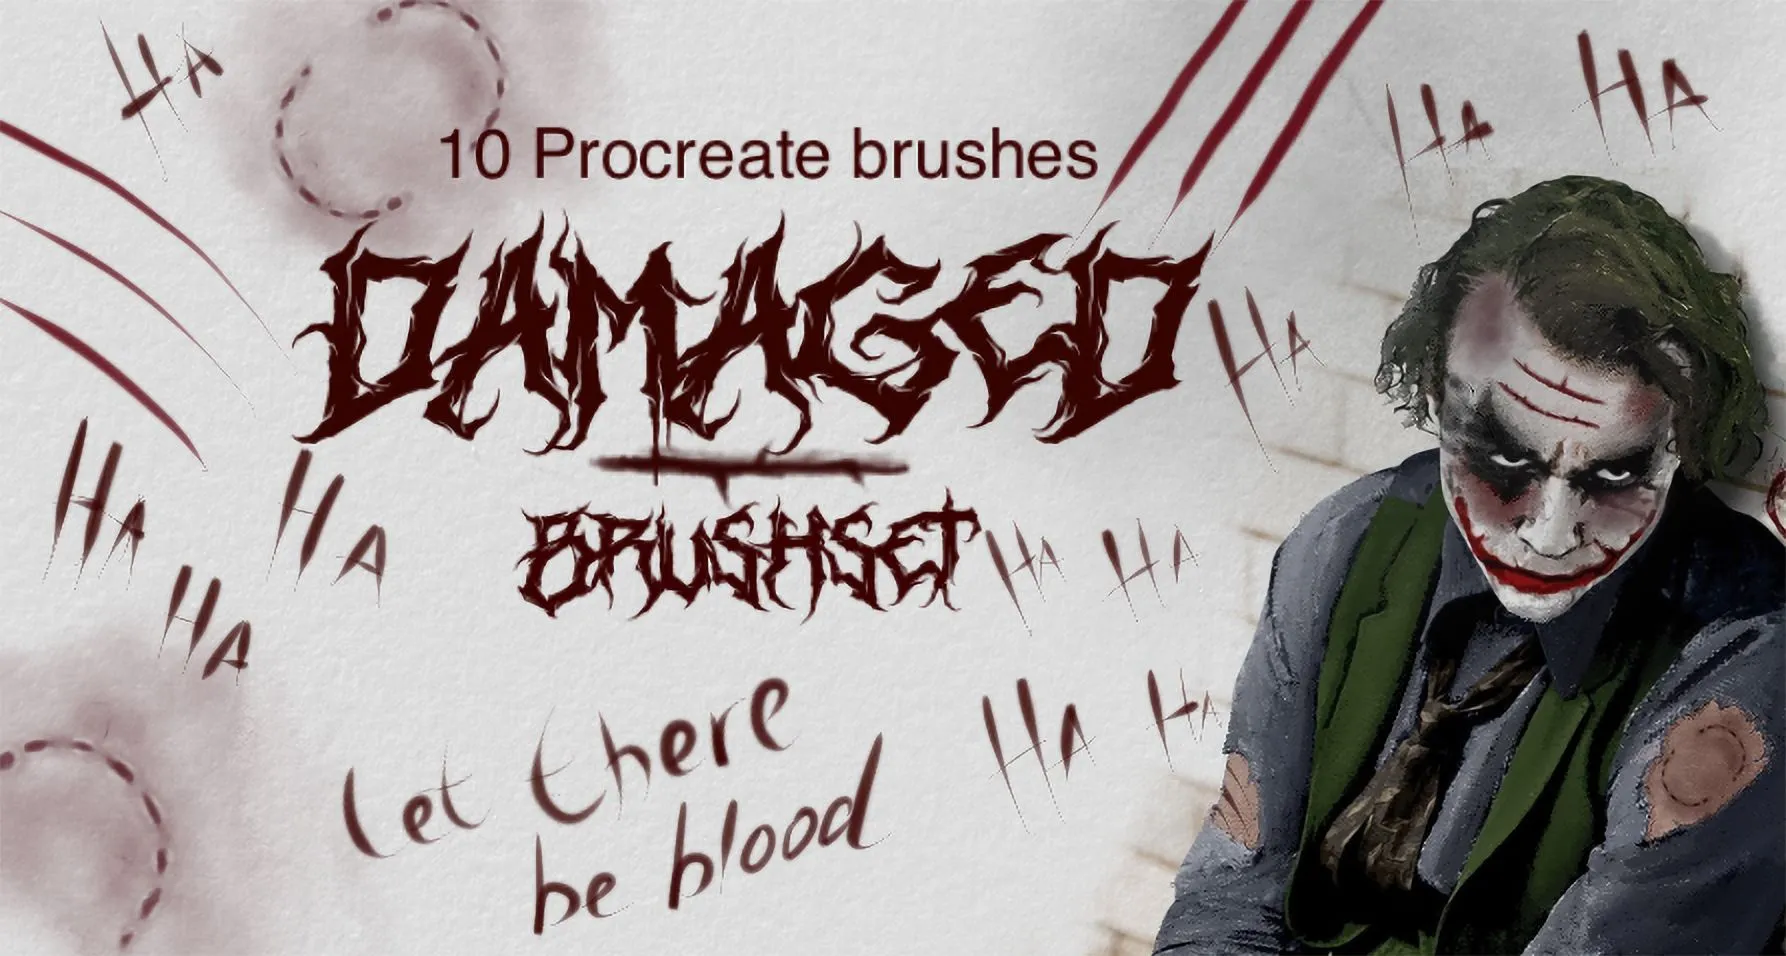
Damaged
small, large skin wrinkles and half-bite
 Procreate Video
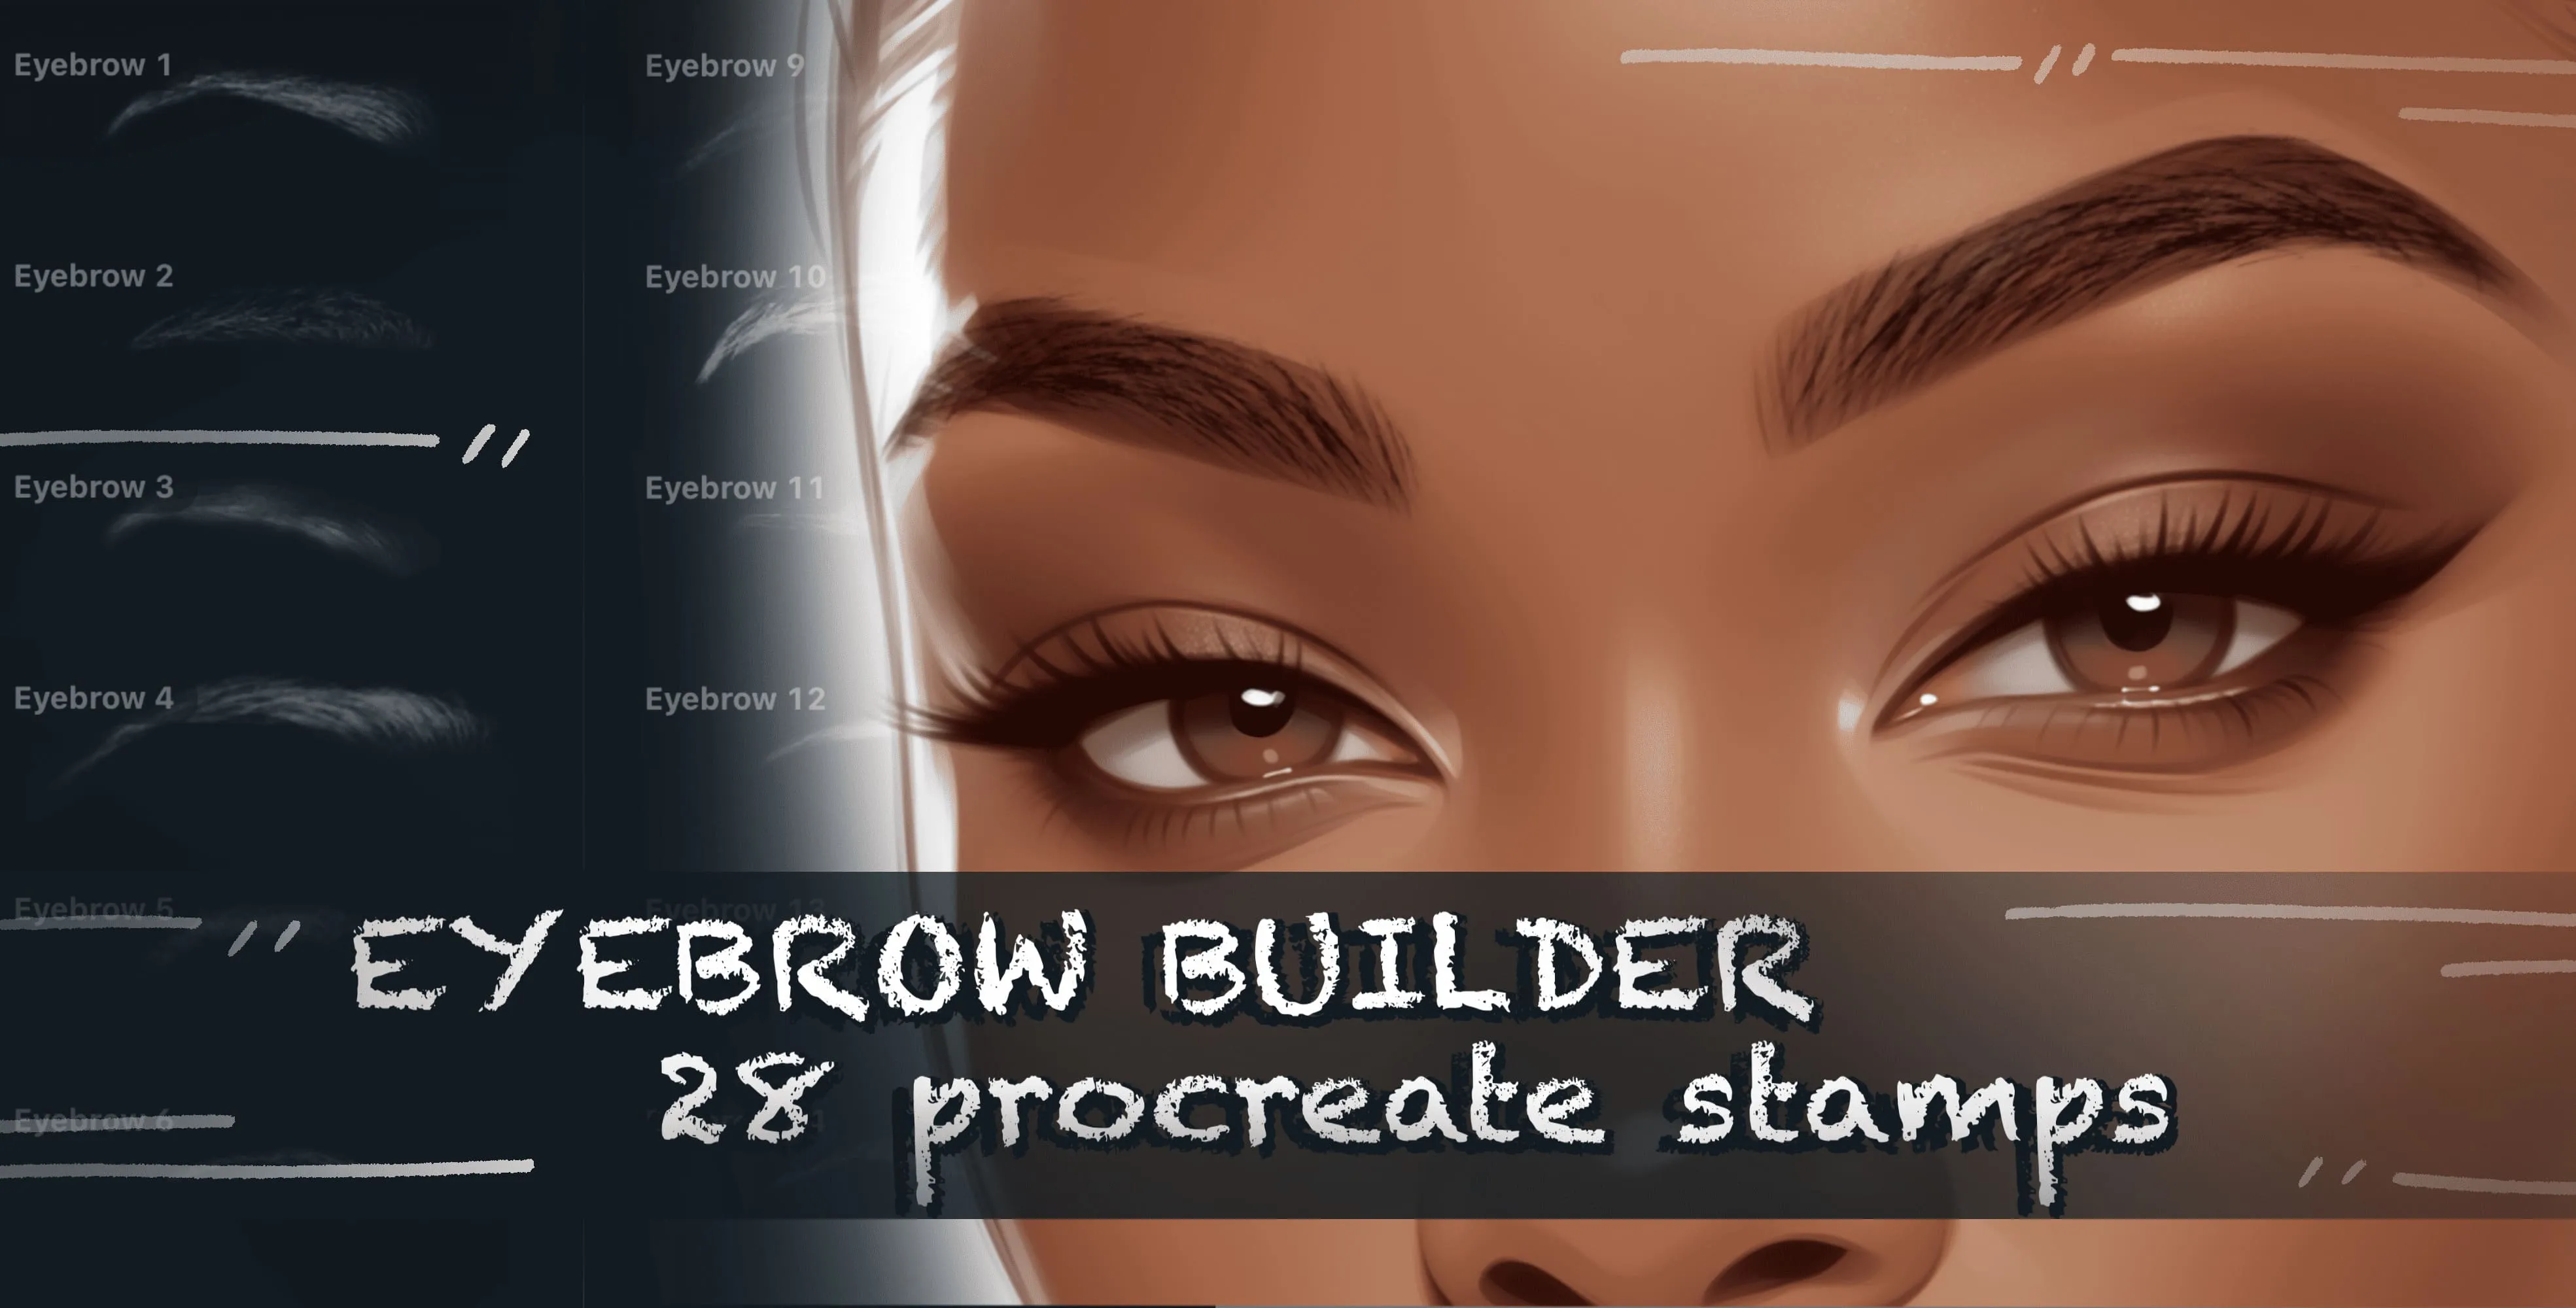
Eyebrow Builder
soft, feathered, bushy, bold and arched
 Procreate Video
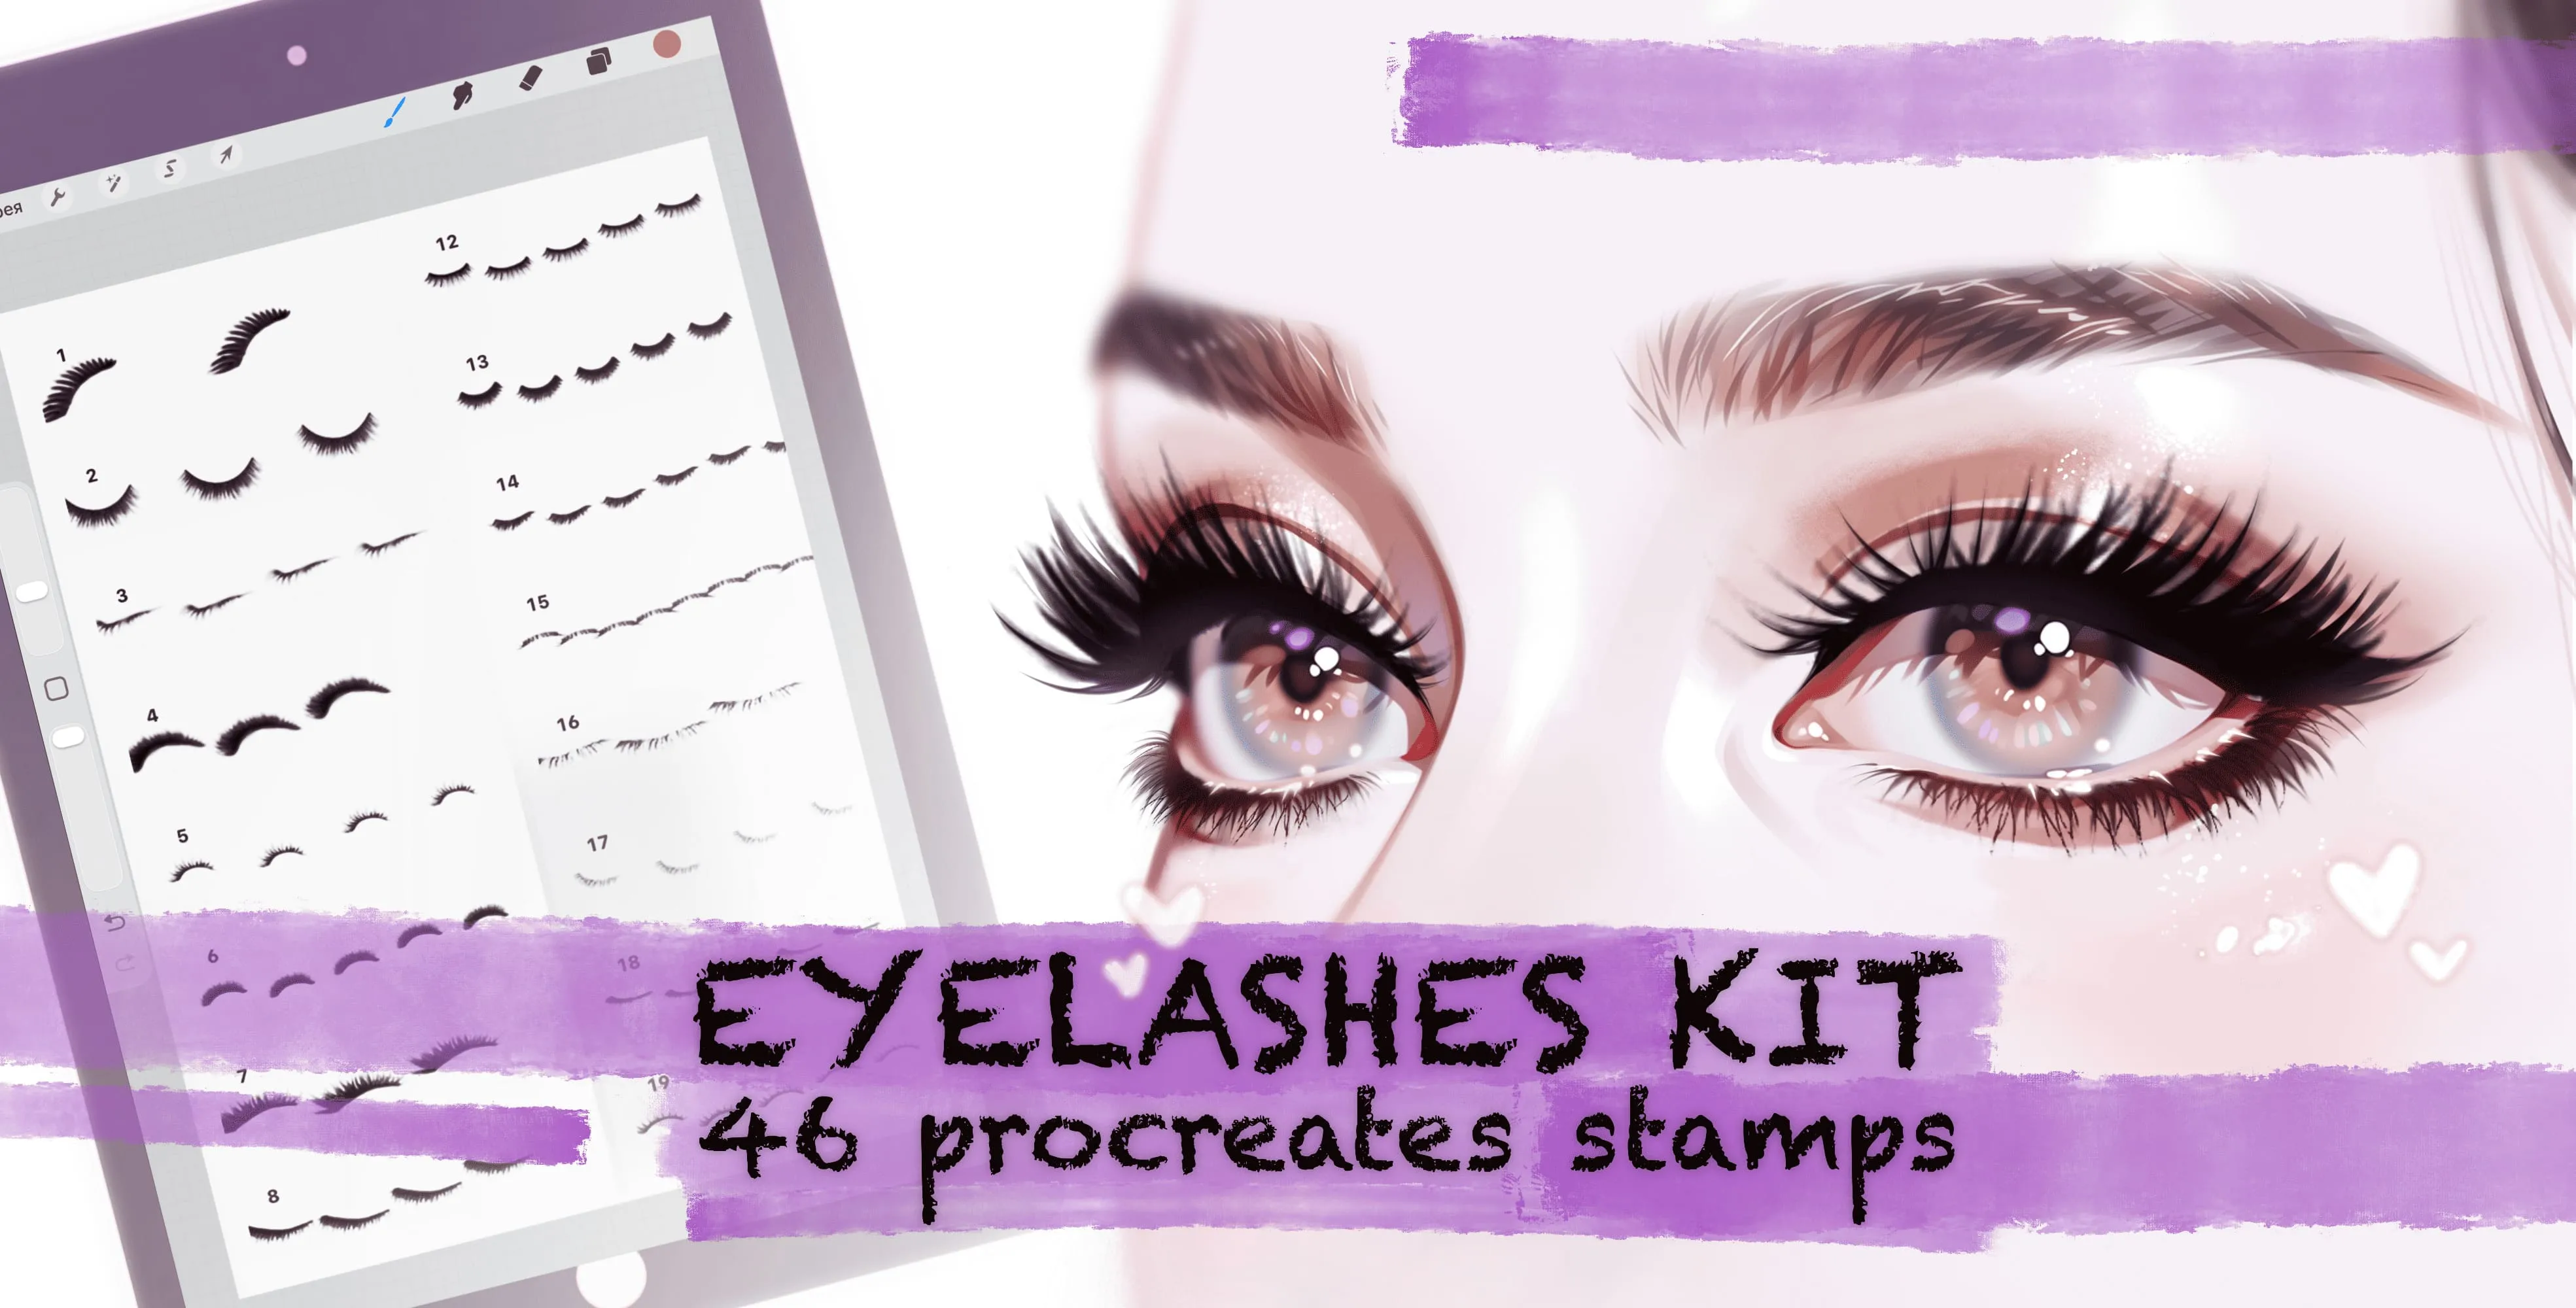
Eyelash Kit
full upper lash sets, fanned and curled lashes
 Procreate Video
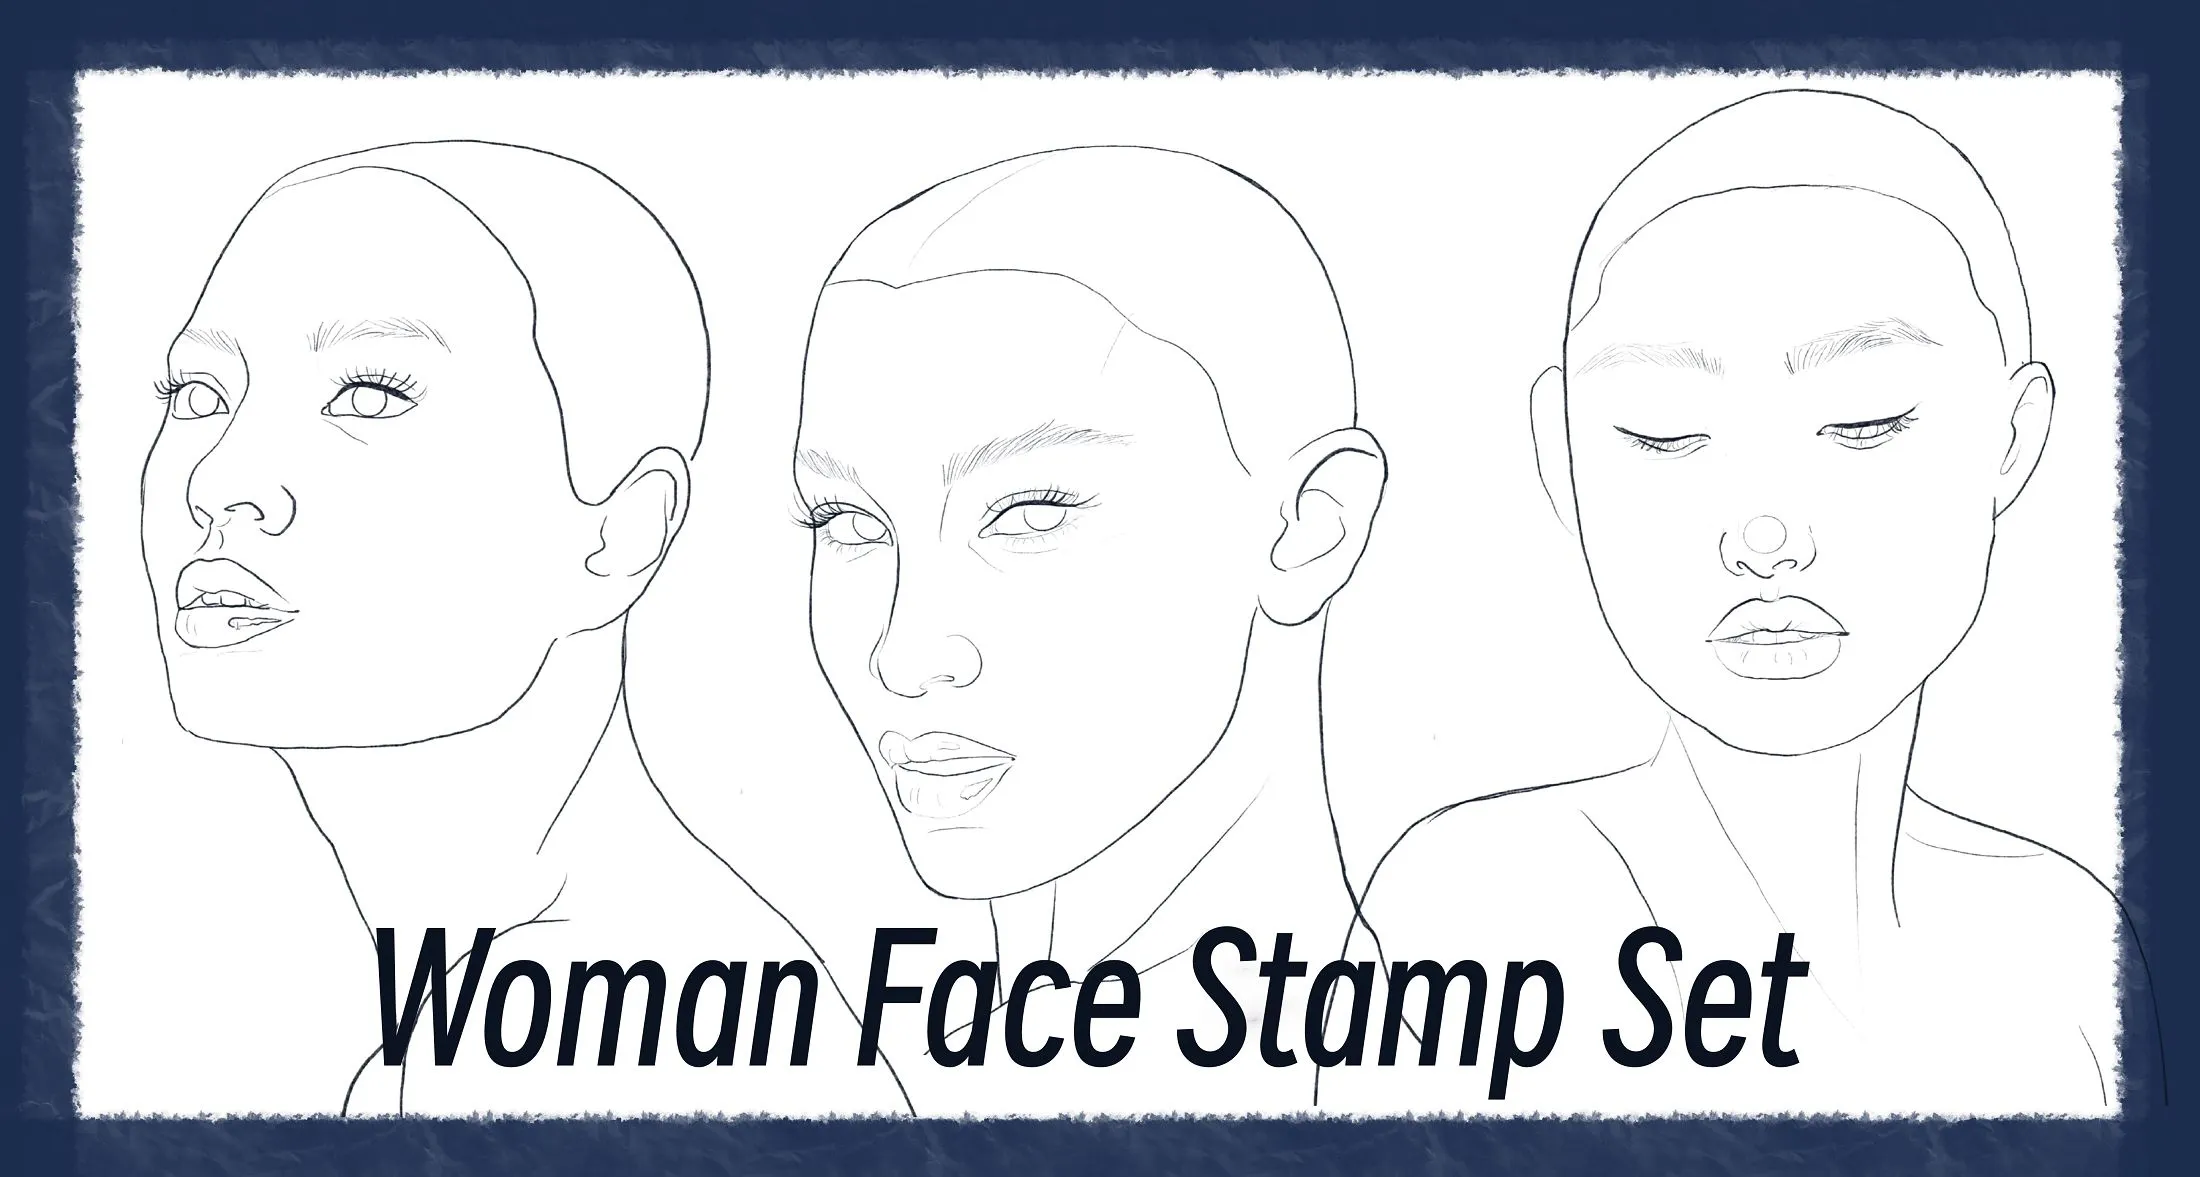
Face
front-facing, three-quarter and profile views
 Procreate Video
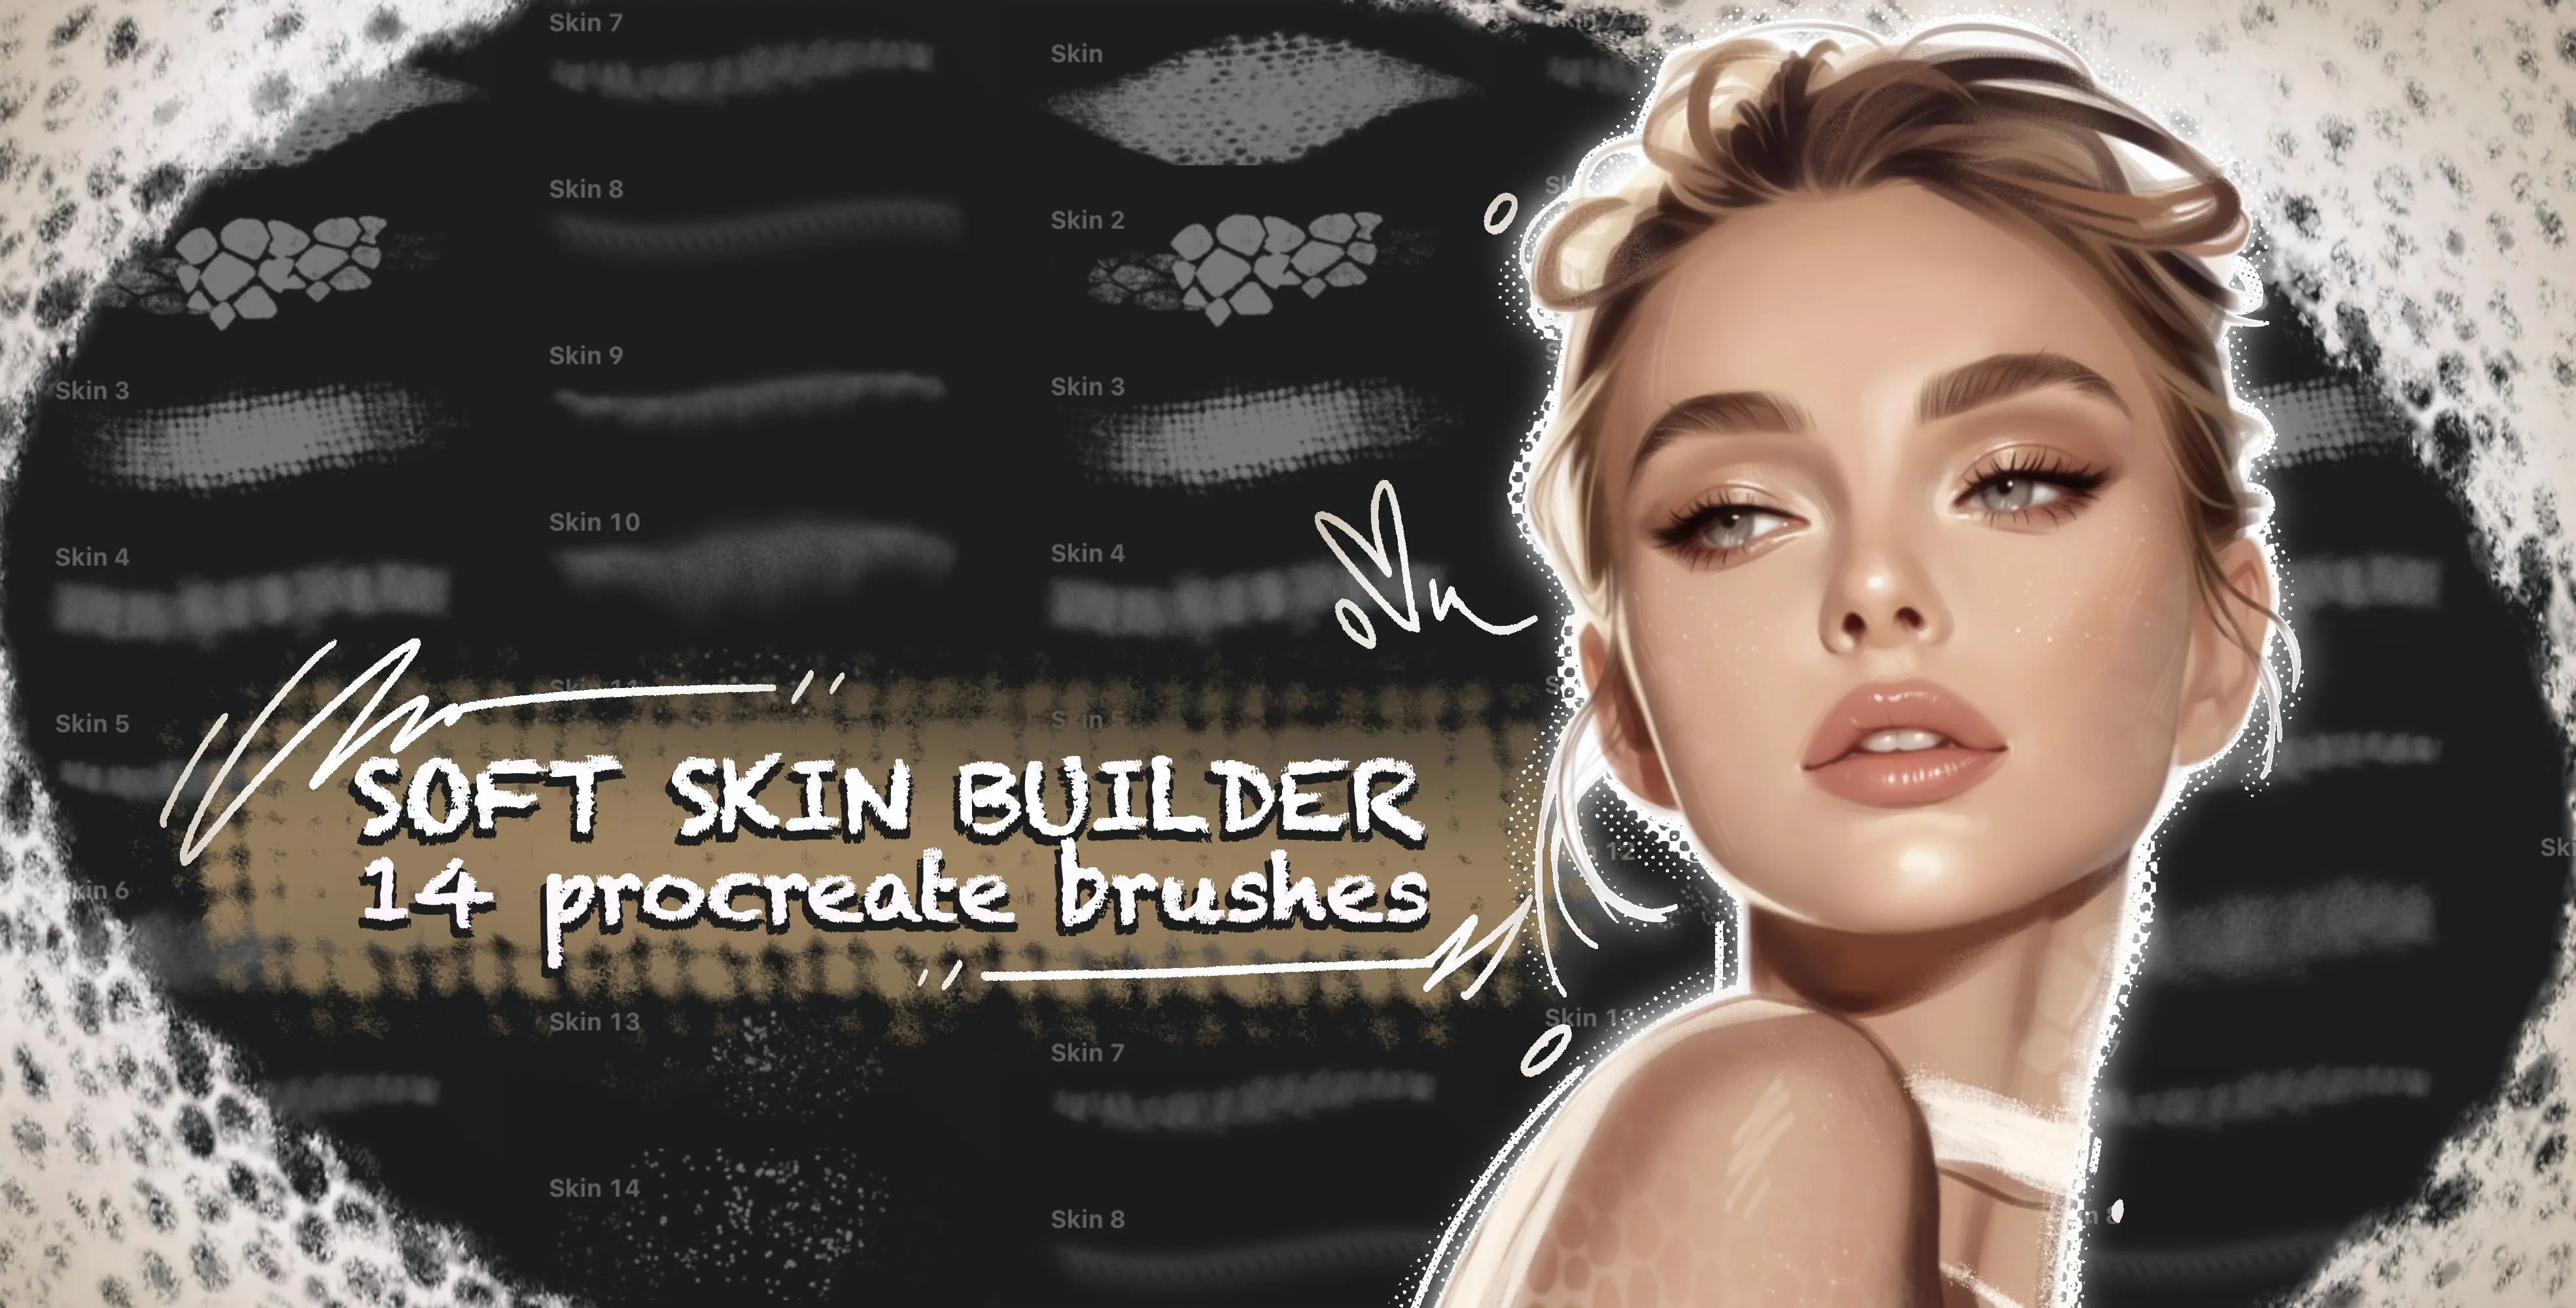
Soft Skin Builder
skin pores, cracked, cellular skin and rough
 Scan → get the app
More brush packs in the app
The site is still filling up — the Brusher app already has the complete 200+ set library, with more portrait packs, all one-tap installs into Procreate.
Painting smooth, believable skin
Good skin is about controlled blending and preserved structure. Block your light, mid and shadow tones as clean shapes, then blend along the direction the face curves — never scrub. Keep the sharpest highlight and deepest shadow crisp as anchors so the face holds its form; blending everything equally is what flattens a portrait into a mask.
Add a skin-texture pass last, at low opacity, to bring back pores and subtle detail the blending softened. Use warmer tones in the cheeks, ears and around the nose, and cooler tones in the shadows, and even smooth skin gains life. For construction, drop a proportion or feature stamp beneath your painting as a guide.
Inside these portrait packs
You might also like
Hair Procreate Brushes
Hair Procreate brushes for portrait and character art: individual strands, curls, waves, short hair. Free & premium packs.
Blending Procreate Brushes
Blending and shading Procreate brushes for iPad: smooth smudge, soft shader, gradient transitions. Free & premium packs.
Fur & Fabric Procreate Brushes
Fur, feather and fabric Procreate brushes for iPad. Realistic textures for character and wildlife art.
Common questions
What are the best brushes for skin tones?+
Use a soft blender for the base transitions and a low-opacity skin-texture brush to add pores and detail on top. Block clean light, mid and shadow tones first, then blend along the face's curves — the combination of smooth base plus subtle texture is what makes skin look real rather than plastic.
How do I blend skin smoothly in Procreate?+
Block your tones as clean shapes, then blend at low pressure along the direction the face curves, keeping the brightest highlight and darkest shadow crisp as anchors. Build the transition gradually and finish with a light texture pass so the skin stays soft but still holds its form.
Should I use realistic or stylised portrait brushes?+
It depends on your goal: realistic work benefits from soft blenders and fine skin-texture brushes for gradual, lifelike tones, while stylised or anime portraits lean on cel-shading and feature stamps for clean, graphic shapes. Many portrait packs include both so you can shift between styles.
Do these include face templates and skin tone palettes?+
Yes — the portrait packs bundle face-construction stamps that act as a Procreate face template for nailing proportion, plus a skin tone Procreate palette so you're not mixing believable skin from scratch. Drop a face template on a guide layer, block your skin palette underneath, and paint over the top.