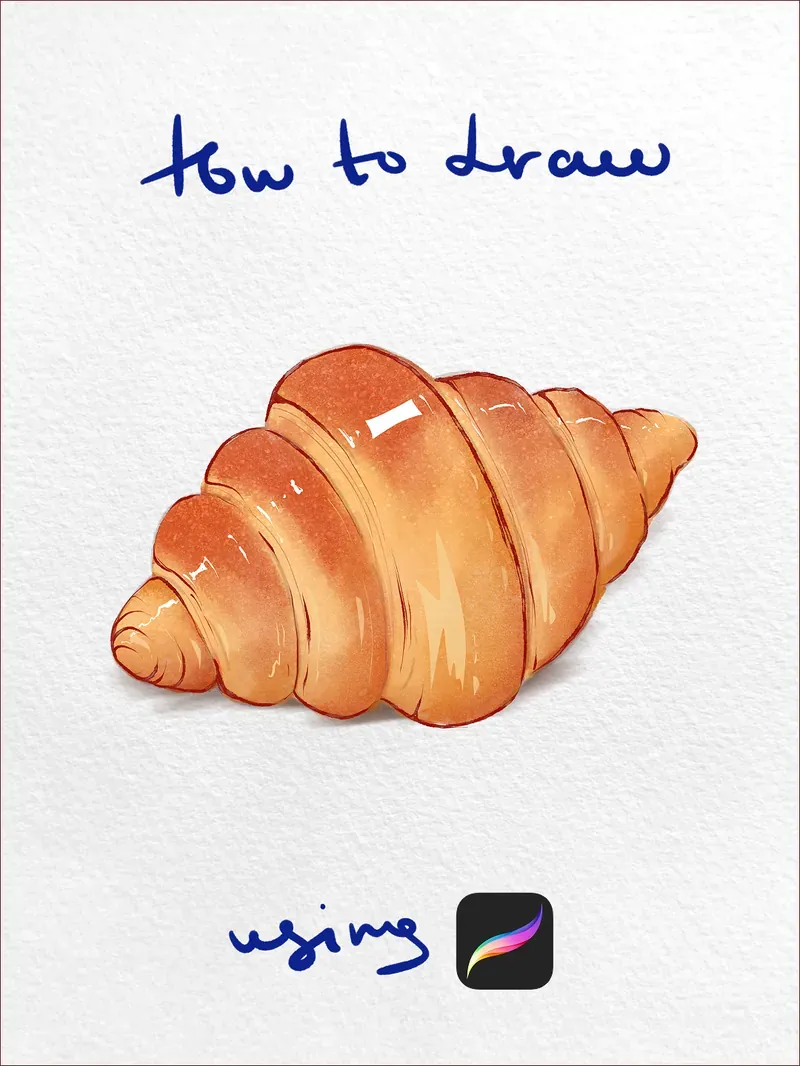
How to Draw a Pumpkin Pie in Procreate
By Julia White — painted in Procreate with Brusher brushes · Updated October 2026
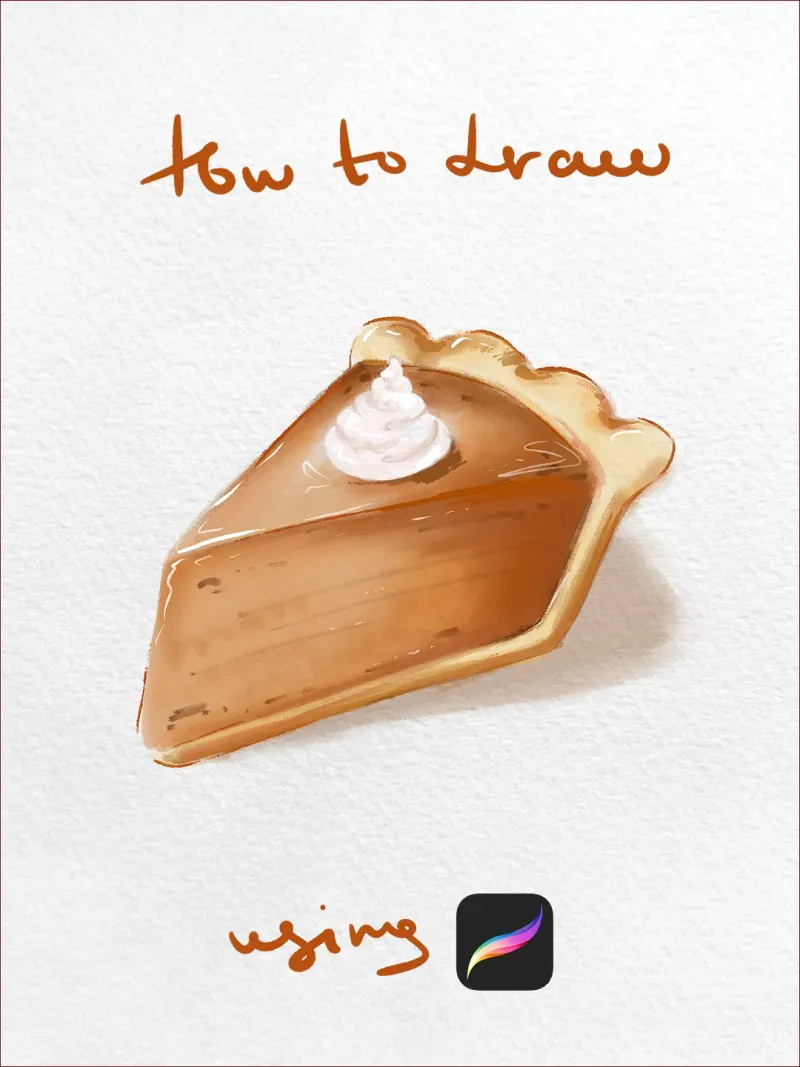
A slice of pumpkin pie is mostly two shapes — a wedge of filling and a crimped rim of pastry — which makes it a far kinder subject than it looks. The whole illustration lives in a narrow band of warm ochre and brown, so you can concentrate on where the light falls instead of mixing colour.
Seven steps, one watercolour set, and one idea worth taking away: the filling is glossy and the crust is matte, and the entire difference between them is how hard you let an edge stay.
Step by step
- 1
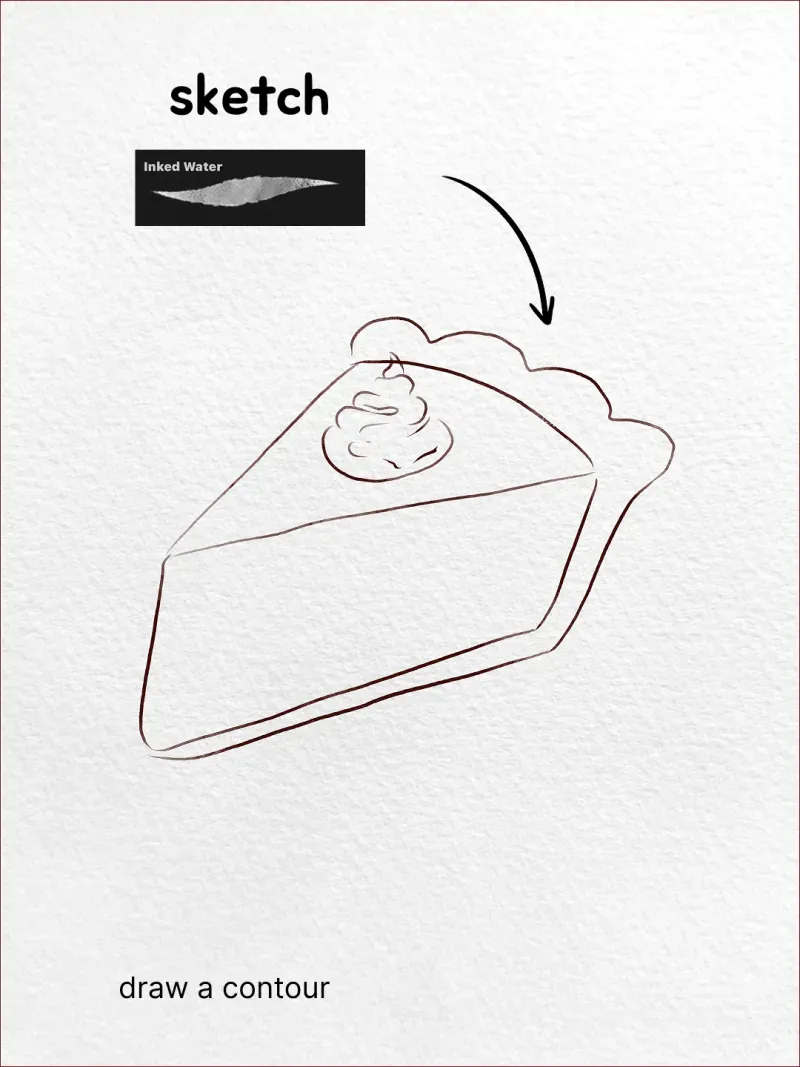
Draw the contour Inked Water
Sketch the wedge on its own layer: a long triangle for the slice, a scalloped rim along the back for the crust, and a small spiral where the cream will sit. Keep the line loose — everything here gets painted over, and a tight outline only tempts you to colour inside it.
- 2
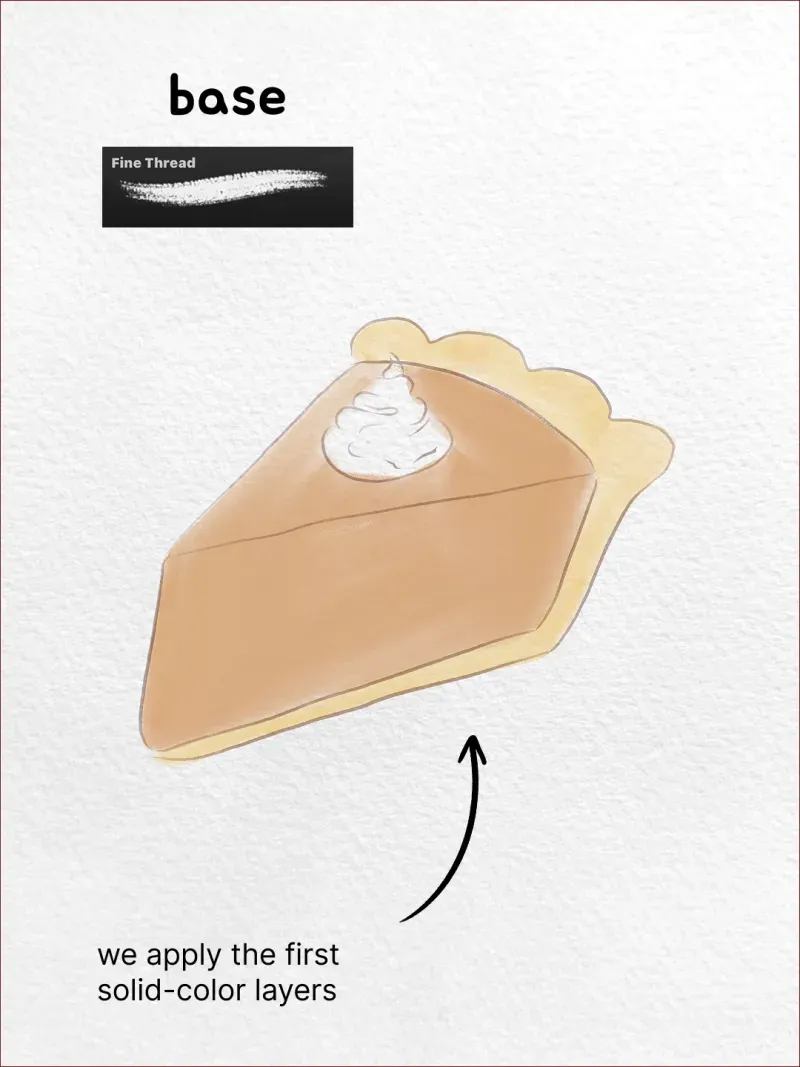
Lay the base colours Fine Thread
Two flat fills on a layer beneath the sketch: warm ochre for the filling, pale sand for the pastry. Keep them clearly different in value from the start — if the crust and filling begin at the same lightness, no amount of shading later will separate them.
- 3
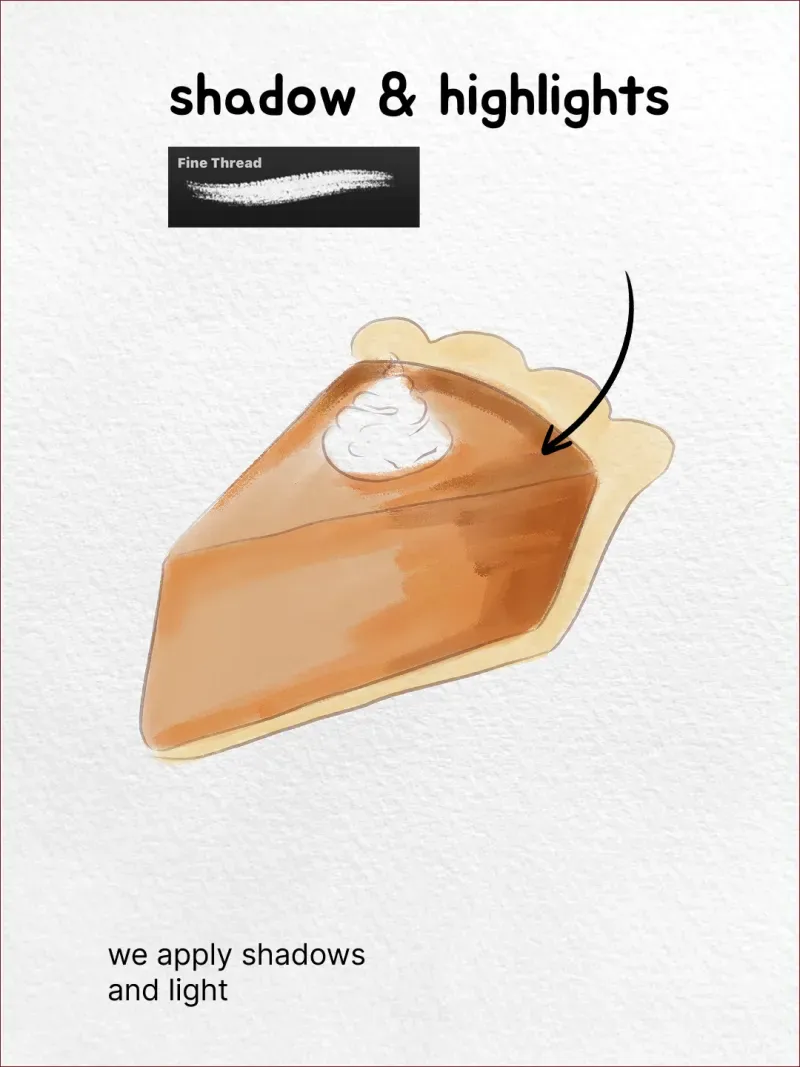
Apply shadow and light Fine Thread
Pick a light direction — here it comes from the left — and darken the right side of the filling along with the underside of the crust. Then lift the left face with a lighter ochre. Work on a separate layer so a pass that goes too heavy can be pulled back instead of repainted.
- 4
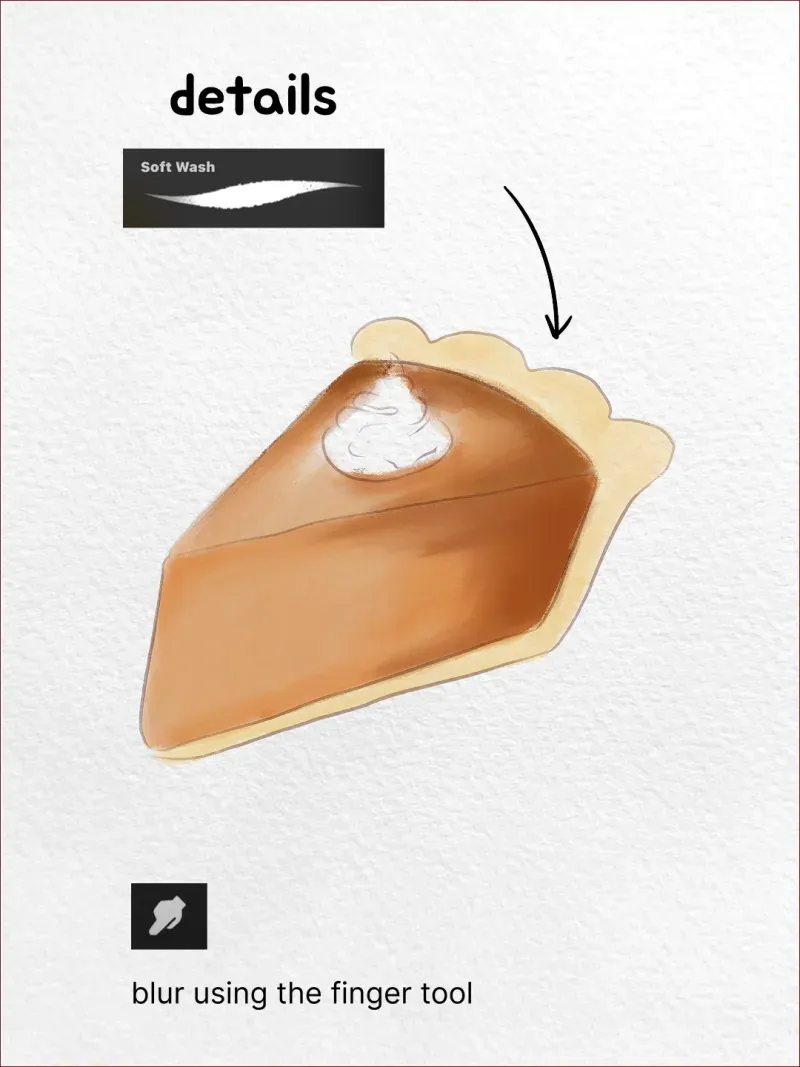
Blur the transitions Soft Wash + smudge tool
Soften the shading with a soft wash, then blend with the smudge tool where the light face rolls into the dark one. Filling is a smooth custard, so those transitions should melt; leave the boundary between filling and crust crisp, because that is the one edge that tells the two materials apart.
- 5
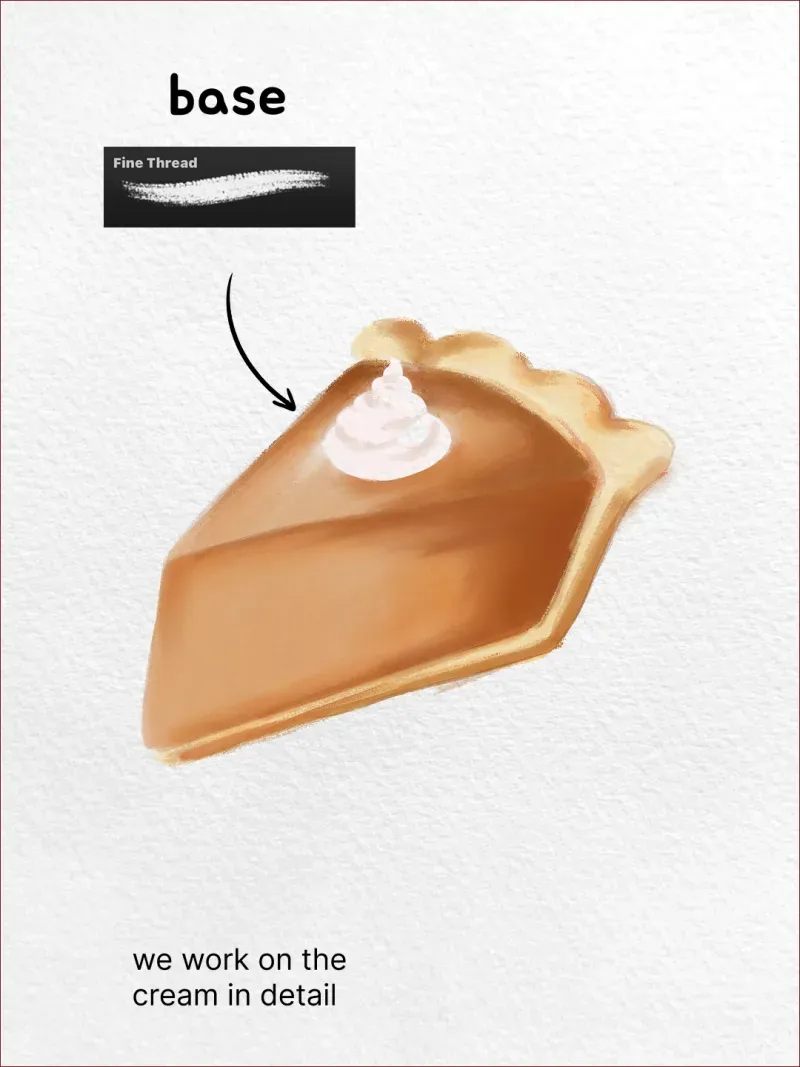
Paint the cream in detail Fine Thread
Build the whipped swirl properly: a shadow underneath where it meets the pie, a mid-tone on the body of the spiral, and near-white on the top curve of each turn. It occupies a tiny part of the canvas but the eye goes straight to it, so it repays the attention.
- 6
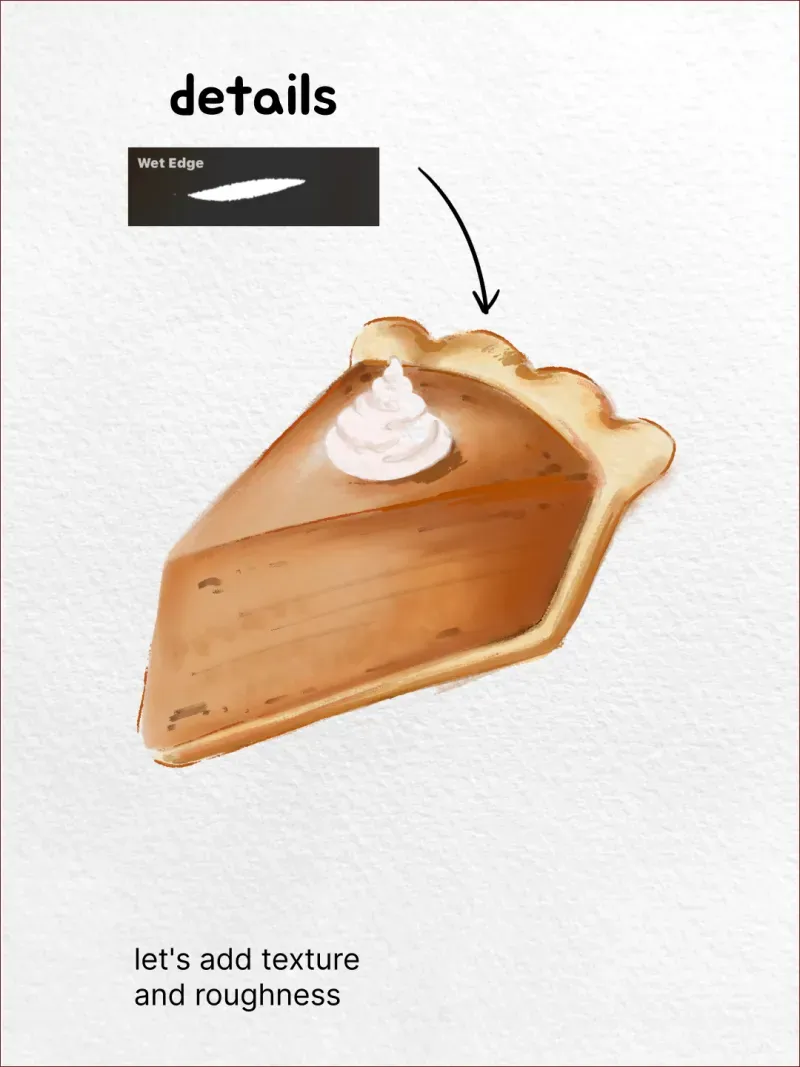
Add texture and roughness Wet Edge
Now break up the flatness. Stipple a few darker flecks across the filling for baked spots, and drag a broken line along the crust where it browned. Wet Edge deposits pigment at the end of a stroke, so short jabs read as texture while long strokes read as a smear.
- 7
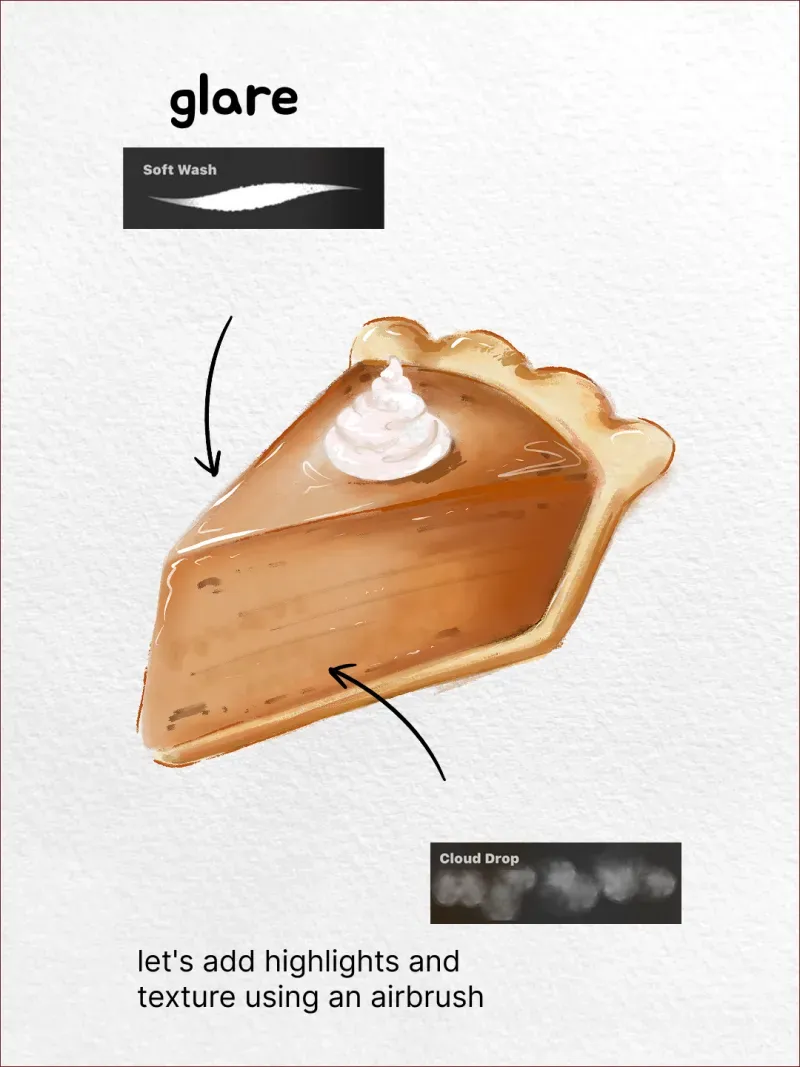
Add the glare Soft Wash + Cloud Drop
Finish with the shine that makes it look freshly baked: a few thin near-white streaks along the top edge of the filling, then a soft airbrush haze over the pastry to knock back its texture. Keep highlights on the filling only — a matte crust next to a glossy centre is what sells the whole slice.
Brushes used
Painted with brushes from the Watercolor set. It's in the Brusher app. For the washes and grains used throughout, browse our watercolour Procreate brushes — wet-on-wet, dry-brush and wash behaviours, installed in one tap.
Want to build the brush yourself instead? Our guide on making your own Procreate brush includes a five-step watercolour recipe.
Frequently asked questions
Which brushes do I need to draw a pumpkin pie?+
Five, and all of them are ordinary watercolour behaviours: an inky liner for the contour, a fine dry-brush for the base and shading, a soft wash for blending, a wet-edge brush for baked texture, and an airbrush for the final haze. Any watercolour set with wash and dry-brush behaviour will cover it.
How do I make the filling look glossy and the crust look dry?+
By treating their edges differently rather than their colours. Blend every transition inside the filling until it melts, then add two or three hard near-white streaks on top. Leave the crust unblended, with broken linework and stippled flecks. Same palette, opposite edge treatment.
Why does my pie read as flat orange?+
Usually because the filling and the crust started at the same lightness. Set them apart at the base-colour stage — ochre against pale sand — before any shading. Shadows deepen a difference that already exists; they can't invent one.
Can I paint this on an iPhone?+
Yes. Procreate Pocket has the same brushes and layers, and this tutorial never needs more than five layers. A slice of pie is a small, contained subject, which makes it one of the easier things to paint on a phone screen.