How to Draw a Croissant in Procreate
By Julia White — painted in Procreate with Brusher brushes · Updated September 2026
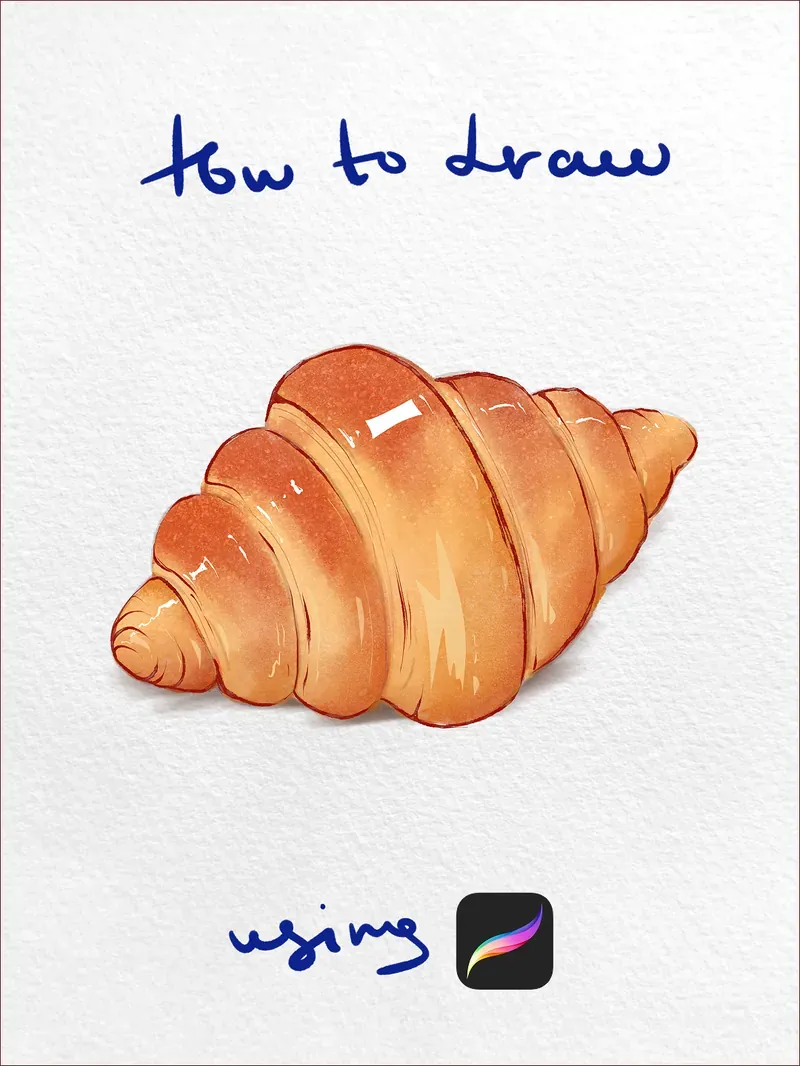
A croissant is a perfect first watercolour subject: the shape is forgiving, the colour range is narrow, and almost all of the realism comes from where you put the shadow. Nine steps, one warm brown palette, and no drawing skill you don't already have.
Everything below is painted with watercolour brushes — the soft bloom at the edge of each stroke is doing most of the work, so the technique matters far more than a steady hand.
Step by step
- 1
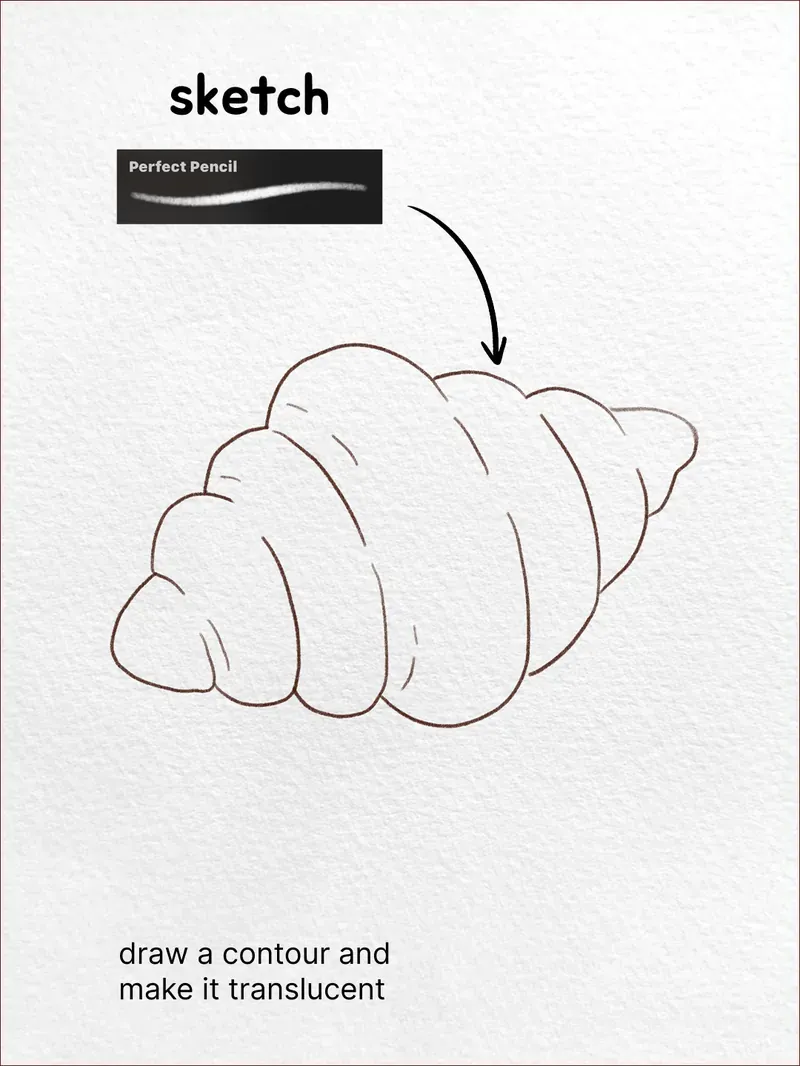
Sketch the outline Perfect Pencil
Block the shape in loosely on its own layer. A croissant is really a row of overlapping crescents that shrink toward the tips — get that rhythm down first, then drop the layer opacity to roughly 30% so the sketch guides you instead of showing through the paint.
- 2
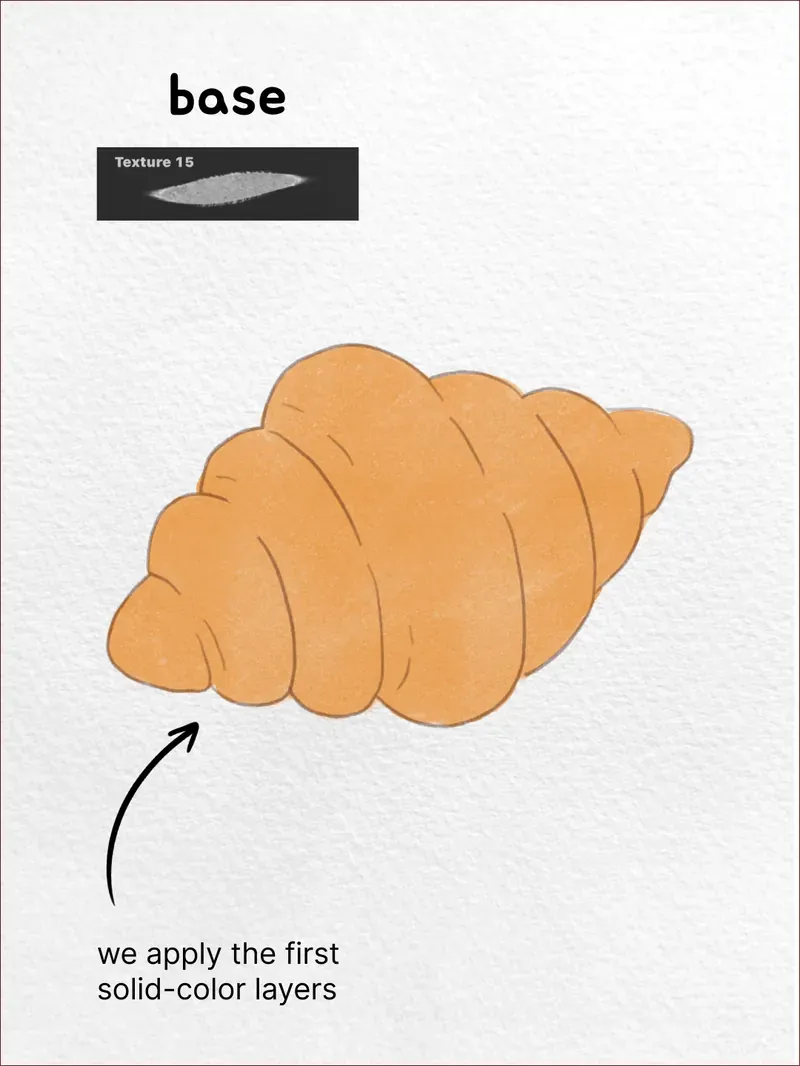
Lay the base colour Texture 15
On a new layer beneath the sketch, fill the whole silhouette with one mid-tone golden brown. Resist the final colour — watercolour builds up in passes, so this first wash should look slightly too pale rather than too dark. Let the brush's grain break up the edges.
- 3
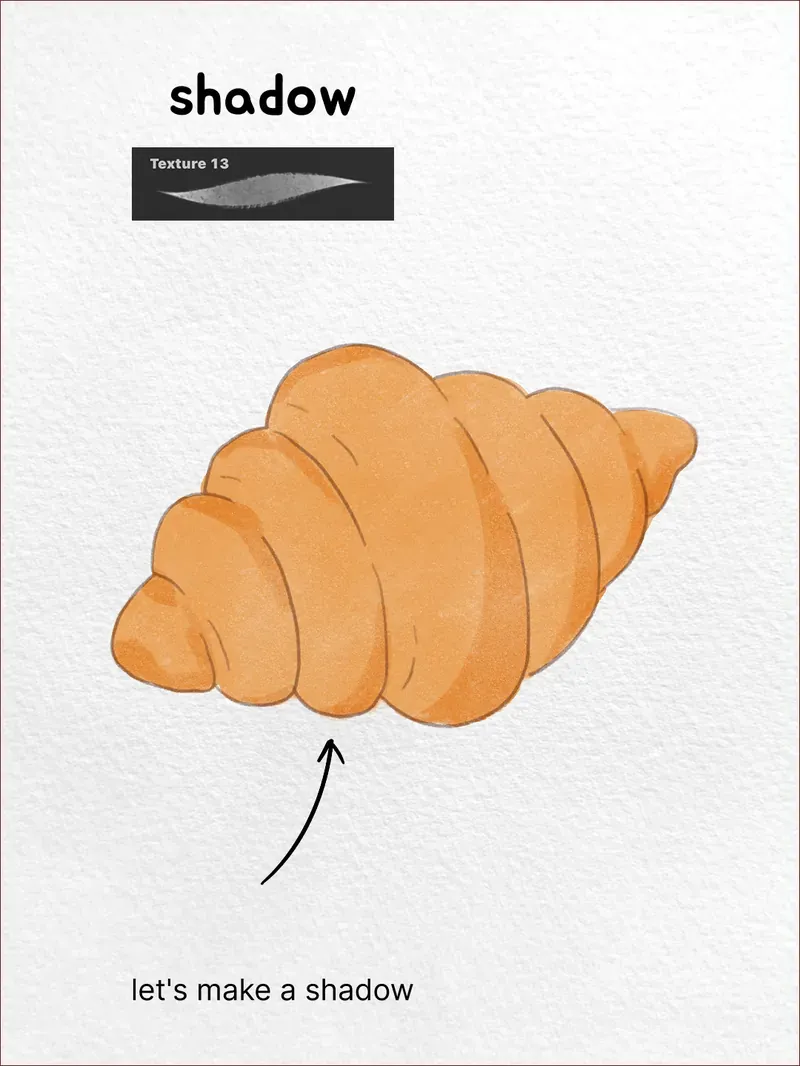
Paint the shadows Texture 13
Pick a light direction and commit to it — here it comes from the upper left. Shade the underside of every roll and the crease where two rolls meet. Keep shadows on their own layer so you can pull the opacity back if a pass goes too heavy.
- 4
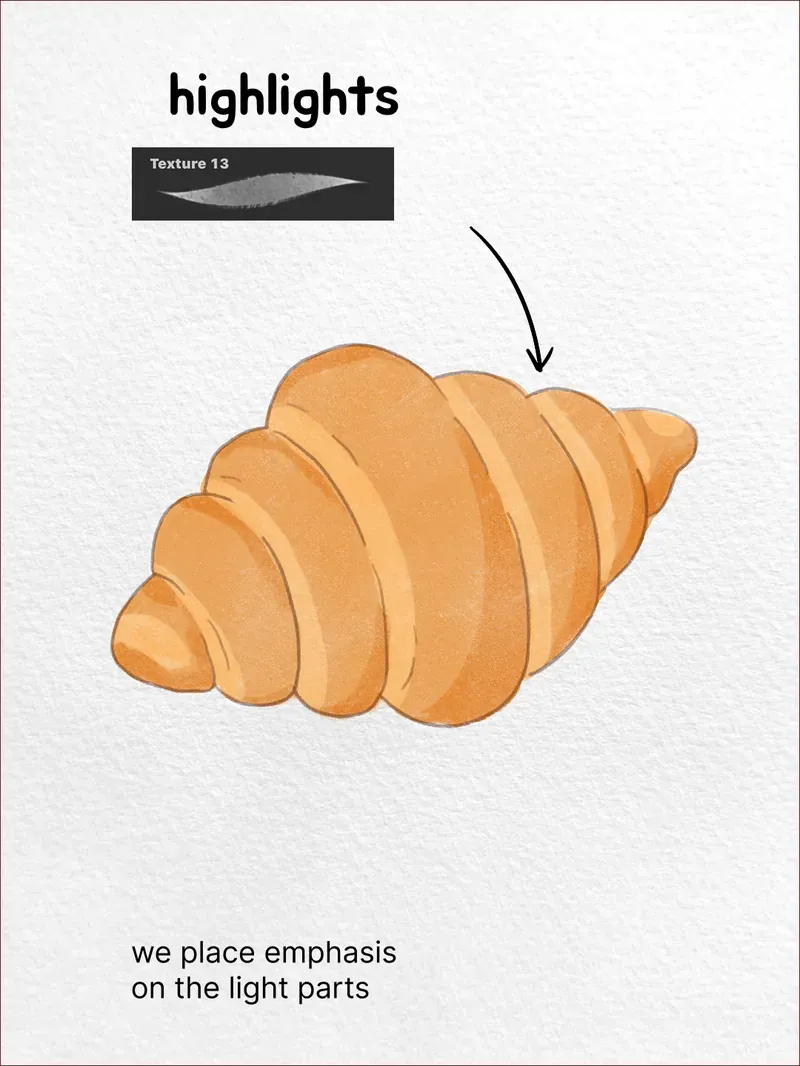
Build the highlights Texture 13
Same brush, lighter tone. Catch the top of each curve where the baked crust would shine. This step is what turns a flat brown shape into something with volume — the shadows alone won't do it.
- 5
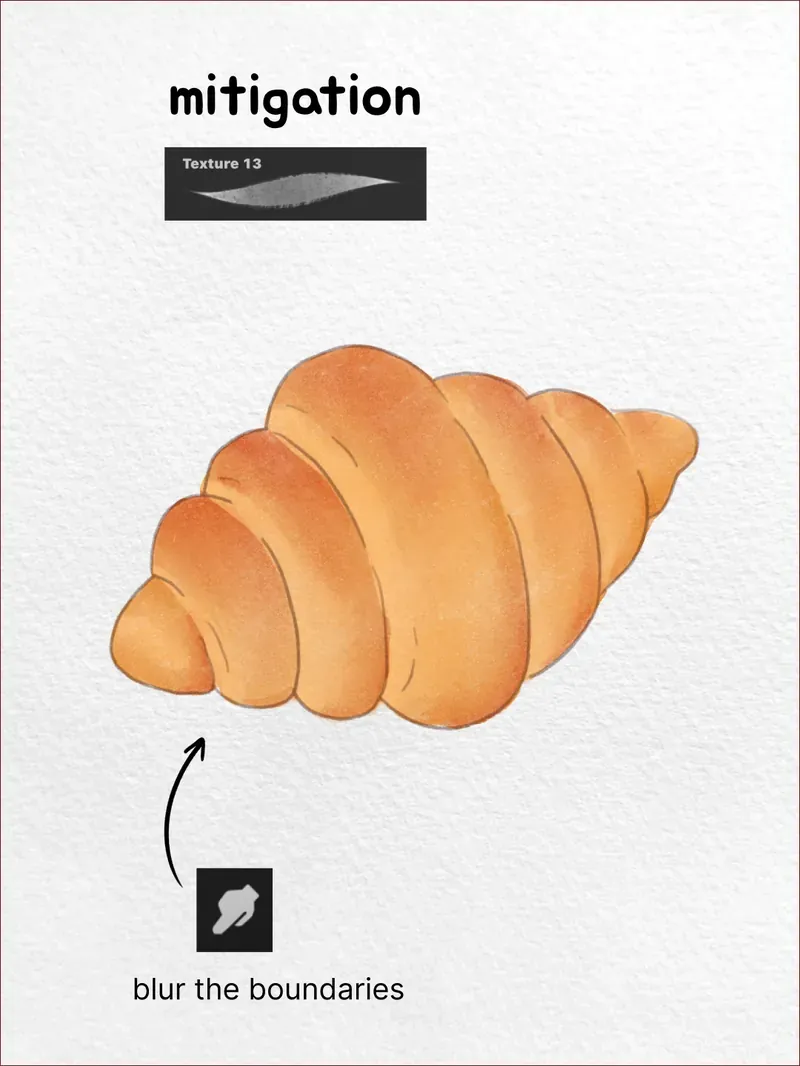
Soften the transitions Smudge tool
Take the smudge tool and gently blend where shadow meets light. Real watercolour bleeds rather than snaps, so soften anything that looks cut out — but leave a few crisp boundaries, or the whole thing turns to mush.
- 6
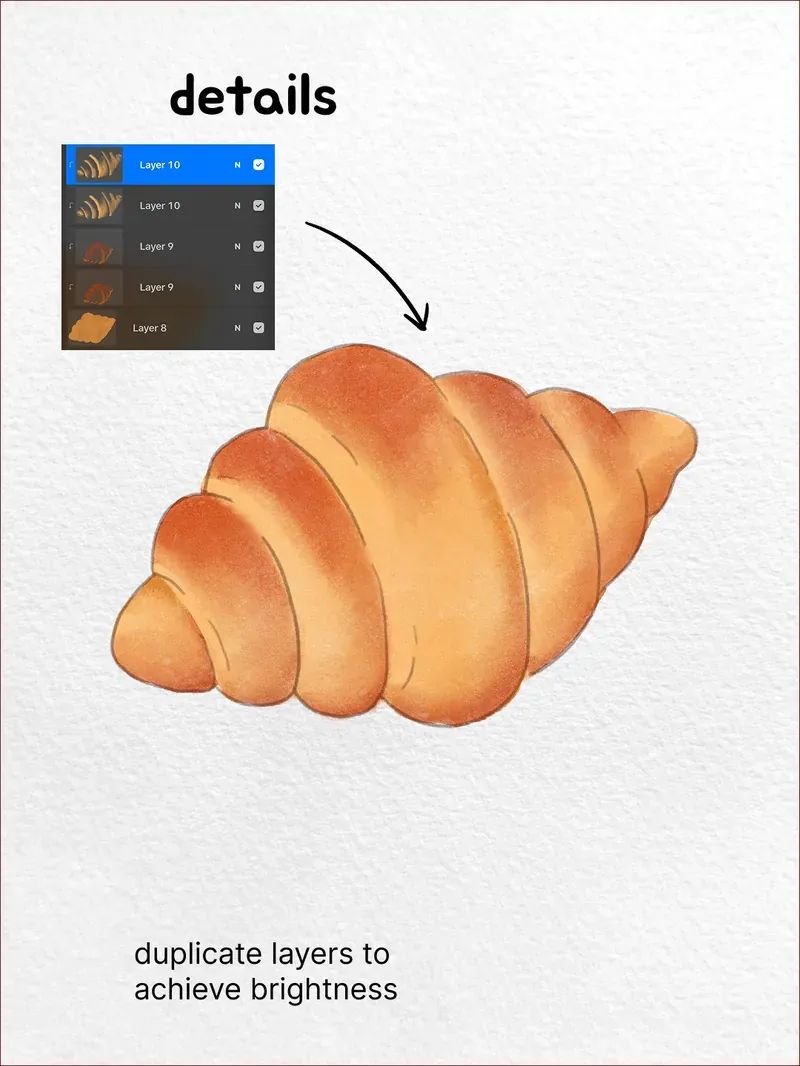
Duplicate layers for depth
Duplicate your colour layers and stack them to deepen the tone. It's the digital equivalent of glazing a second wash over dry paint: richer colour without repainting a single stroke.
- 7
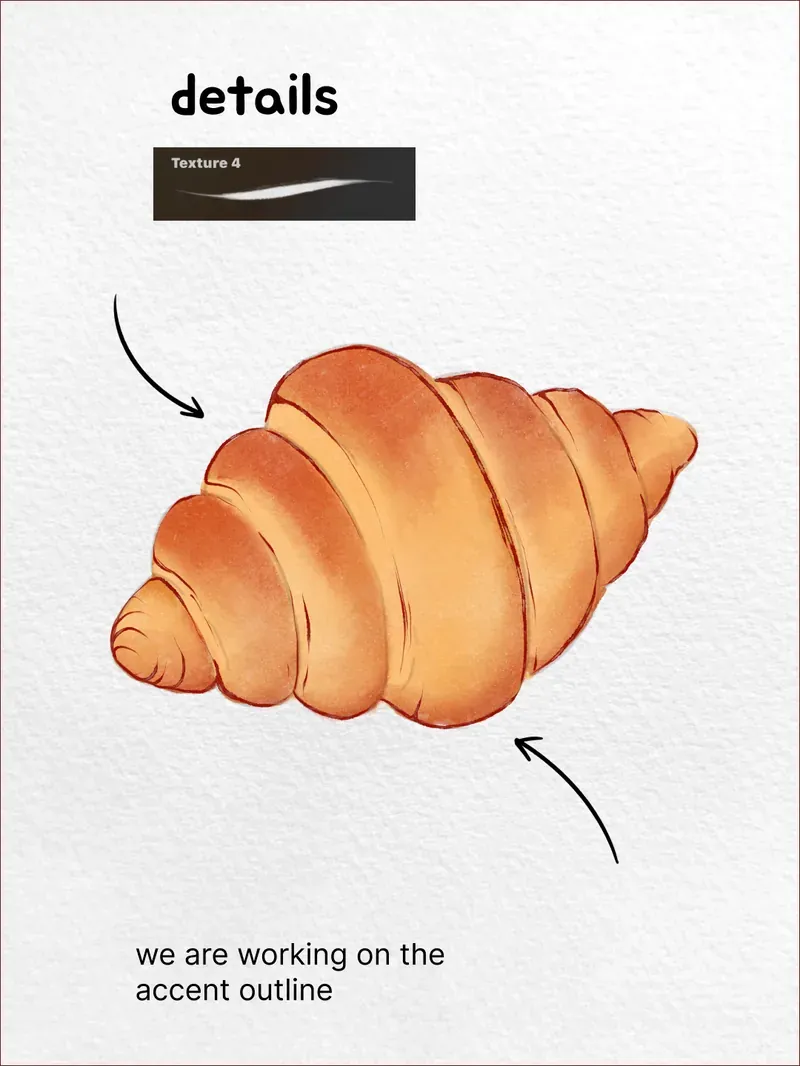
Work the accent outline Texture 4
Go back over the contour with a darker warm brown, thickening the line where rolls tuck under each other. Keep it broken and uneven — a line of constant weight reads as vector art, a varied one reads as hand-painted.
- 8
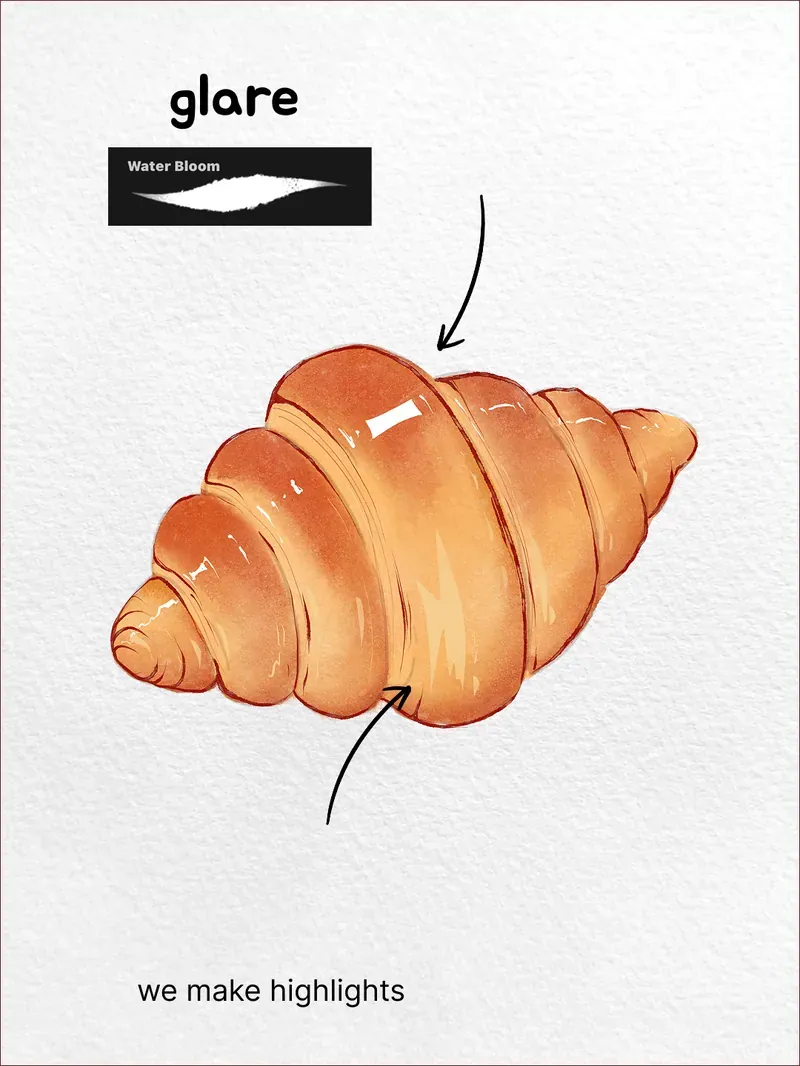
Add the glare Water Bloom
A few near-white marks along the topmost curves suggest a glazed, freshly baked crust. Keep them small and sparse: one convincing highlight beats five competing ones.
- 9
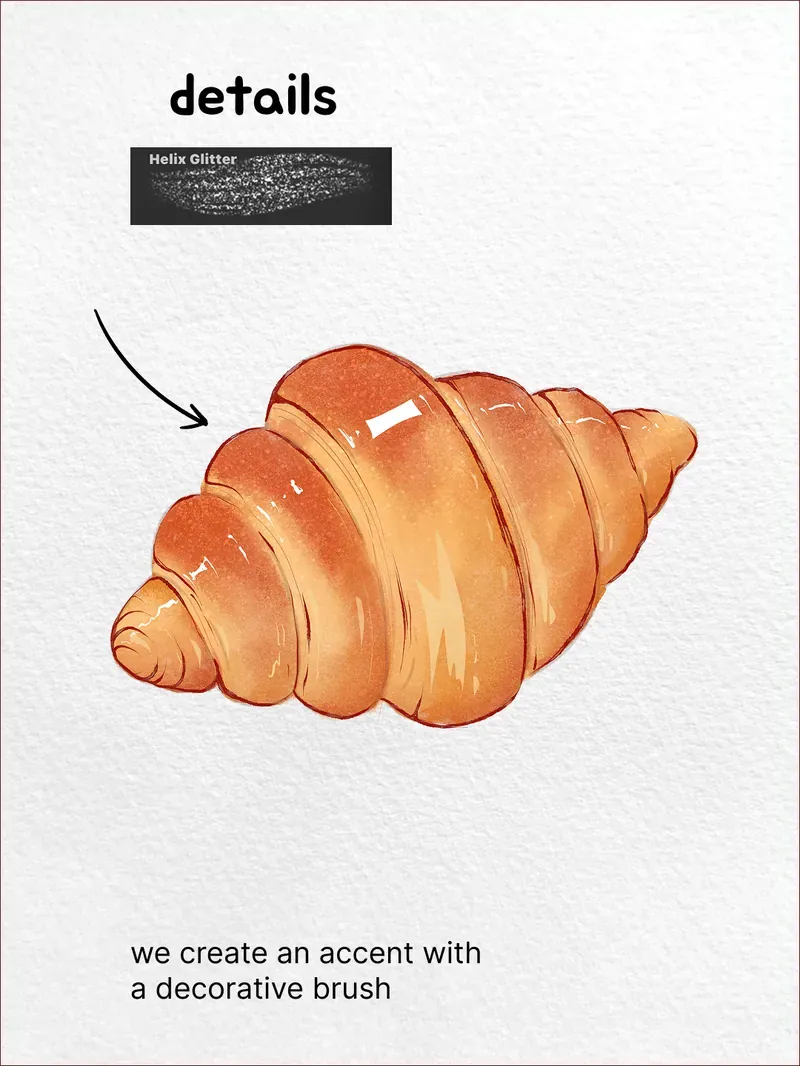
Finish with a decorative accent Helix Glitter
A light scatter of fine flecks adds crumb texture and a touch of sparkle. Decorative brushes deposit a lot in one pass, so a single gentle stroke is plenty.
Brushes used
Painted with brushes from the Watercolor and Glass Box sets. They're both in the Brusher app, and Glass Box is also available as a standalone download. For the washes and grains used throughout, browse our watercolour Procreate brushes — wet-on-wet, dry-brush and wash behaviours, installed in one tap.
Want to build the brush yourself instead? Our guide on making your own Procreate brush includes a five-step watercolour recipe.
Frequently asked questions
Which brushes do I need to draw a croissant?+
A pencil for the sketch, two or three watercolour texture brushes for the base and shading, a soft bloom brush for highlights, and optionally one decorative brush for crumb texture. Any watercolour set with a dry-brush and a wash behaviour will cover it.
Do I need to be good at drawing?+
No — a croissant is built from overlapping crescents, so if you can draw a curve you can draw this. Almost all of the realism comes from shadow placement and layered washes, not from line accuracy.
Why does my watercolour look flat?+
Usually because everything is on one layer at full opacity. Watercolour reads as watercolour when transparent passes stack — paint light to dark on separate layers, then duplicate layers to deepen tone instead of pressing harder.